This feature is only available for Lightspeed Retail merchants on select pricing packages.
The steps and images in this article apply to Lightspeed Retail accounts created before December 9, 2019. For accounts created on or after December 9, please visit our QuickBooks article here.
QuickBooks® Integration: Advanced Topics
With QuickBooks Integration set up, now learn about using Lightspeed Retail together with QuickBooks. See how to change the QuickBooks accounts data syncs to, check which Lightspeed Retail register shifts have synced, and view QuickBooks Journal Entries, Sales Receipts, and recommended reports.
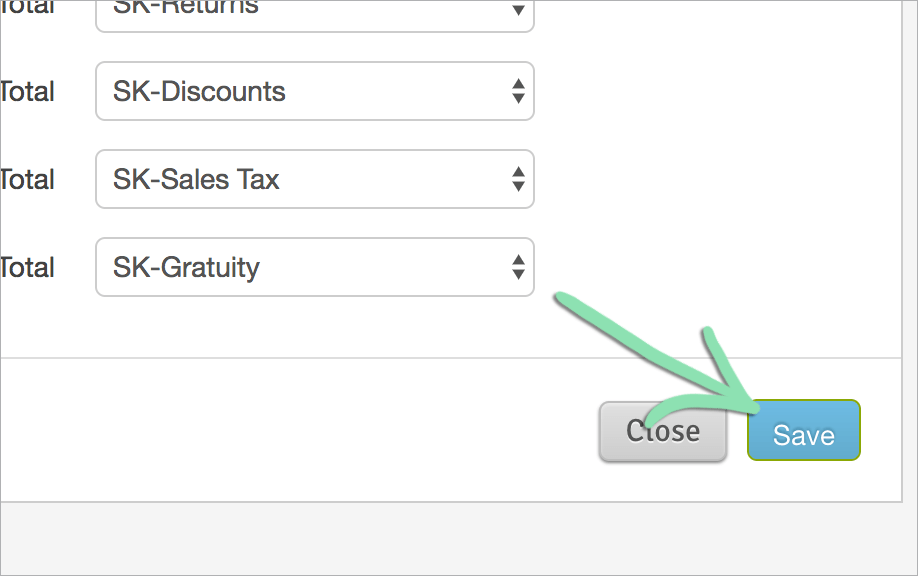
Advanced users can change which QuickBooks accounts receive each piece of Lightspeed Retail data. Account mapping updates take effect during the next register shift and do not affect data already in QuickBooks.
If possible, update account mapping before any data syncs to QuickBooks to avoid potential issues.
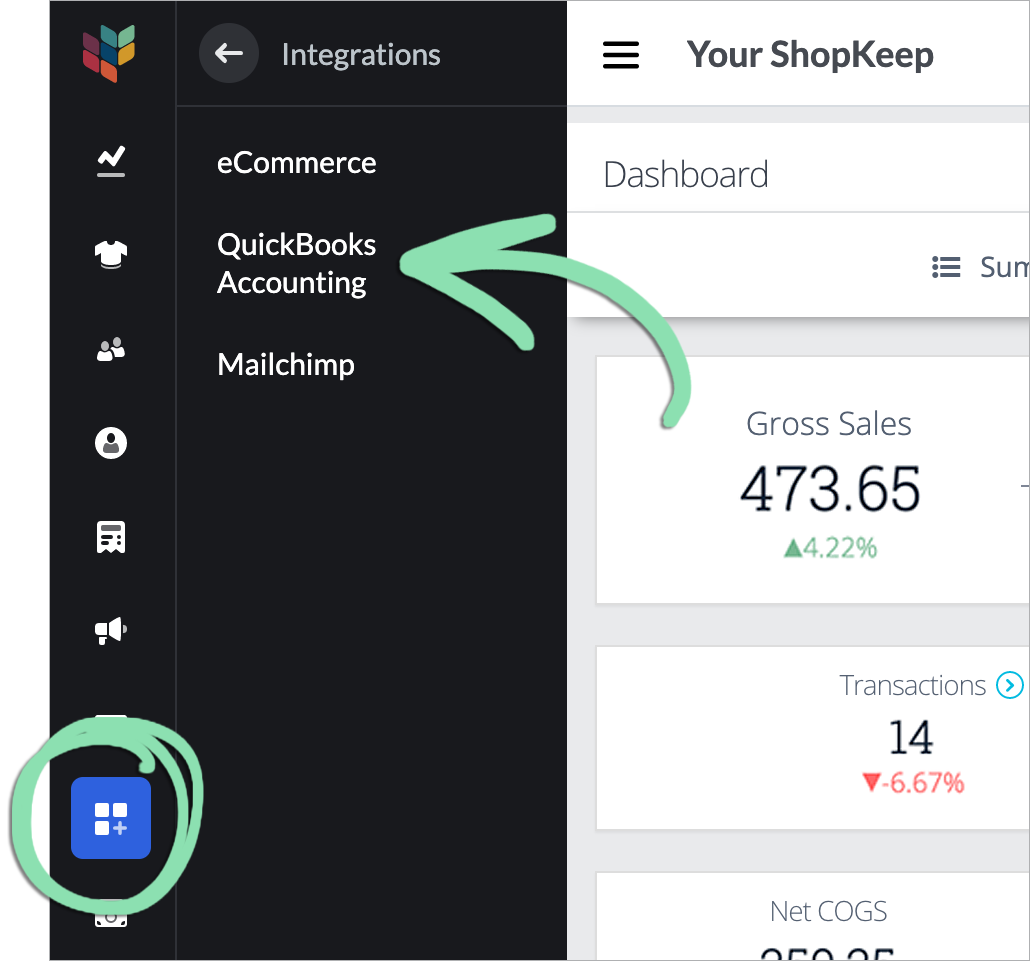
In BackOffice, click 'Integrations' and select 'QuickBooks Accounting'.
Click to Enlarge
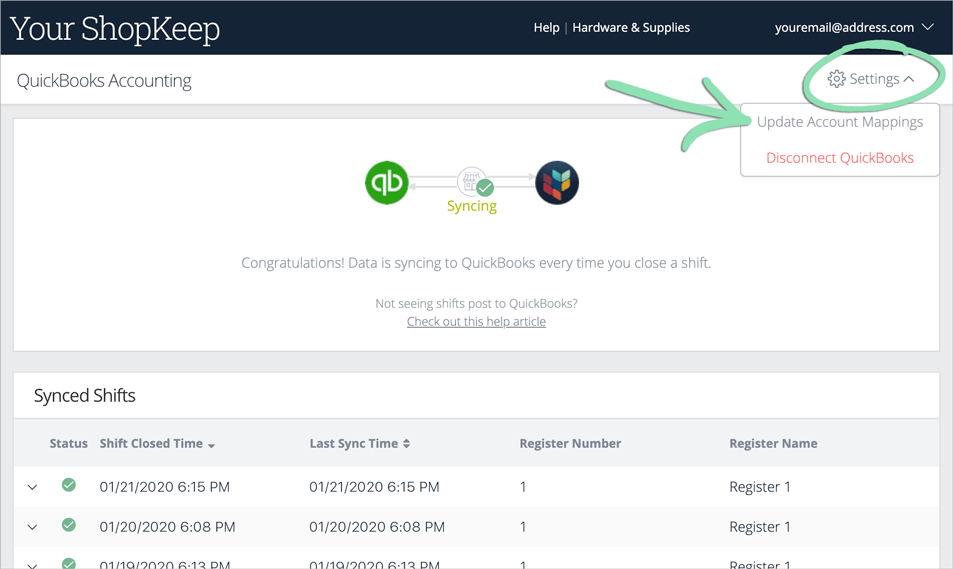
Click ‘Settings’ and select 'Update Account Mapping'.
Click to Enlarge
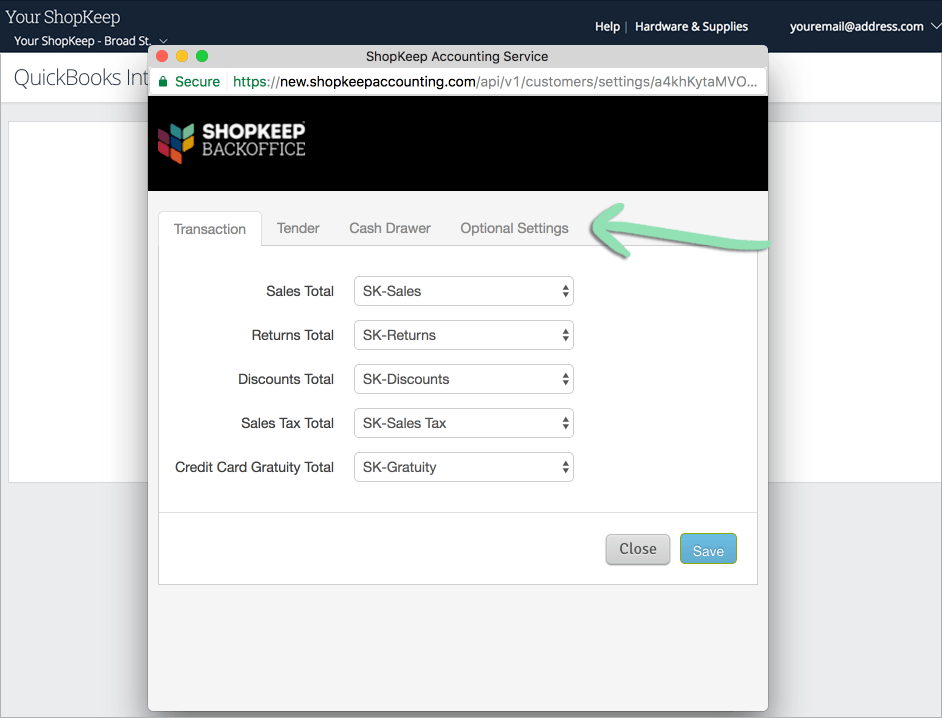
Click through the tabs to navigate the different types of accounts.
Don’t see a pop-up? Learn to disable your pop-up blocker here.
The steps and images in this article apply to Lightspeed Retail accounts created before December 9, 2019. For accounts created on or after December 9, please visit the QuickBooks article here.
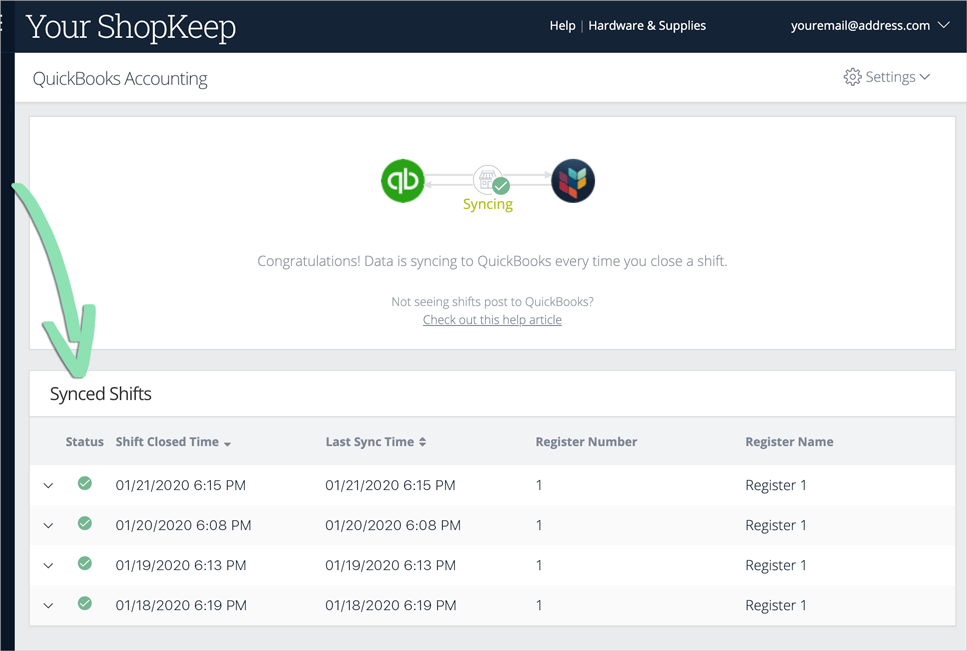
The Synced Shifts table gives details on all closed register shifts sent to QuickBooks after enabling the integration. See when a register shift was closed, check if it synced, and view Journal Entries and Sales Receipts directly in QuickBooks.
Shift Closed Time | Date and time the register shift was closed.
Last Sync Time | Date and time the register shift synced to QuickBooks. If there was an error, this is the date and time the register shift attempted to sync.
Register Number | Number of the register on which the register shift took place.
Register Name | Name of the register on which the register shift took place.
Explore the Journal Entries and Sales Receipt that post to QuickBooks as well as some useful reports.
The steps and images in this article apply to Lightspeed Retail accounts created before December 9, 2019. For accounts created on or after December 9, please visit the QuickBooks article here.
IMPORTANT: Sales tax figures in reporting are estimates based on how you have configured your tax rates and tax groups in BackOffice. For official filings, always verify your current local rates, then manually calculate tax using net taxable and non-taxable revenues. Be aware that tax laws can change at any time and you should contact a tax professional for specific tax advice regarding your business.
To learn how tax is calculated in Lightspeed Retail, visit our Sales by Tax Rate Report article.
Journal Entries
At least one Journal Entry posts for each register shift closed in Lightspeed Retail. If the ‘Post Payouts’ feature is enabled during setup, an additional entry will post. Learn below how to view both the Tenders and Cash Drawer entries in QuickBooks.
Log in to QuickBooks after a register shift is closed.
Click 'Reports'.
Search for 'Journal'.
Select an entry to view.
Tenders Entry | Begins with TE, R# (register), S# (shift), and the date. This posts if there are sales in the register shift and includes the total amount tendered, tax, totals by tender, and gratuity accrued from sales paid for with credit and gift cards. Click for a sample view of the Tenders entry
Cash Drawer Entry | Begins with CD, R#, S#, and the date. This posts if the ‘Post Payouts’ setting is enabled and there are drops or payouts in the register shift. This entry includes safe drops and all types of payouts. Click for a sample view of the Cash Drawer entry
*Both entries also display the opening and closing managers, opening and closing drawer amounts, and any drawer shortage/overage in the ‘Memo’ field.
Sales Receipt
Each register shift also gets a QuickBooks Sales Receipt. The Sales Receipt shows a breakdown of total sales for each Lightspeed Retail department.
Sales Receipt | Begins with SR, R# (register), S# (shift), and the date. This entry posts if there are sales in the register shift. The Sales Receipt includes sales totals by department, total returns, and net discounts. Click for a sample view of the Sales Receipt
Recommended Reports
Check out some frequently used QuickBooks reports, such as the Profit and Loss, Balance Sheet, Sales by Product/Service, and Sales by Department reports.
Balance Sheet | This report shows total assets (cash drawer cash, undeposited funds, ‘buy inventory’ payouts) and liabilities (sales tax, total outstanding gift card balance, and credit card tips). Click for a sample view of the Balance Sheet