If you have not yet enabled Serverless Sync™, we recommend using the Saved Sales Sync feature to sync sales between registers.
Serverless Sync™
Sync saved sales from one Lightspeed Retail register to other registers on the same network with Serverless Sync. Save a sale on a register that uses Lightspeed Retail’s BackOffice servers and view, modify, or close it out from any other register.
Note: This feature is only available on the Retail POS (S-Series) app for iOS. For the Retail POS (S-Series) app on The Mini and The Station, learn about saved sales syncing here.
Table of Contents
Before You Start
To ensure a seamless experience with Serverless Sync, we recommend following these 4 steps:
Update all registers to the latest version of the Retail POS (S-Series) app.
All registers must be using the same version of the Retail POS (S-Series) app for Serverless Sync to work. Learn how to update the Retail POS (S-Series) app here.
Use the latest iPad hardware available from Apple.
In high-volume environments, older devices may experience significant issues such as checks not syncing or register lag. We recommend using the same supported iPad model for all registers. Learn which iPad models are supported here.
Connect to a dedicated WiFi router.
For the best performance, we highly recommend connecting all iPads directly to a dedicated WiFi router not shared with other devices.
Do not connect to public or shared WiFi. If you must use public WiFi, bridge the connection with a range extender to create a secure network.
Ensure registers are set up within 30 feet of the router and have at least two WiFi signal bars lit up.
Operate no more than 4 registers in one location with Serverless Sync.
This is a suggestion, not a specific requirement. With over four registers, troubleshooting becomes more difficult and syncing issues may increase.
Set Up Serverless Sync
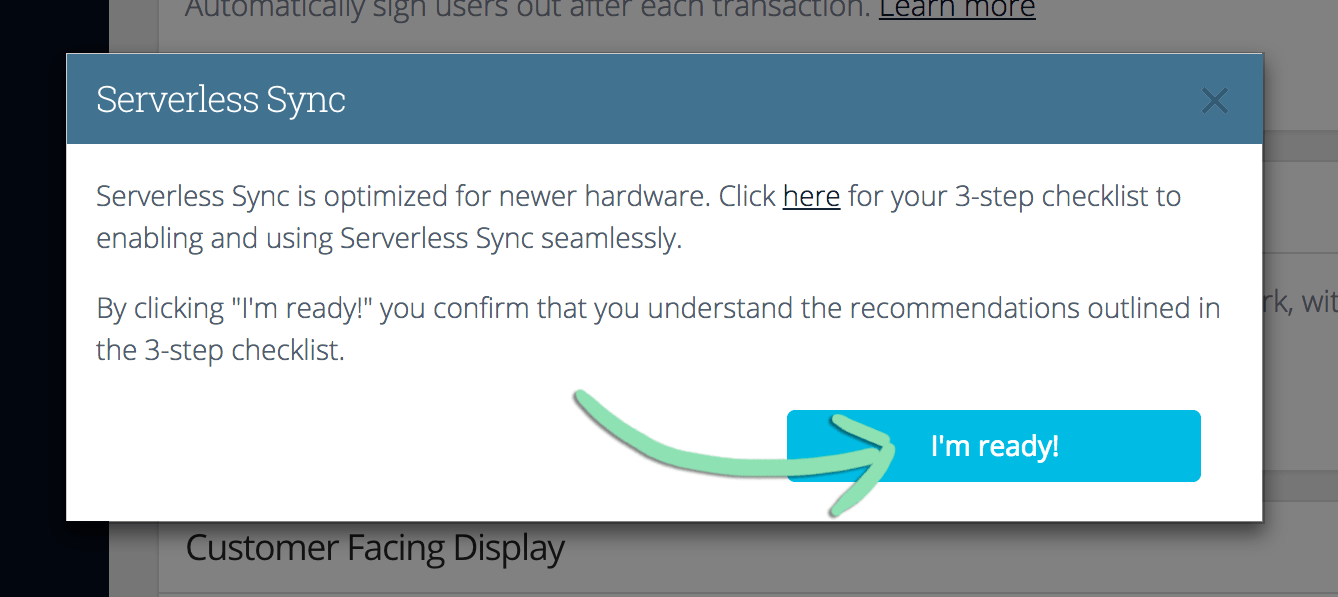
Enabling Serverless Sync is a multi-step process requiring access to both BackOffice and the iPad registers. Follow these steps to turn on this feature and get started sharing saved sales across registers.
In Settings, tap 'Display & Brightness' and set 'Auto-Lock' to 'Never'.
Click to Enlarge
Registers only sync when the Retail POS (S-Series) app is running – if the screen is locked or the app is running in the background, registers will not stay in sync.
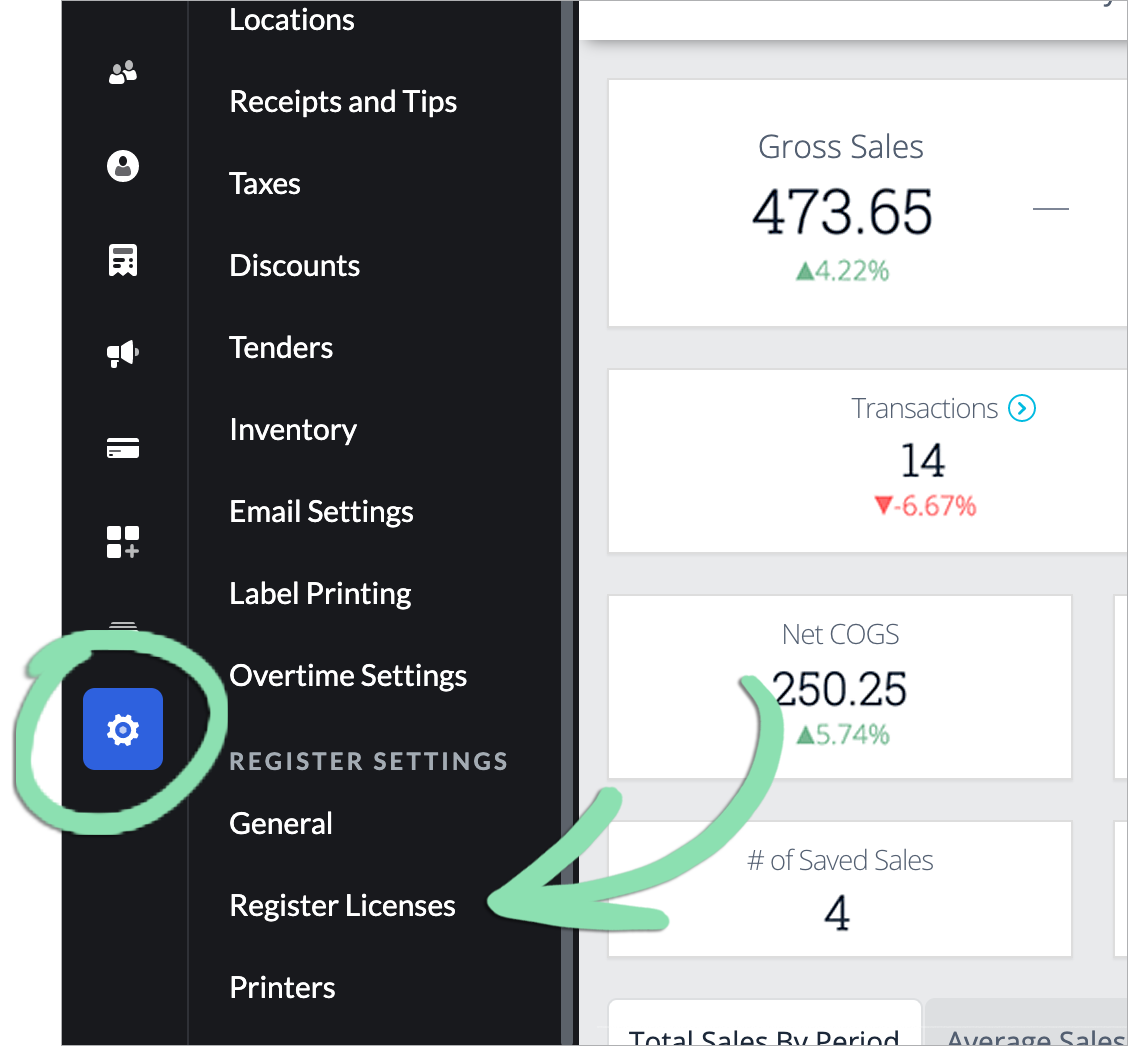
Open the Retail POS (S-Series) app and sign in as a Manager.
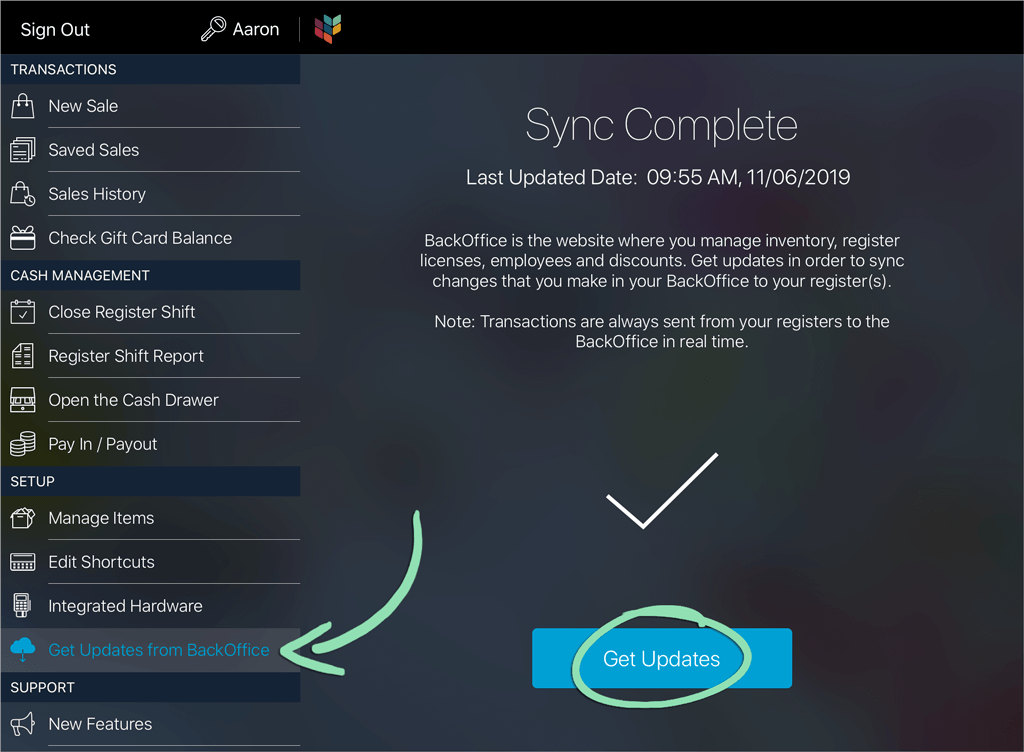
Serverless Sync shares saved sales with all iPads using Lightspeed Retail’s BackOffice servers. Learn how to view saved sale information on each register and see which registers are connected.
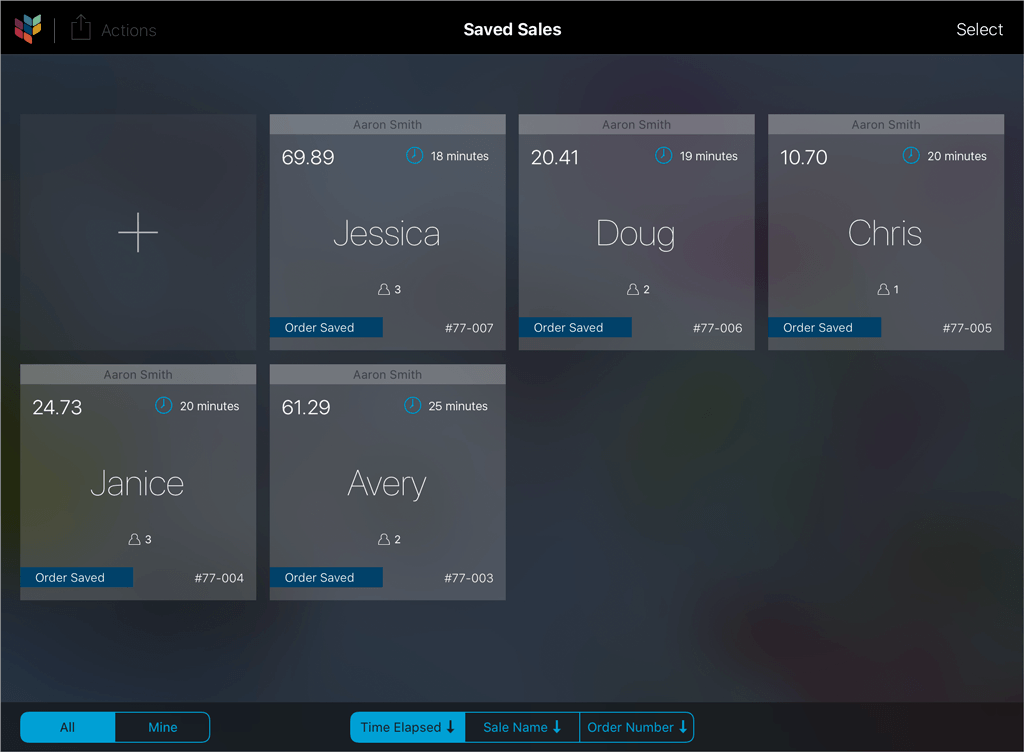
View Saved Sales
With Serverless Sync enabled, view saved sales from the Saved Sales screen on any register.