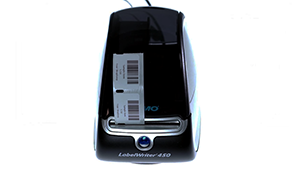
The DYMO LabelWriter 450 and 550 label printers make it easy to print barcode labels for your items so they can be scanned at the register. Connect the printer to a computer and load a roll of blank labels to set it up.
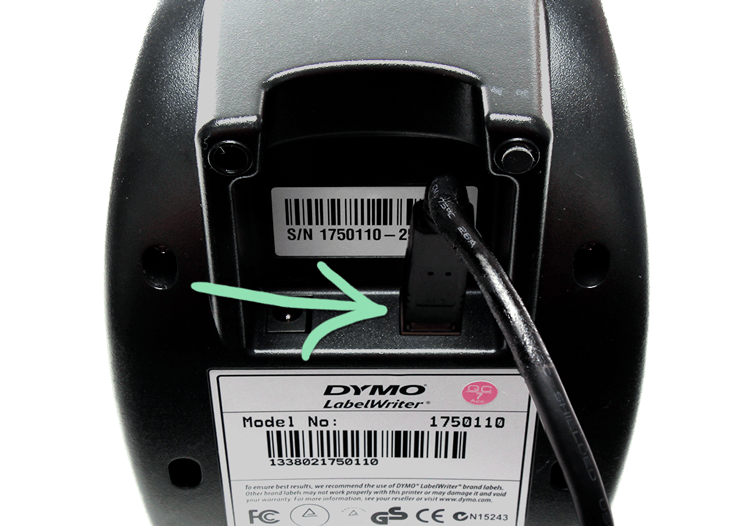
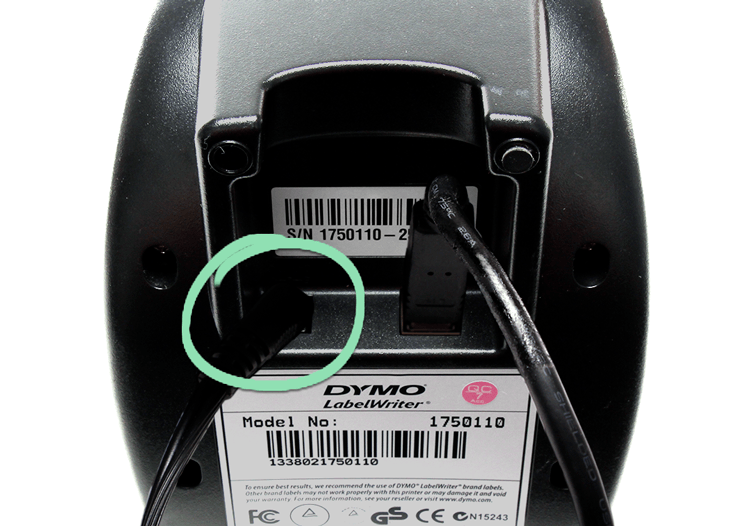
The DYMO printer must be connected to a desktop or laptop computer running Windows or macOS, it cannot be connected to an iPad. After setup, additional steps are required to install the DYMO drivers.
Watch our setup video below:
Table of Contents
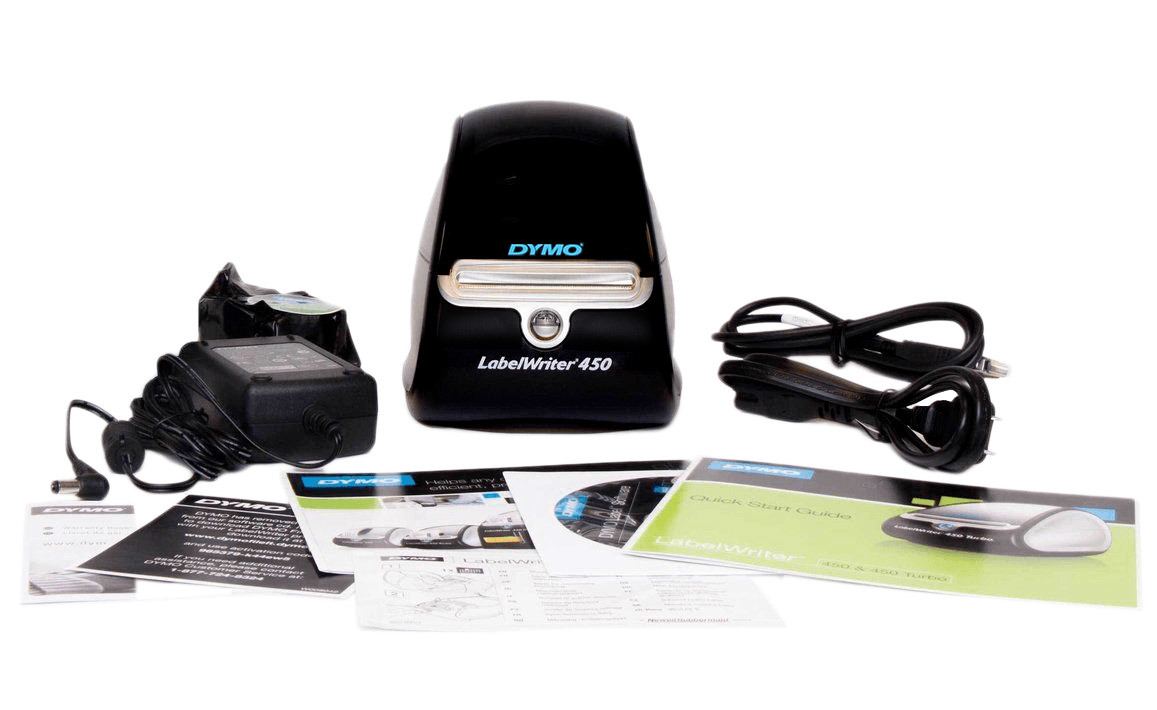
In the Box
The DYMO LabelWriter 450 and 550 label printers ship with the parts listed below.
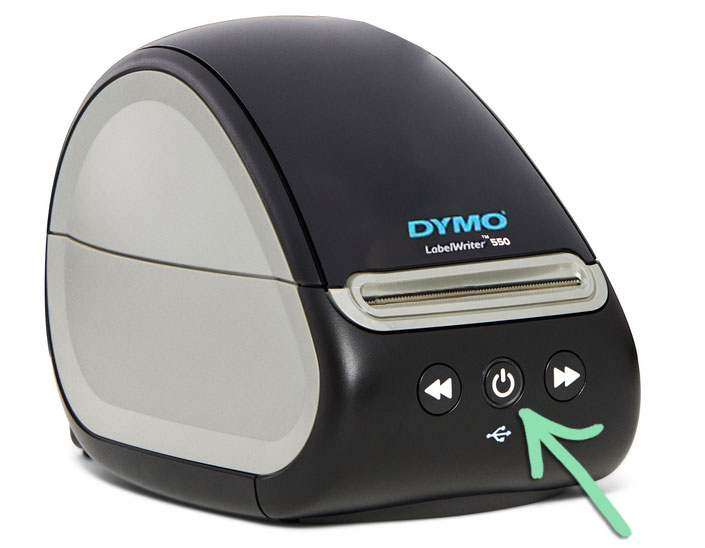
If using the DYMO LabelWriter 550 model, press the power button to turn it on.
Click to Enlarge
Follow the steps below to load labels into the printer.
Load DYMO Labels
Load a roll of labels into the printer so you can print with the DYMO LabelWriter printer.
The printer comes with address labels which are not compatible with Lightspeed Label Printing. Only official DYMO labels will work with the LabelWriter 550 model. Order compatible DYMO-branded labels here.
Lift open the top of the printer and remove the spool.
Pull the spool apart to separate it into two pieces.
Load labels onto the spool, then push the two halves of the spool back together.
Do not leave any space between the labels and the sides of the spool.
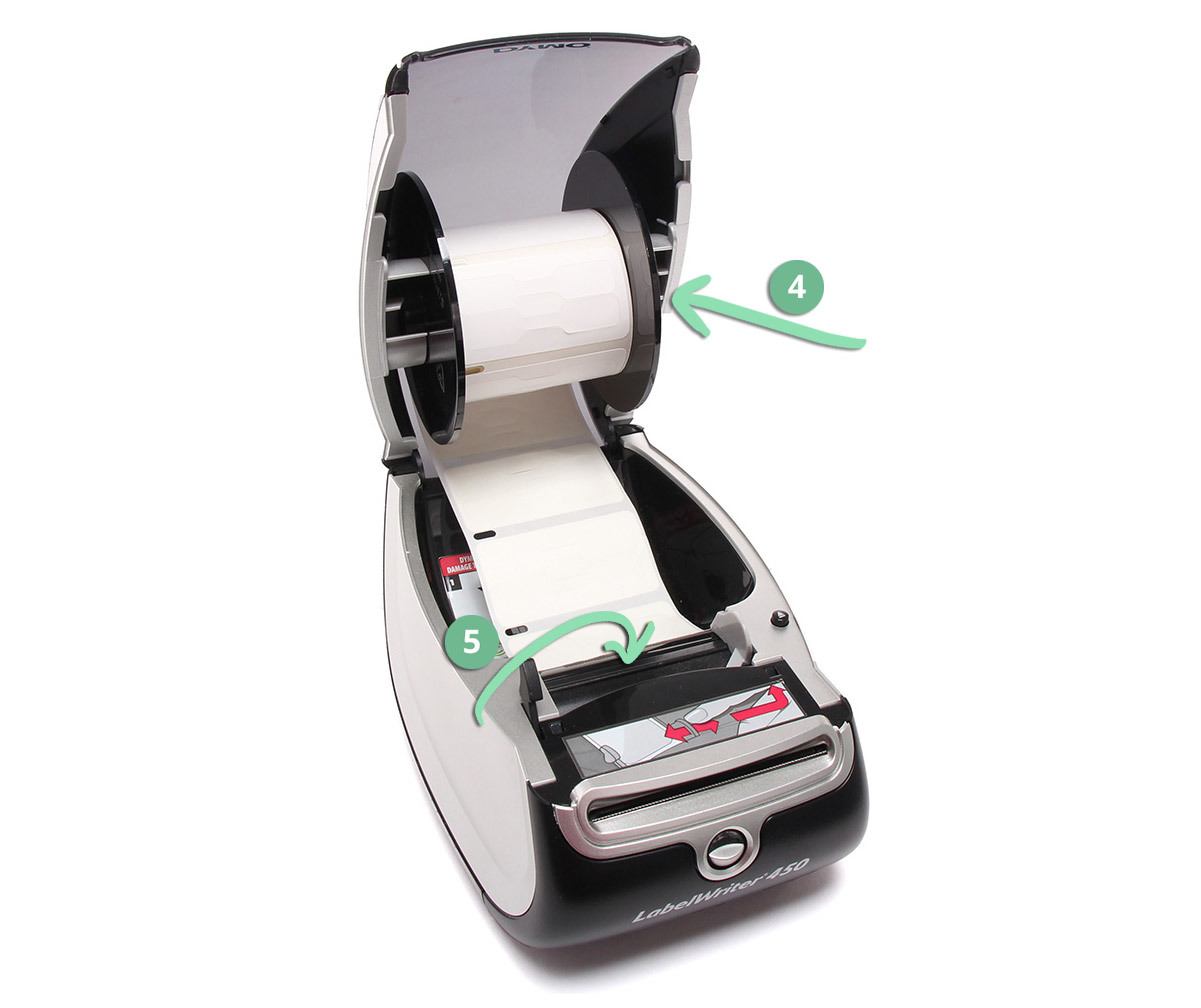
Load the spool into the printer's lid, as far left as possible.
Align the labels with the left side of the printer and insert them into the slot.
Labels must feed from the bottom of the roll as shown below.
The LabelWriter 450 will automatically feed the labels through the printer once inserted, but the LabelWriter 550 must be manually fed (see step 6).