First Data FD130 / FD150 Credit Card Terminal Setup
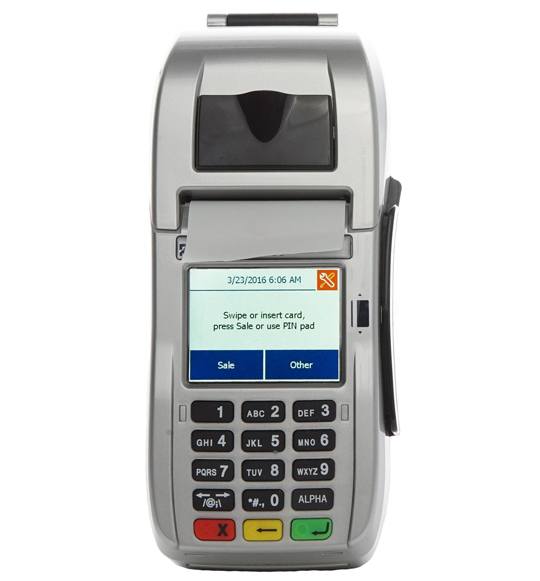
The touchscreen FD130 and FD150 credit card terminals allow credit card processing over a telephone line or ethernet connection. Learn how to set up this terminal to begin accepting EMV chip cards, swiped cards, and contactless payments, such as Apple Pay.
IMPORTANT: These ShopKeep Payments by Lightspeed devices are external devices and do not integrate with the Retail POS (S-Series) app. These devices are only available to ShopKeep Payments by Lightspeed merchants.
Need additional help with the FD130/FD150 credit card reader? Contact First Data support here
Table of Contents
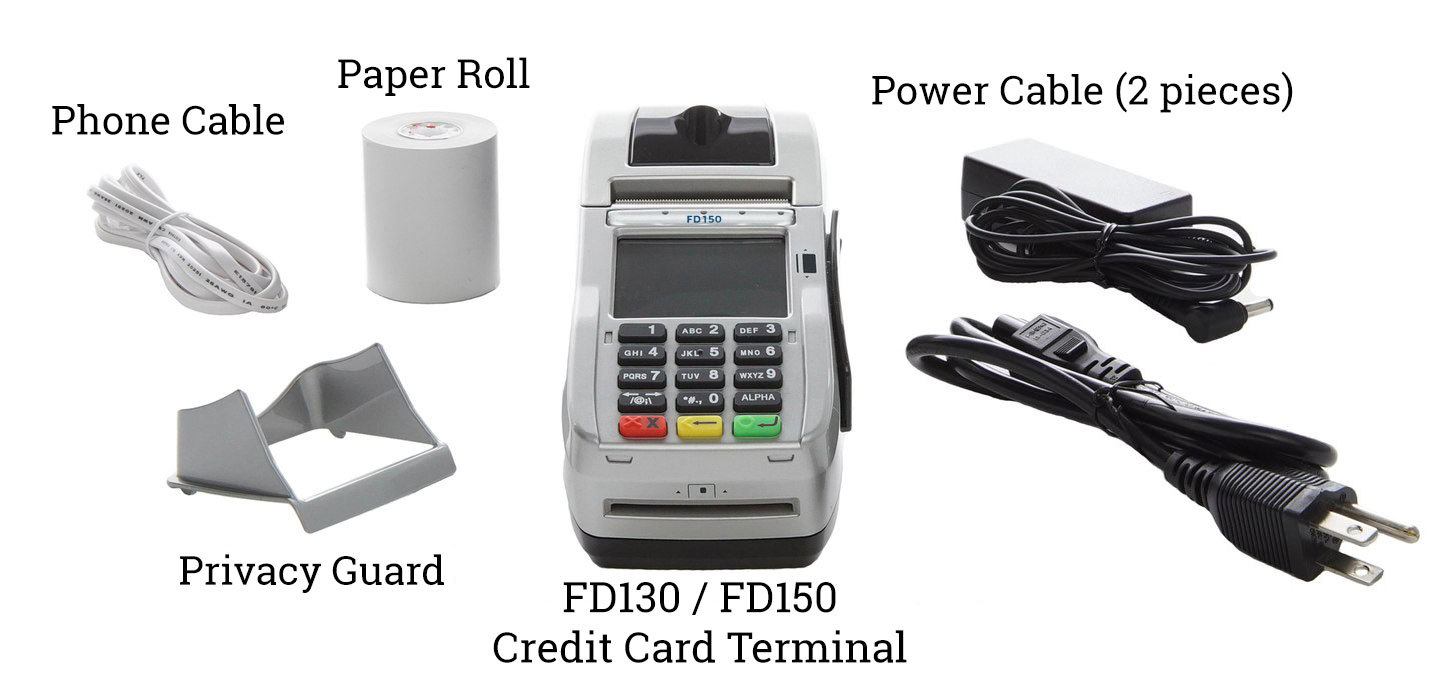
In the Box
The First Data FD130 and FD150 Credit Card Terminals ship with the parts listed below.
Thermal paper roll (terminal does not require ink)
Installation guide (not pictured)
Connect the Terminal
Before anything else, connect the FD130 or FD150 via phone line or ethernet cable* and plug it into power. The credit card terminal needs a connection to be able to communicate with the processor and run transactions. *Ethernet cable must be purchased separately.
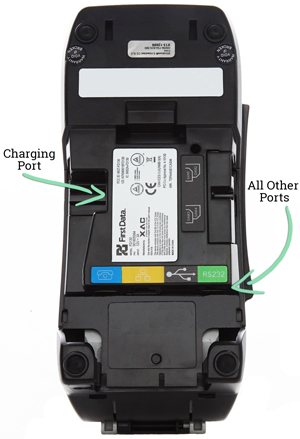
Remove the cover from the bottom of the terminal.
Plug an ethernet cable (sold separately) into the yellow port, OR plug the included phone cable into the blue port.
An ethernet connection is recommended for faster transaction speeds.
Plug the other end of the ethernet cable into a numbered port on the router.
If using the telephone line, plug the other end of that cable into an analog telephone wall jack that is not shared with other devices.
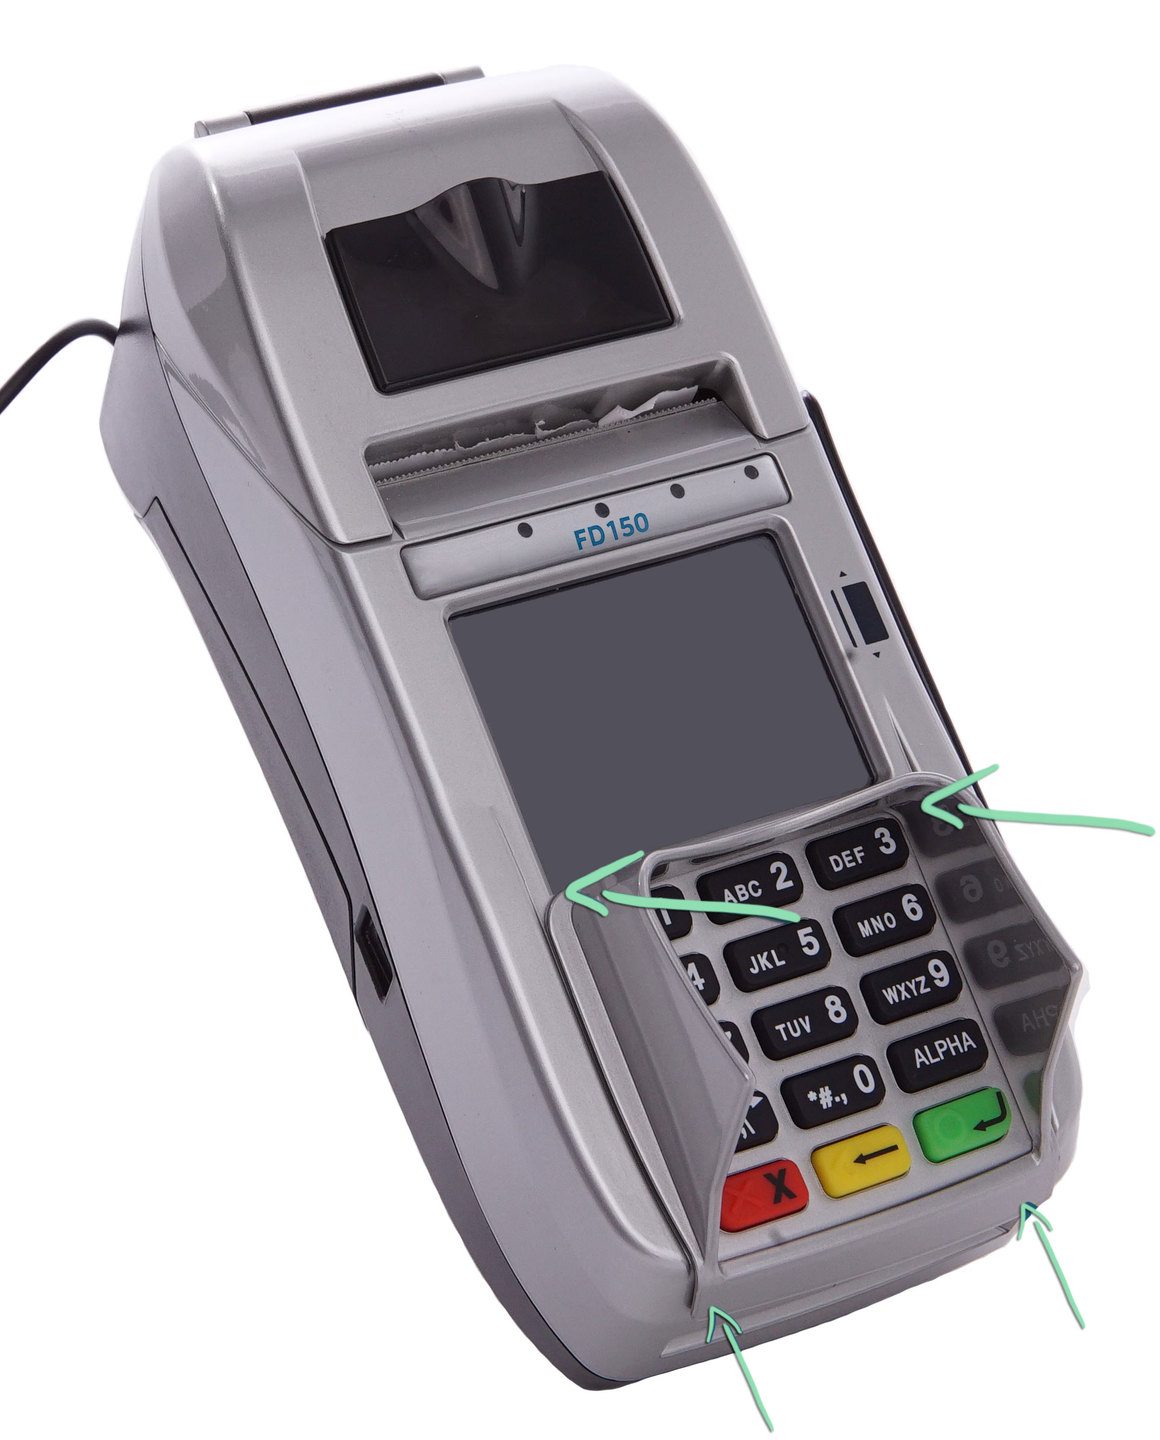
Attach the optional privacy guard included with the FD130 and FD150 to shield customers if they are prompted to enter their PIN on the terminal.
Align the notches on the guard with the bottom of the terminal.
Press down on the top of the guard to snap it into place.
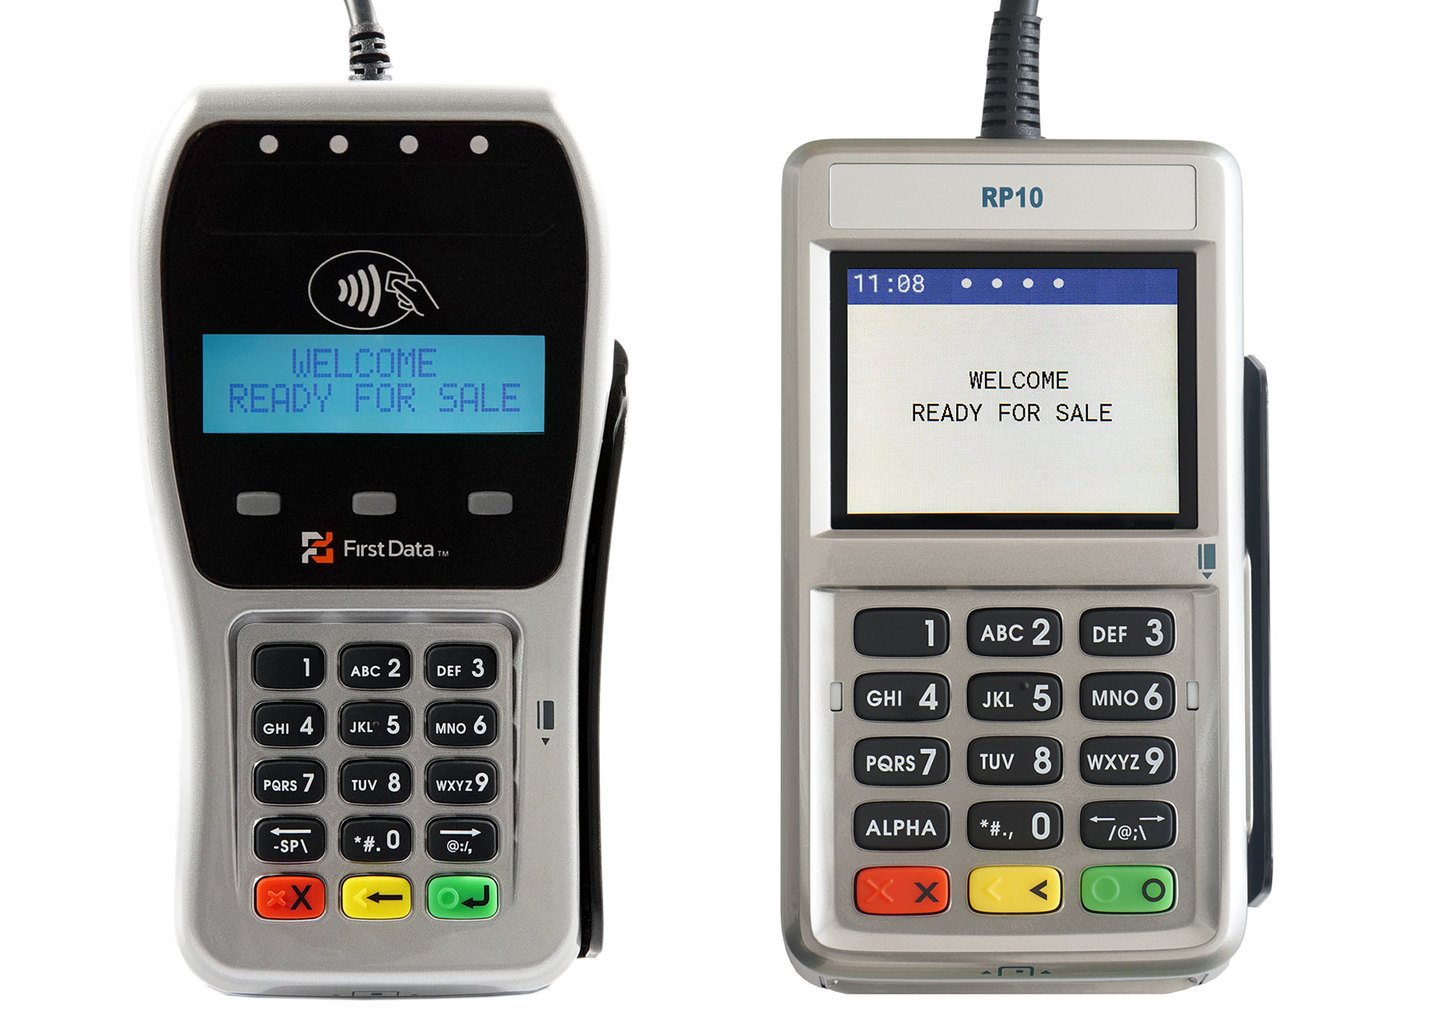
PIN Pad Installation
The optional FD35 and RP10 PIN pads (sold separately) are customer-facing devices that connect to the FD130 and FD150 terminals respectively and allow customers to quickly insert, swipe, or tap their card.
IMPORTANT: The FD130 or FD150 terminal must be unplugged from power before connecting or disconnecting a PIN pad. Failure to do so will damage the PIN pad.
The FD35 PIN pad is only compatible with the FD130 terminal, and the RP10 PIN pad is only compatible with the FD150 terminal.
Need additional help setting up the PIN pad? Contact First Data support here.
Remove the back cover of the FD130 or FD150 terminal, and unplug the power cable.
Connect the PIN pad cable to a black USB port on the terminal.
Reconnect the power cable to the FD130 or FD150, and replace the back cover.
The PIN pad will turn on automatically and display Welcome Ready for Sale or Insert or Swipe Card when ready to use.