WN2500RP Wireless Range Extender Setup

The Netgear WN2500RP Range Extender can repeat your existing network to extend its reach. Plug in an ethernet receipt or ticket printer if you can’t run a cable directly to the router.

Check out our full WN2500RP setup video:

WN2500RP Network Extender Setup

Table of Contents

In the Box

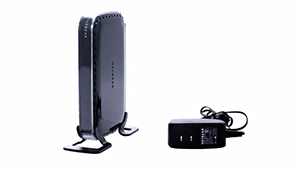
The Netgear 2500RP Wireless Range Extender ships with the parts listed below.

  • Netgear WN2500RP Wireless Range Extender
  • Power adapter
  • Plastic feet (for vertical setup)
  • User manual
  • Connect to Power

    Before you can connect the extender to your network, you must plug it into a power outlet and turn it on.

    Range extenders and repeaters are NOT recommended for use with Serverless Sync™.

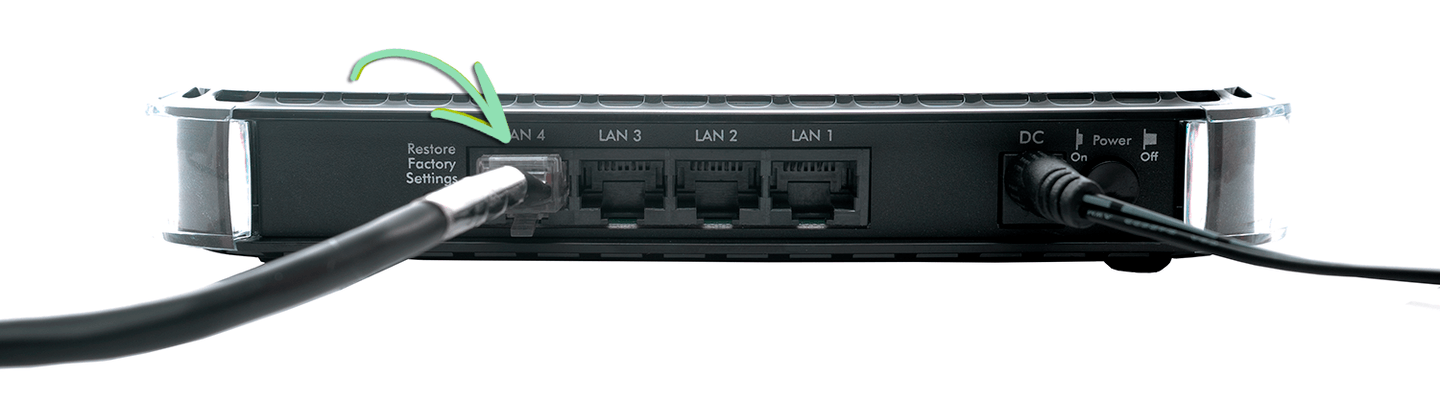
    1. Plug the power cable into the round port on the extender.
    2. Plug the other end of the power cable into a power outlet.
    3. Press the power button.
    4. Wait for the power light to turn solid green.
    5. Follow the steps below to connect the extender to your network.

    Connect to Wi-Fi

    Connect the extender to your network so it has internet access. Pick Automatic WPS Setup if your router supports it (look for a button labeled “WPS” or check the user guide). Otherwise, scroll down to Manual Setup.

    Automatic WPS Setup

    WPS (Wi-Fi Protected Setup) allows you to connect the extender to your router without having to manually enter the network password.

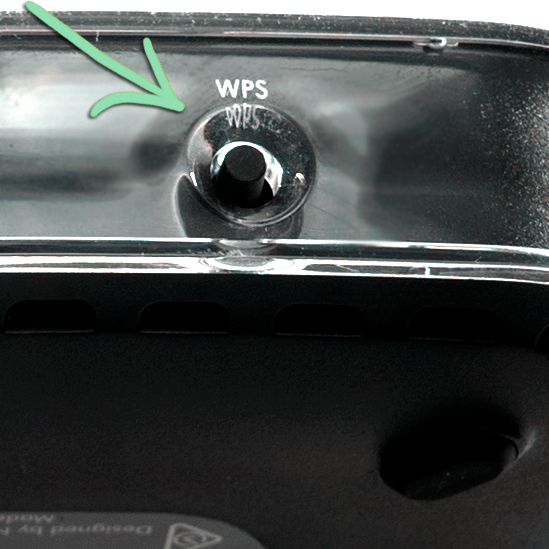
    1. Press the WPS button on the side of the extender.
    2. Wait for the WPS light to begin blinking.
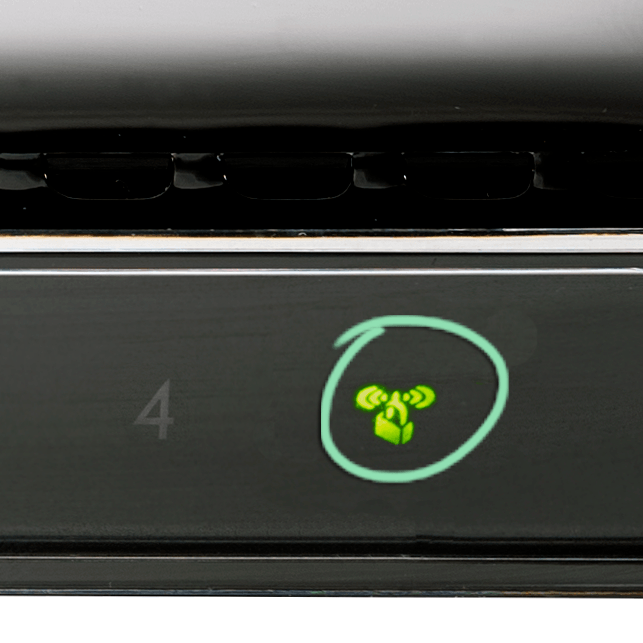
    3. Press the router’s WPS button and wait for the extender’s 2.4G light to turn green/amber/red.

      This must be done within 2 minutes of pressing the extender’s WPS button.

    4. (Optional) Repeat steps 1-3 to also extend your router’s 5 GHz band.
    5. Unplug the extender from power, place it halfway between the router and iPad, and plug it back in.

    The extender creates new Wi-Fi network(s) that begin with your router’s Wi-Fi name + “_2GEXT” or “_5GEXT”. They use the same password as your router.

    Manual Setup

    If your router does not support WPS, you can still set up the extender manually from your iPad’s web browser.

    1. On your iPad, connect to the NETGEAR_EXT Wi-Fi network.

      Visit our Introduction to the iPad article for help connecting to a Wi-Fi network.

      Click to Enlarge
    2. Open the Safari app and visit www.mywifiext.net.
    3. Enter your login credentials and tap 'Log In'.

      The default username is admin and the default password is password.

    4. Tap 'New Extender Setup'.
      Click to Enlarge
    5. Enter your information on the 'Create Account' page and tap 'Next'.
    6. Tap 'WiFi Range Extender'.
      Click to Enlarge
    7. Select your existing Wi-Fi network from the list and tap 'Next'.

      If your router does not have a 5GHz band, uncheck the 5GHz option before tapping ‘Next’.

    8. Enter your existing Wi-Fi password(s) and click 'Next'.
      Click to Enlarge
    9. (Optional) Change the name and password of the extender's network(s) and press 'Next'.

      In most cases, it’s best to leave these options set to their defaults.

      Click to Enlarge
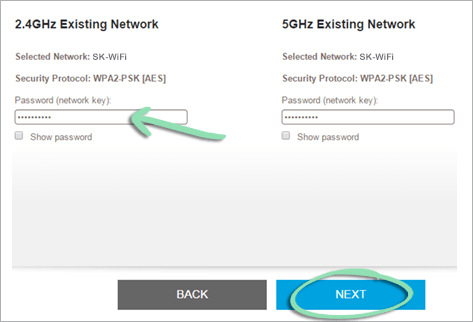
    10. Connect the iPad to one of the new extended Wi-Fi networks and tap 'Continue' in the Netgear wizard.

      Unless you made changes in the previous step, the extender’s new network(s) begin with your router’s Wi-Fi name + “_2GEXT” or “_5GEXT” and use the same password as your router.

    11. Tap 'Next'.
      Click to Enlarge
    12. (Optional) Fill out the product registration form and tap 'Finish'.

      Or tap ‘Skip Registration’ to skip this part.

      Click to Enlarge
    13. Unplug the extender from power, place it halfway between the router and iPad, and plug it back in.

    Connect a Printer

    After linking the WN2500RP to your network, connect a receipt printer or ticket printer to use with the Lightspeed Retail POS.

    1. Connect your printer to one of the numbered LAN ports on the back.
    2. Open the iPad’s Settings app, tap 'Wi-Fi', and connect to the extender’s network.
    3. Open the Retail POS (S-Series) app and set up your printer.

      For help setting up your printer, visit one of the support articles below:

    Restore to Factory Settings

    Reset your extender to factory settings if you need to change which network it extends.

    1. Press and hold the 'Restore Factory Settings' button for about 7 seconds.
    2. Release the button when the power light blinks amber.
    3. Wait for the power light to turn solid green.
    4. Repeat the network setup steps to have the WN2500RP extend a different network.