From automatic receipt printing to automatic sign-out, check out these optional Lightspeed Retail POS settings you can customize from the iPad’s Settings app.
If using the Retail POS (S-Series) app for Android, most of these settings are available from the ‘Setup’ section of the register menu.
Table of Contents
Open Retail POS (S-Series) App Settings
Open the Retail (S) section of the iPad’s Settings app to access a variety of optional register settings, such as automatic receipt printing.
For the Retail POS (S-Series) app for Android, access most of these settings from the ‘Setup’ section of the register menu.
The ‘Bluetooth’ setting controls whether the Retail POS (S-Series) app can access devices connected to the iPad via Bluetooth, such as receipt printers, credit card readers, and barcode scanners. You will be prompted to enable this setting after opening the Retail POS (S-Series) app for the first time but can toggle it off or back on here as desired.
Note: This setting is only available for the Retail POS (S-Series) app for iOS.
The ‘Local Network’ setting controls whether the Retail POS (S-Series) app can access devices that are connected to your router, such as receipt printers and credit card readers. You will be prompted to enable this setting after opening the Retail POS (S-Series) app the first time but can toggle it off or back on here as desired.
Note: This setting is only available for the Retail POS (S-Series) app for iOS.
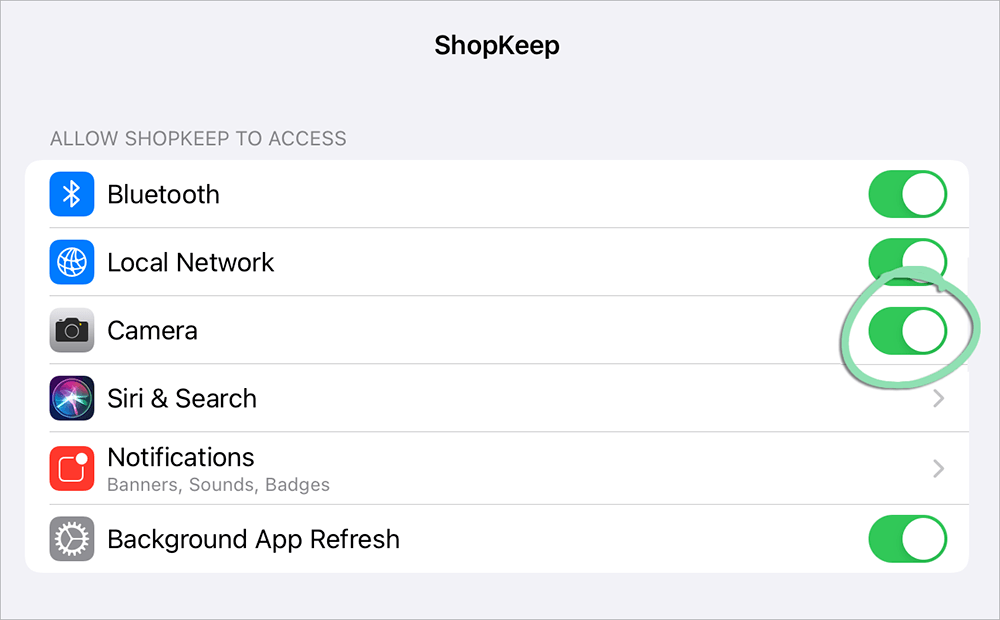
The ‘Camera’ setting controls whether the Retail POS (S-Series) app can use the iPad’s camera to scan gift card barcodes. After the initial attempt to scan a gift card, you can toggle camera access off or on from here.
Note: This setting only appears on the Retail POS (S-Series) app for iOS after trying to scan a gift card barcode. For the Retail POS (S-Series) app for Android, visit Android Support to learn how to change camera settings.
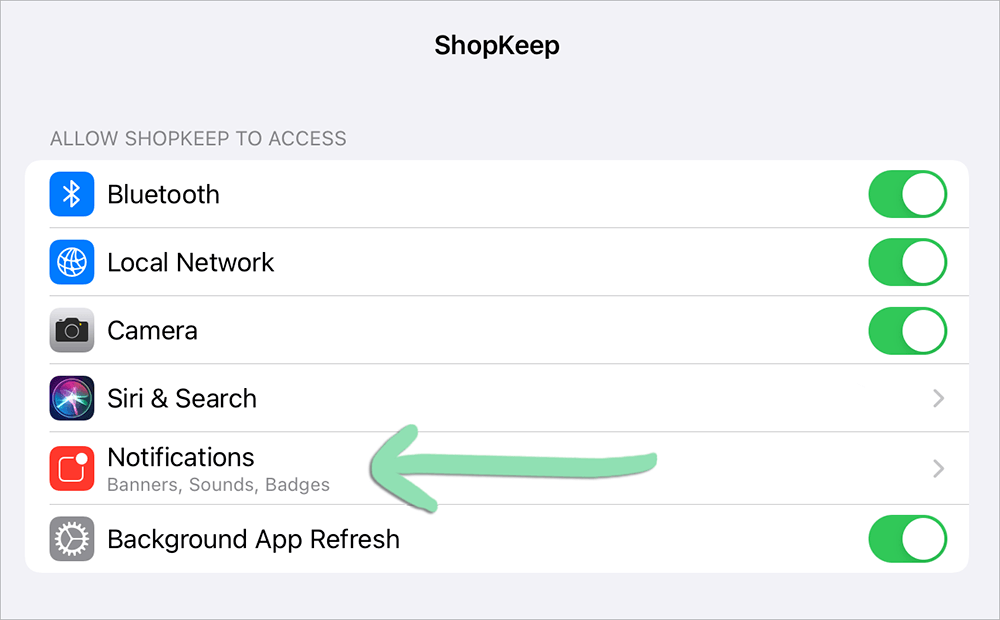
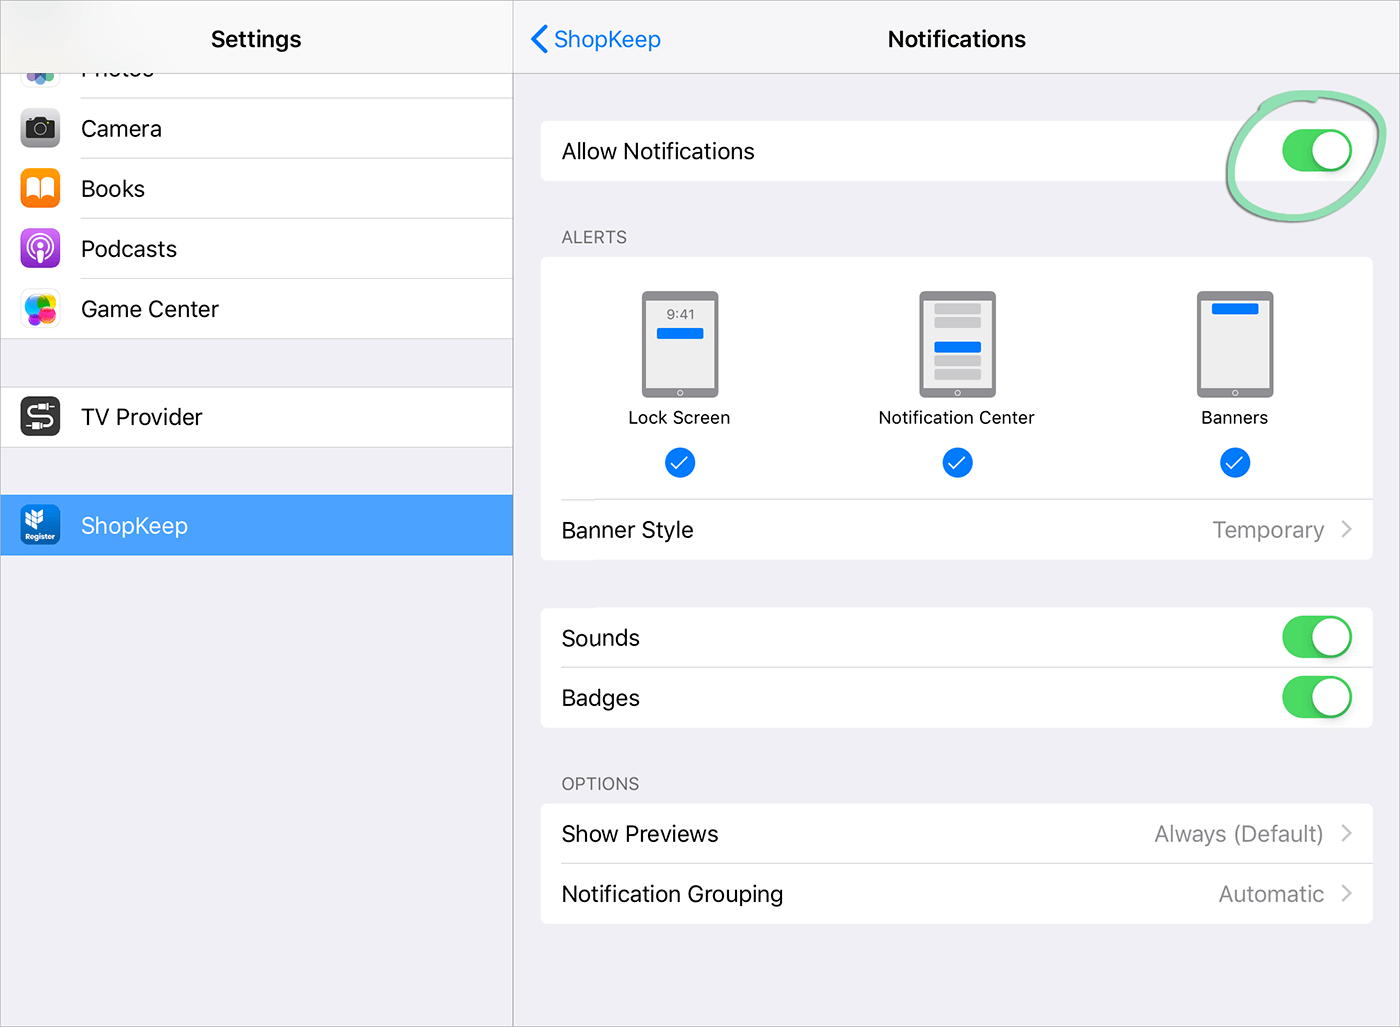
Notifications alert you with updates on matters affecting your Lightspeed Retail account, such as when there is a service disruption. After enabling this feature, you can toggle notifications off or on and customize notification settings.
Note: Notification settings are only available on the Retail POS (S-Series) app for iOS and only appear in the Settings app after enabling notifications.
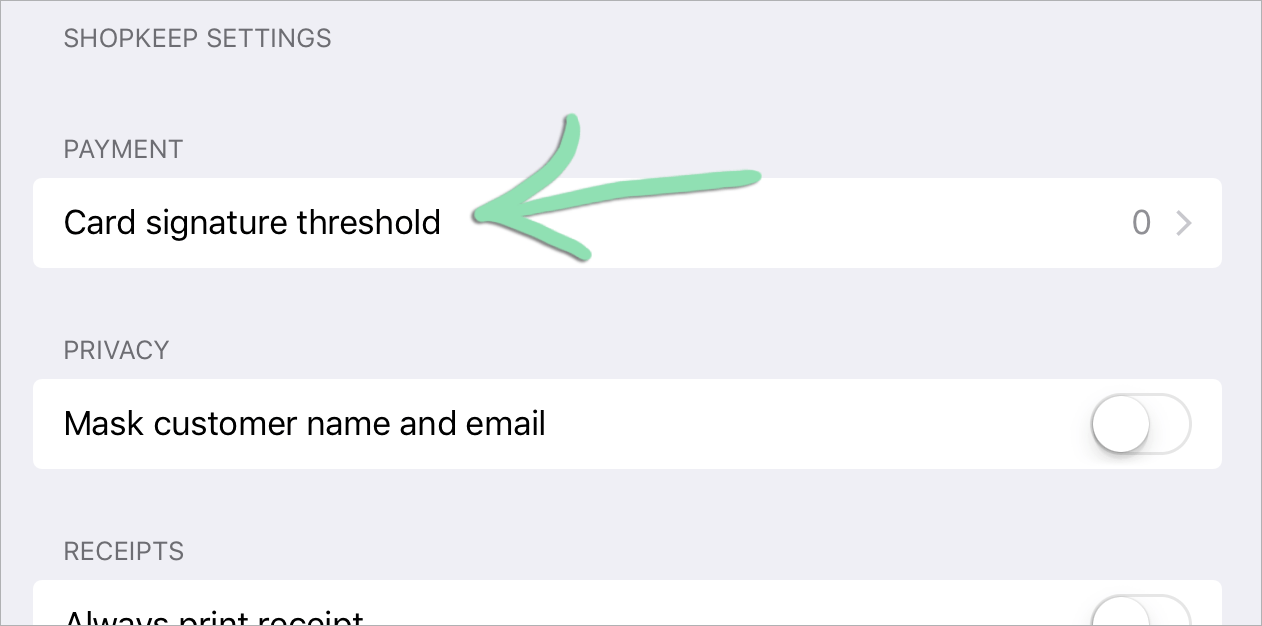
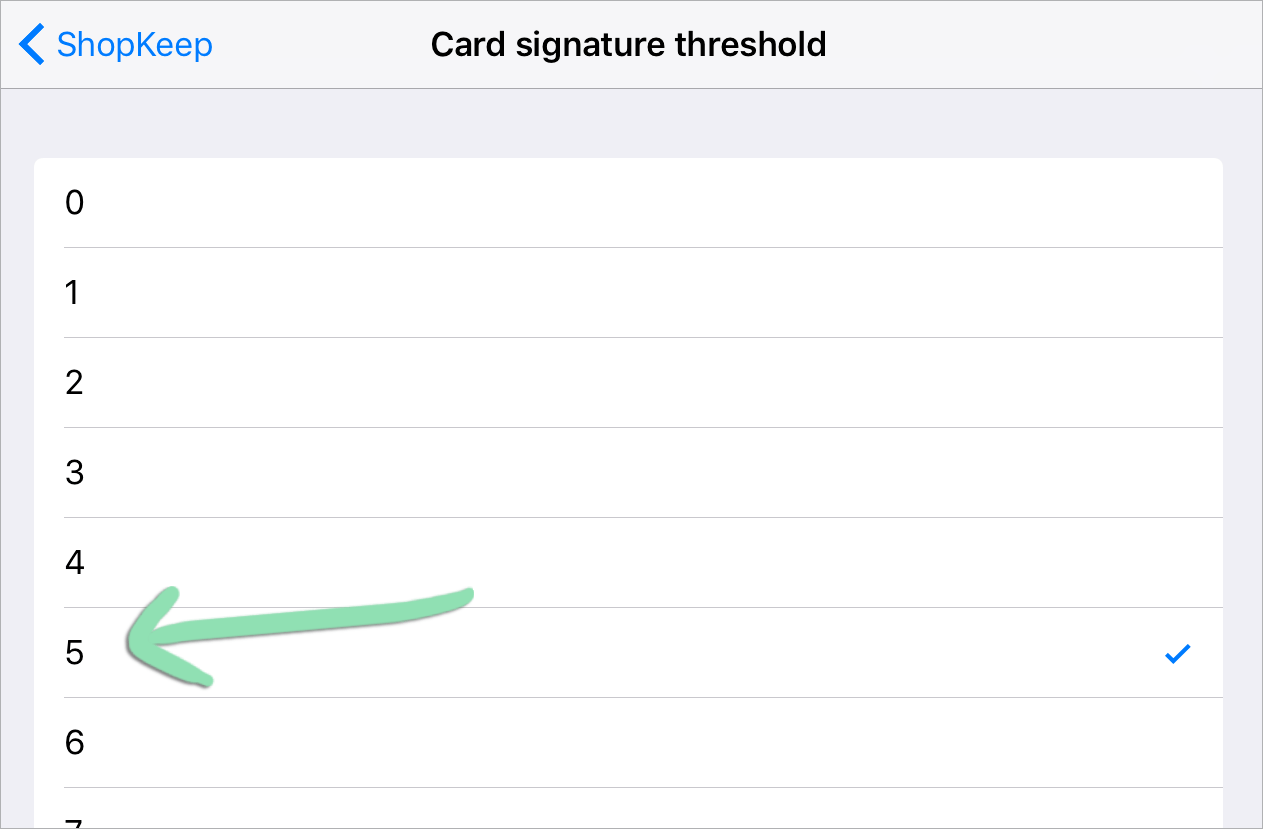
The signature threshold is the amount that determines if a customer needs to sign for a credit transaction. Any sale below the selected threshold will not require a signature.
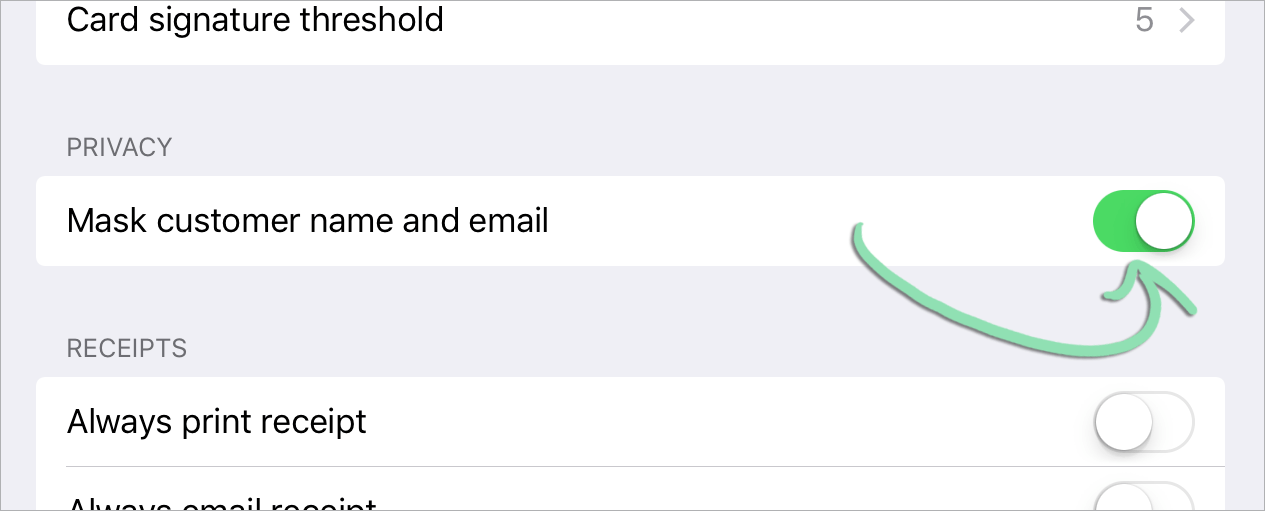
Switch on an automatic receipt setting so cashiers don’t have to manually select a receipt option at the end of each sale. Enable barcodes on receipts to make it easier to look up a transaction at the register.
Need help setting up receipts? Visit our Receipt Setup article.
Always print receipt | When enabled, the ‘Print Receipt’ option will be automatically selected at the end of each transaction. Always email receipt | When enabled, the ‘Email Receipt’ option will be automatically selected at the end of transactions tagged to a customer with an email address on file. The customer’s email address will also be prefilled in the ‘Email Receipt’ field. Show transaction # barcode on receipt | When enabled, a barcode will print at the bottom of receipts. Scan the barcode on the Sales History screen to quickly locate the transaction. In the Retail POS (S-Series) app for Android, there is no setting to toggle as barcodes automatically print on receipts. Show sale name on receipt | When enabled, the name assigned to a saved sale will print at the top of the receipt. If a receipt is printed without first saving the sale, the order number will print instead. This setting is only available in the Retail POS (S-Series) app for iOS.
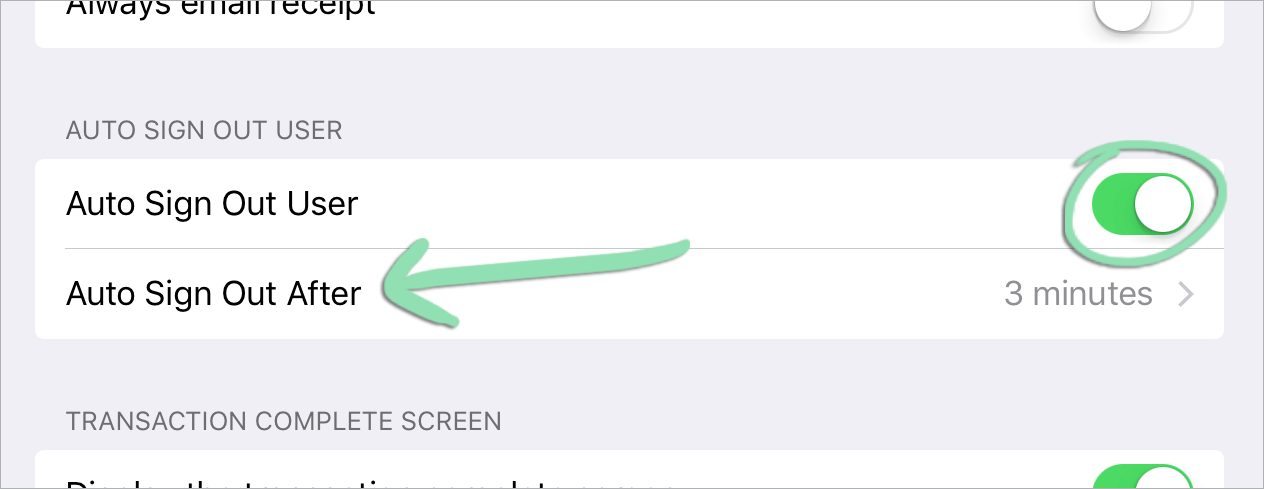
Auto Sign Out User
To prevent the register from staying signed in when no one is using it, enable the ‘Auto Sign Out User’ setting. Employees are automatically signed out of the register after they are idle for the selected amount of time.
To learn how to automatically sign employees out after every transaction, visit the Auto Signout article.
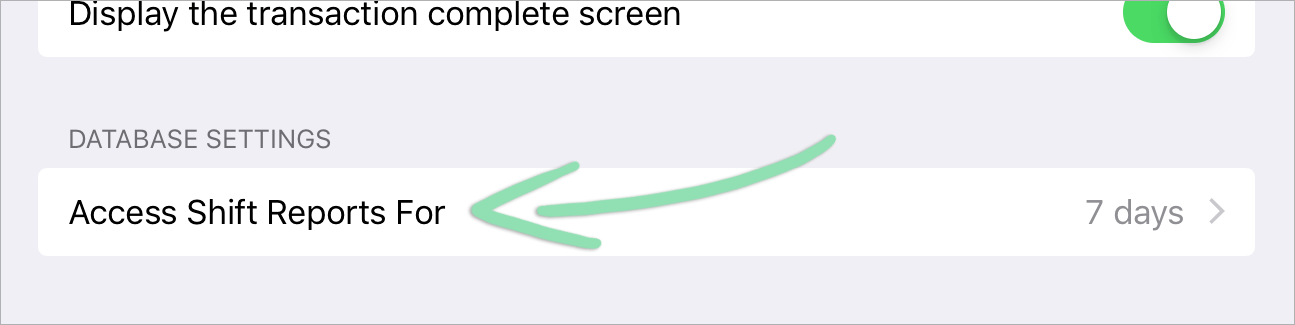
Change database settings to adjust the time frame that register shift reports for previous register shifts are visible on the Retail POS (S-Series) app. By default, register shift reports from the previous 7 days are accessible, but this can be changed to show 2 days instead.
Note: This setting is only available on the Retail POS (S-Series) app for iOS. The Retail POS (S-Series) app for Android currently shows shift reports from the previous 2 days.