BackOffice is where you set up your business in Lightspeed Retail. Import the grocery store’s inventory items, set up receipts and item shortcuts, and explore additional features selected to help you run the business.
Table of Contents
Import Inventory Items
Grocery stores usually carry thousands of different SKUs, making it impractical to set up items one at a time. Import your entire inventory at once from a spreadsheet for a more efficient experience.
If you have questions about importing or managing items, visit our Inventory FAQ.
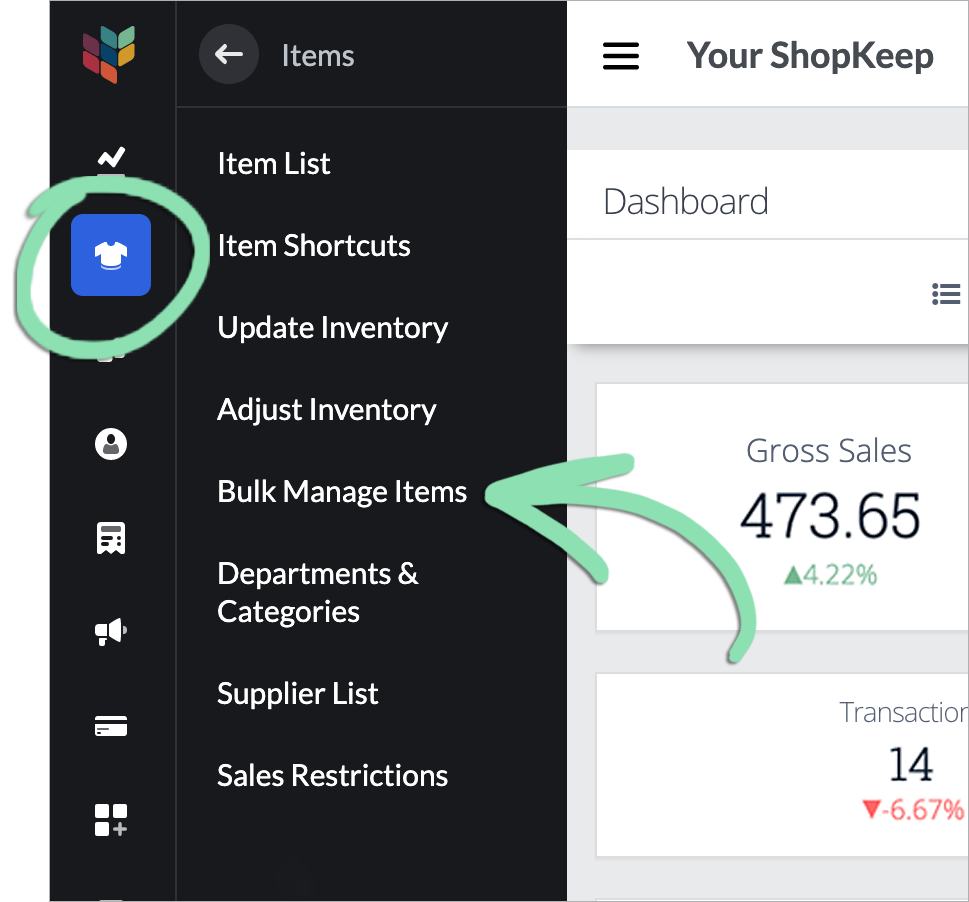
In BackOffice, click 'Items' and select 'Bulk Manage Items'.
Click to Enlarge
Select 'New Job'.
With 'Create New Items' selected, click 'Next'.
Click to Enlarge
Follow the steps in our support article to fill in and import the template.
Paper Receipt Setup
Enter the business details that will appear on customer receipts, plus any additional information you want printed at the bottom, in BackOffice or from the Retail POS (S-Series) app (Business Owners only).
Most grocery stores prefer to print receipts. To learn how to set up email receipts, visit our Receipt Setup article.
Sign into BackOffice as an employee with the relevant permissions or the Retail POS (S-Series) app as the Business Owner, and open receipt settings.
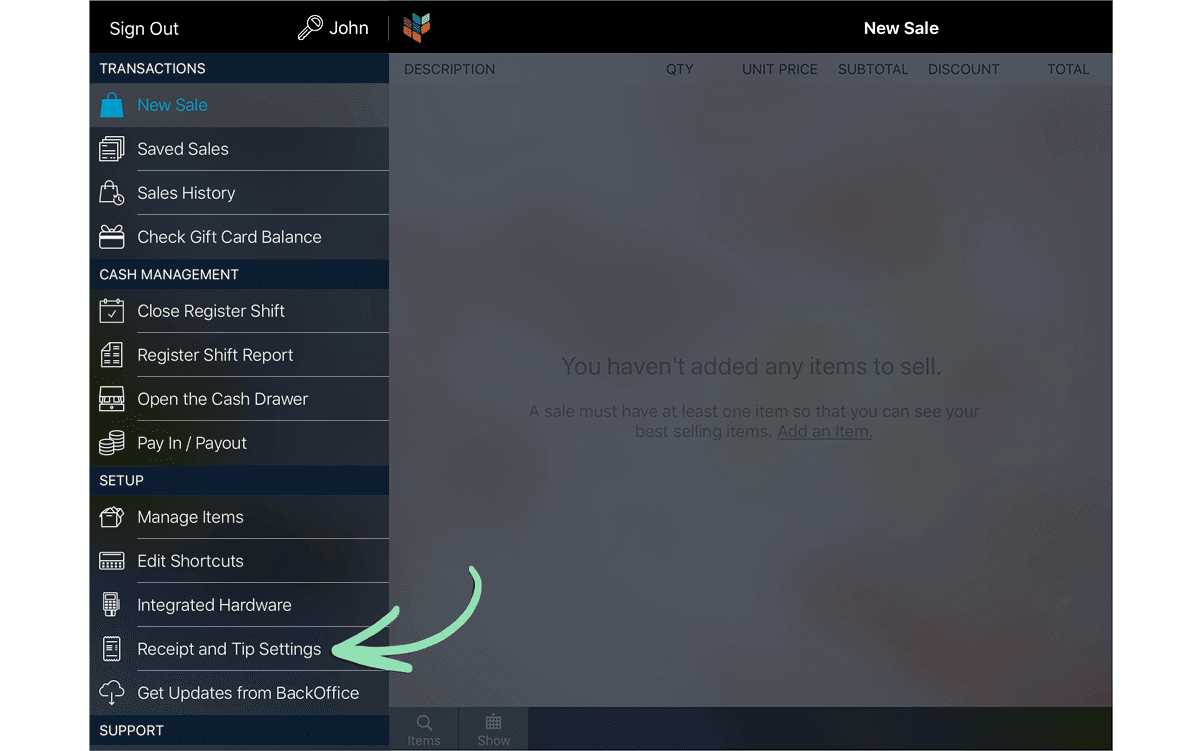
In BackOffice, click ‘Settings’ and select ‘Receipts and Tips’.
In the Retail POS (S-Series) app for iOS, select ‘Receipt and Tip Settings’ from the Main Menu. For the Retail POS (S-Series) app for Android, tap ‘Setup’ on the register menu, then select ‘Receipt and Tip Settings’.
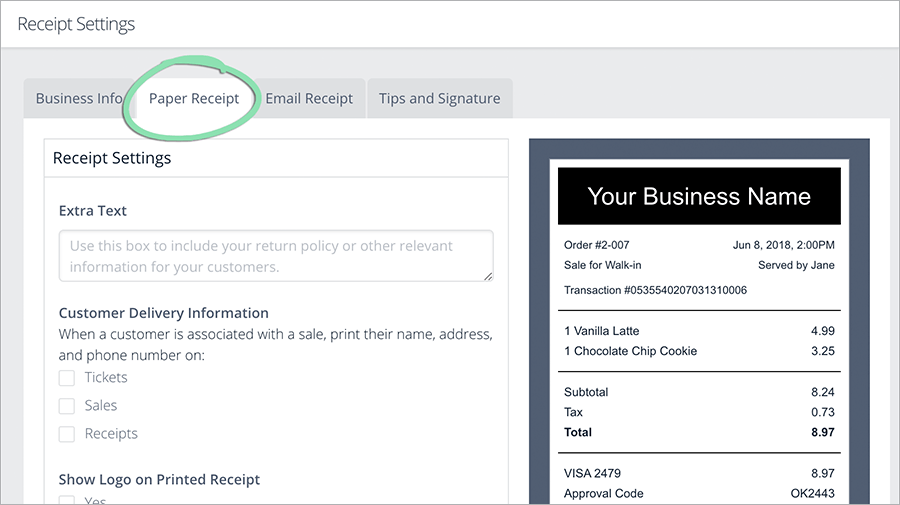
(Optional) Enter additional details for the receipt in the ‘Extra Text’ field.
Add a return policy, advertise an upcoming sale, etc.
(Optional) Enable ‘Show Logo on Printed Receipt’ to print the store logo from step 4 in grayscale at the top of paper receipts.
Click to Enlarge
Click 'Save'.
Want to learn more about receipts? Visit our Receipt Setup article.
Item Shortcuts
Set up item shortcuts in BackOffice or from the Retail POS (S-Series) app (employees with the relevant BackOffice permissions only) so cashiers can quickly ring up unscannable items, such as produce.
Visit the item shortcuts setup page in BackOffice or from the Retail POS (S-Series) app (employees with BackOffice permissions only).
In BackOffice, click ‘Items’ and select ‘Item Shortcuts’.
In the Retail POS (S-Series) app for iOS, tap ‘Edit Shortcuts’ on the Main Menu. For the Retail POS (S-Series) app for Android, tap ‘Setup’ on the register menu, then select ‘Edit Shortcuts’.
If prompted, set a new register code for the Business Owner and tap 'Enable PIN'.
Click to Enlarge
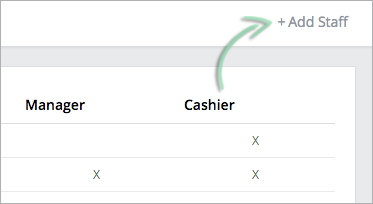
Enter at least a first name, last name, register code, select a role, and click 'Save'.
Click to Enlarge
Register Code | 4-digit code that allows an employee to clock in and out and sign into the register. Role | Select ‘Cashier’ or ‘Manager’. Cashiers can run sales, returns, and perform other cashier functions at the register. Managers can perform cashier functions and manager functions, such as opening the register shift and cash drawer. BackOffice Access | Select a level of BackOffice access to give to an employee. Visit our Manage Staff article to learn about the different types of BackOffice permissions. Don’t see ‘BackOffice Access’? Visit our Staff Troubleshooting guide for help.
Click 'Save' to finish up.
Visit our Manage Staff article to learn how to edit and delete employees and change employee settings.
Additional Tenders
Do you accept EBT cards through an external terminal, personal checks, or any tenders other than cash and credit? Here’s how to enable those tenders and more.
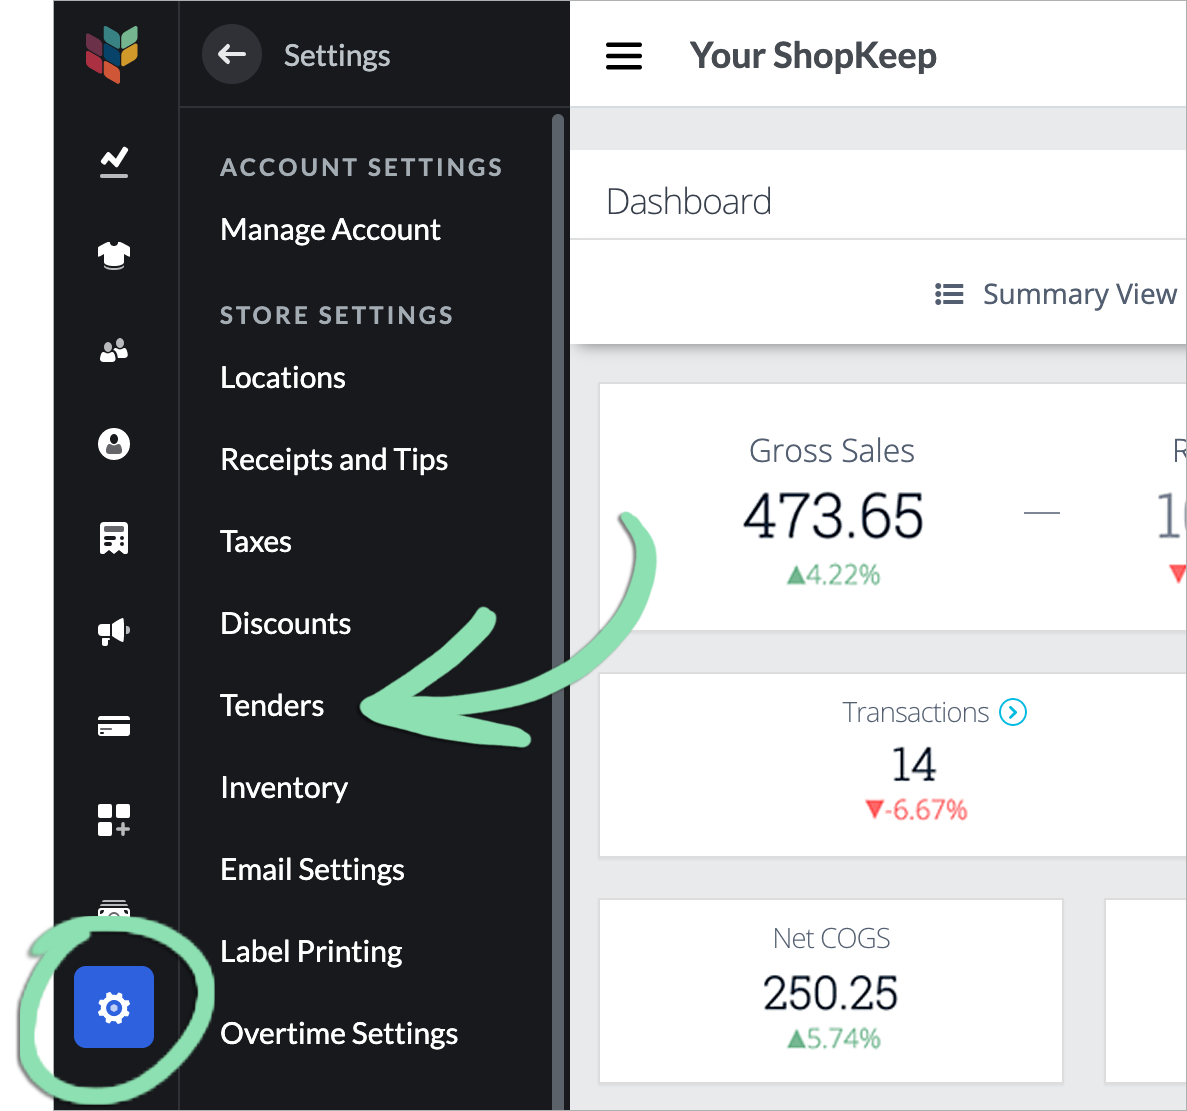
In BackOffice, click 'Settings' and select 'Tenders'.
Click to Enlarge
Check the box to enable a tender.
Please note that these tenders are used for reporting purposes only and are not integrated with the Lightspeed Retail POS. Payment must be processed separately outside of the register for most tenders.
Visit our Tender Settings article to learn how to use these tenders at the register.
Tax Settings
Maybe everything you sell is taxed the same or maybe you sell other goods (e.g. alcohol) that require a different rate. Enter the default tax rate that will be automatically applied to taxable items, then set up additional rates to override the default for specific items.
If you have questions about tax reporting, visit our Reporting FAQ.
In BackOffice, click 'Settings' and select 'Taxes'.
Click to Enlarge
Click the default tax rate indicated by the checkmark.
Click to Enlarge
Enter the tax rate details, then click ‘Update’.
Click to Enlarge
Name | Name of the tax rate as it appears in BackOffice reporting (e.g. “Prepared Food Tax”). Receipt Name | Name that appears on receipts when the ‘Display tax rates on receipt’ setting is set to ‘Display each tax rate charged individually’ and multiple tax rates are charged on a transaction. If left blank, this will default to ‘Tax’. Rate | Percentage of tax charged for this tax rate (e.g. 7%, 8.875%, etc.). Set as Default | When checked, the tax rate becomes the default tax applied to all items not assigned to a tax rate.
(Optional) Follow the steps here to set up additional tax rates and assign items to taxes.
Help us improve Lightspeed Support. Was this article helpful?