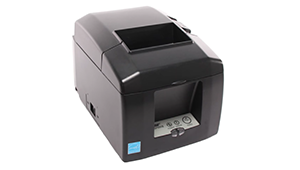
The Star Micronics 650II Bluetooth Receipt Printer connects wirelessly with your iPad register to print receipts. Follow this guide to learn how to pair the printer with your iPad, set up a cash drawer, and connect the printer to the Retail POS (S-Series) app.
Setting up an Epson TM-m10 / TM-m30 Bluetooth receipt printer? Visit this article instead.
Watch our setup video below:
Table of Contents
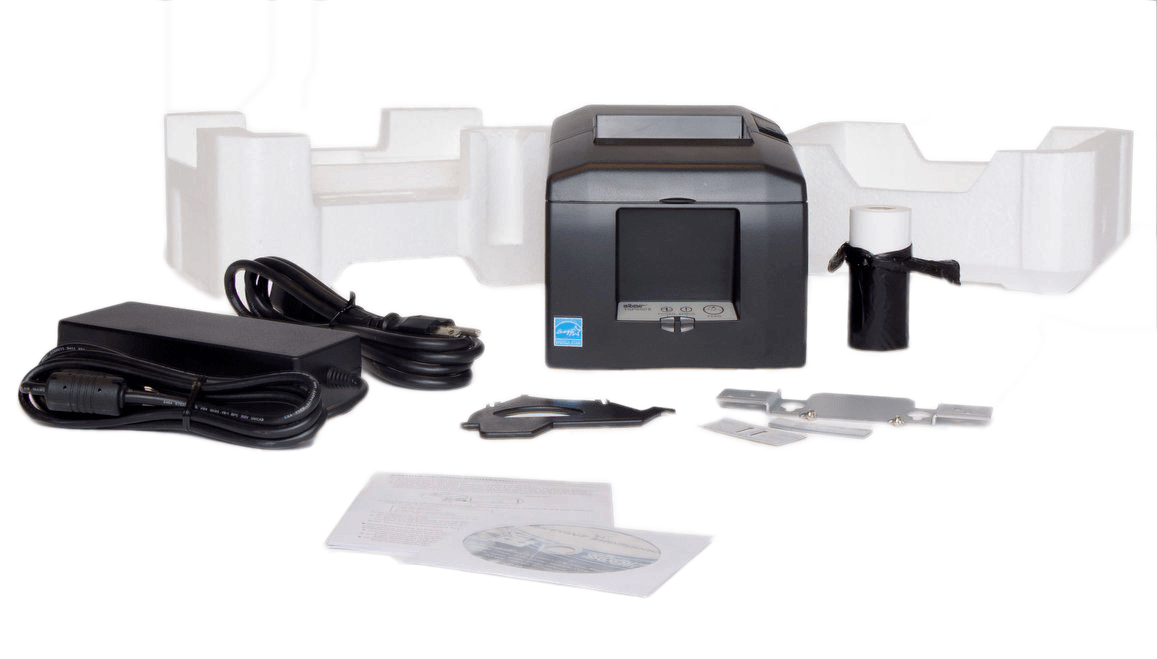
In the Box
Here’s what you should see upon receiving your TSP650II Bluetooth receipt printer:
Installation CD (not needed with Lightspeed Retail)
Inserts for alternate paper widths (not needed with Lightspeed Retail)
Printer Hardware Setup
Before using the printer in the Lightspeed Retail POS, you must first set up its hardware. Follow along below to pair your printer with the iPad and connect your cash drawer.
Pair the Printer with iPad
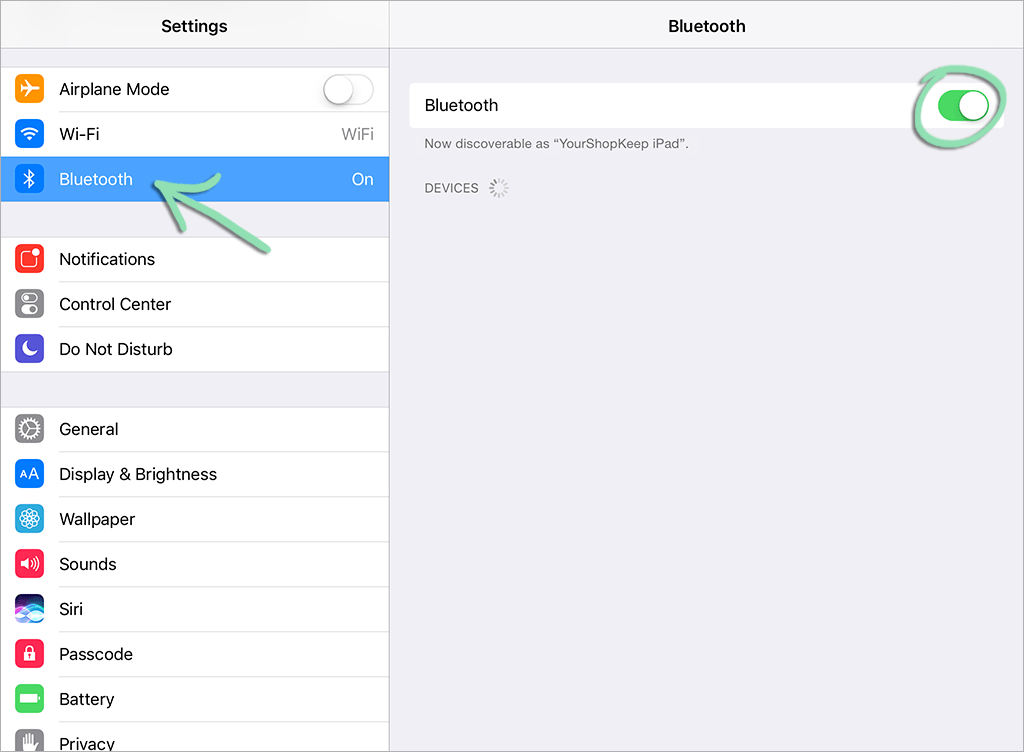
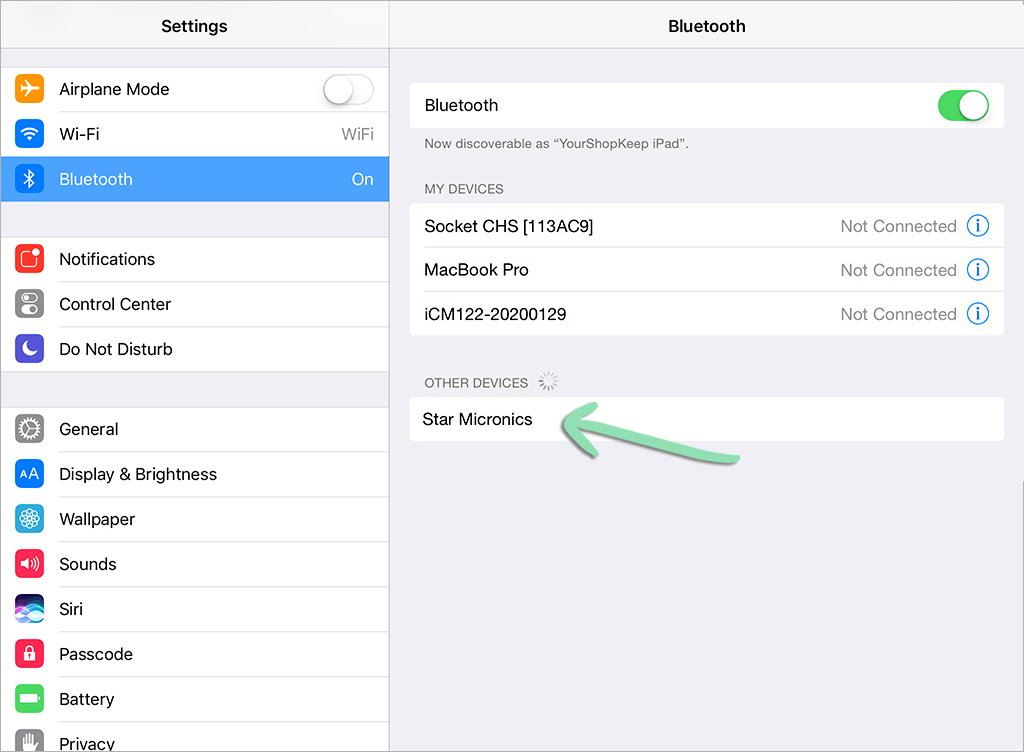
Since Bluetooth devices do not connect to the iPad over WiFi, they must be paired directly with the iPad to communicate with it.
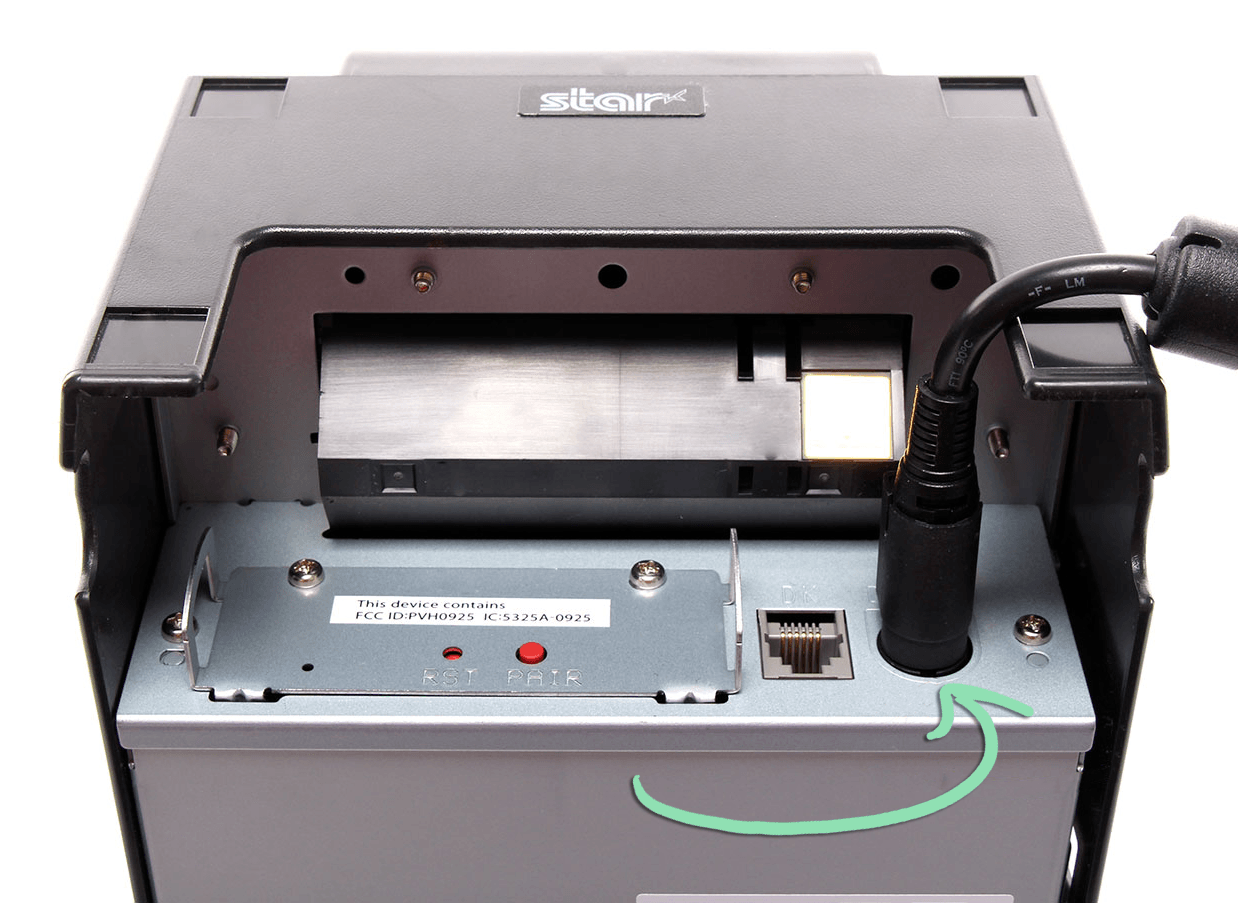
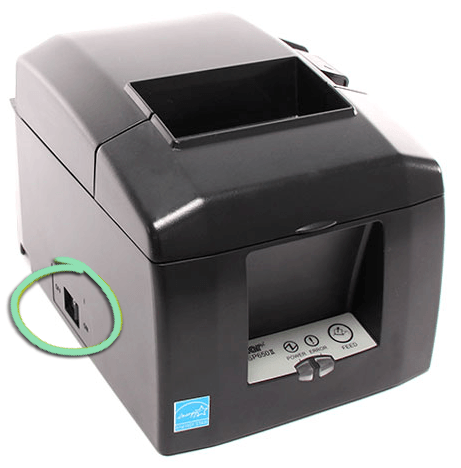
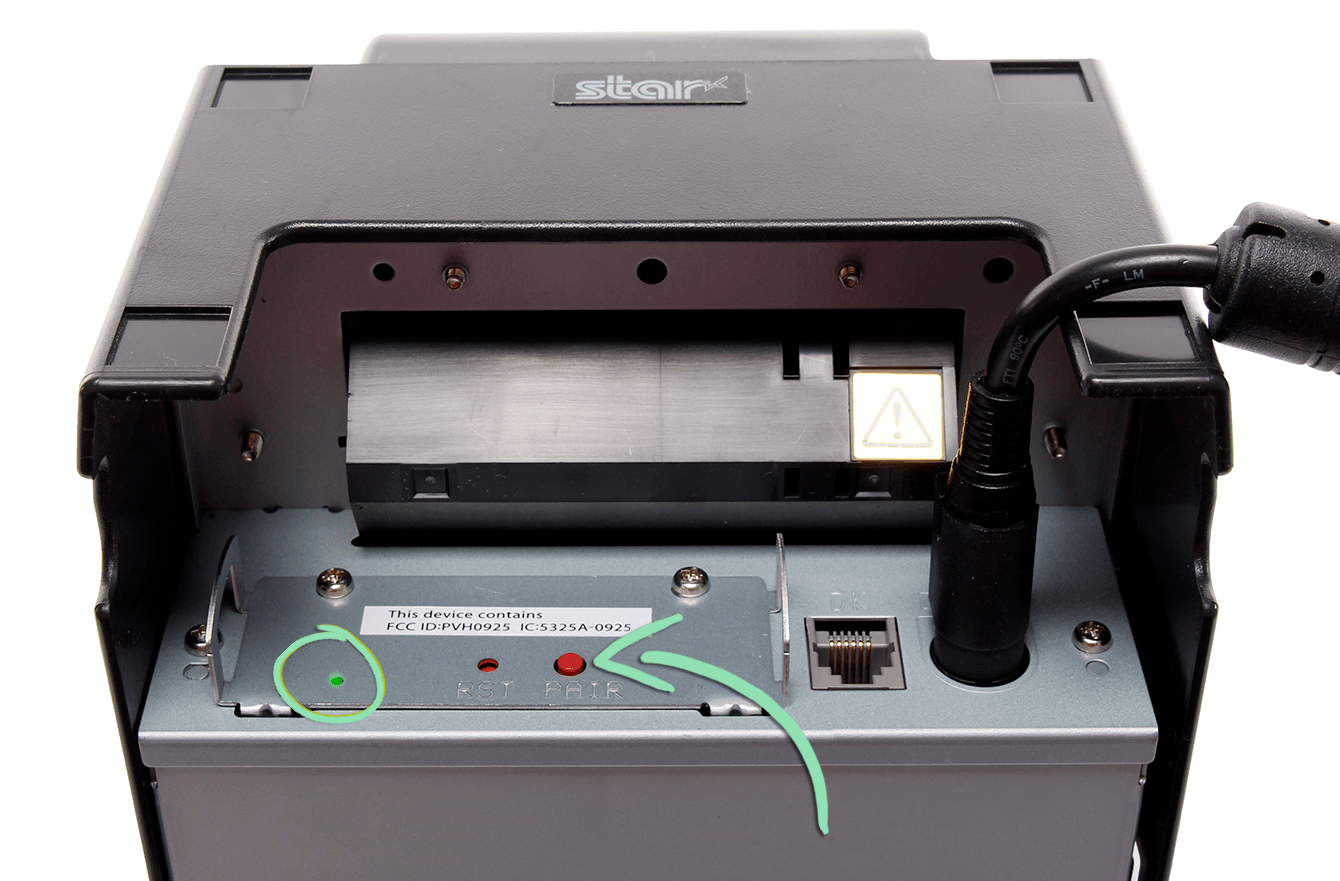
Plug the power cable into the rightmost port on the back of the printer.
Click to Enlarge
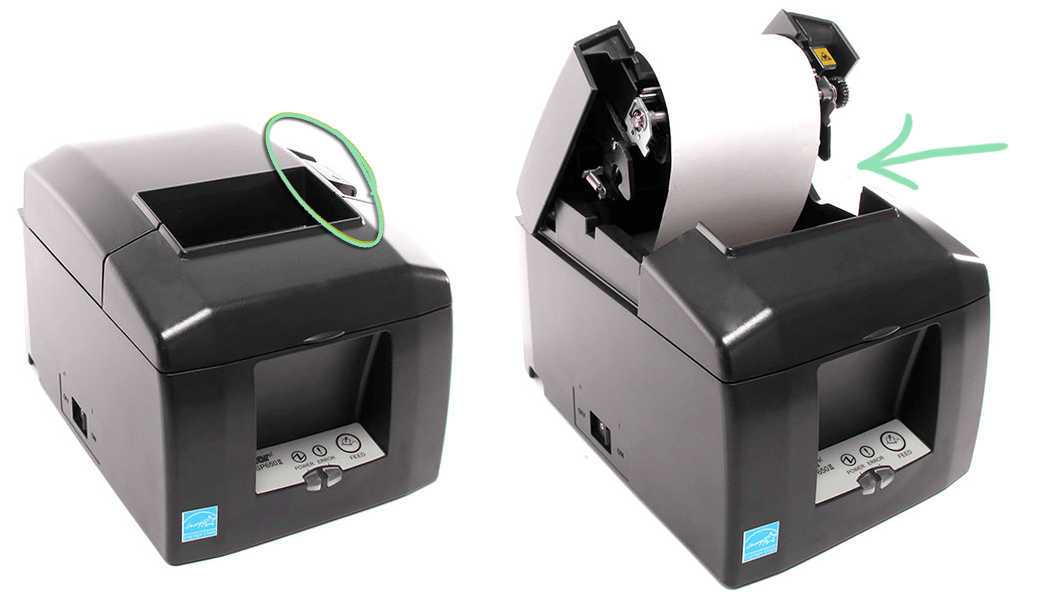
Pull back the switch to open the cover, load the paper, and close the cover.
Paper must feed from the bottom of the roll as shown below.
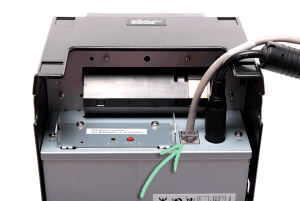
The cash drawer interacts with the iPad through its connection with the receipt printer. Connect your cash drawer to the printer so the drawer can open automatically for cash sales in Lightspeed Retail.
Plug the cash drawer cable (small head) into the printer’s DK port.
Click to Enlarge
Plug the other end (larger head) into the bottom of the cash drawer.
Click to Enlarge
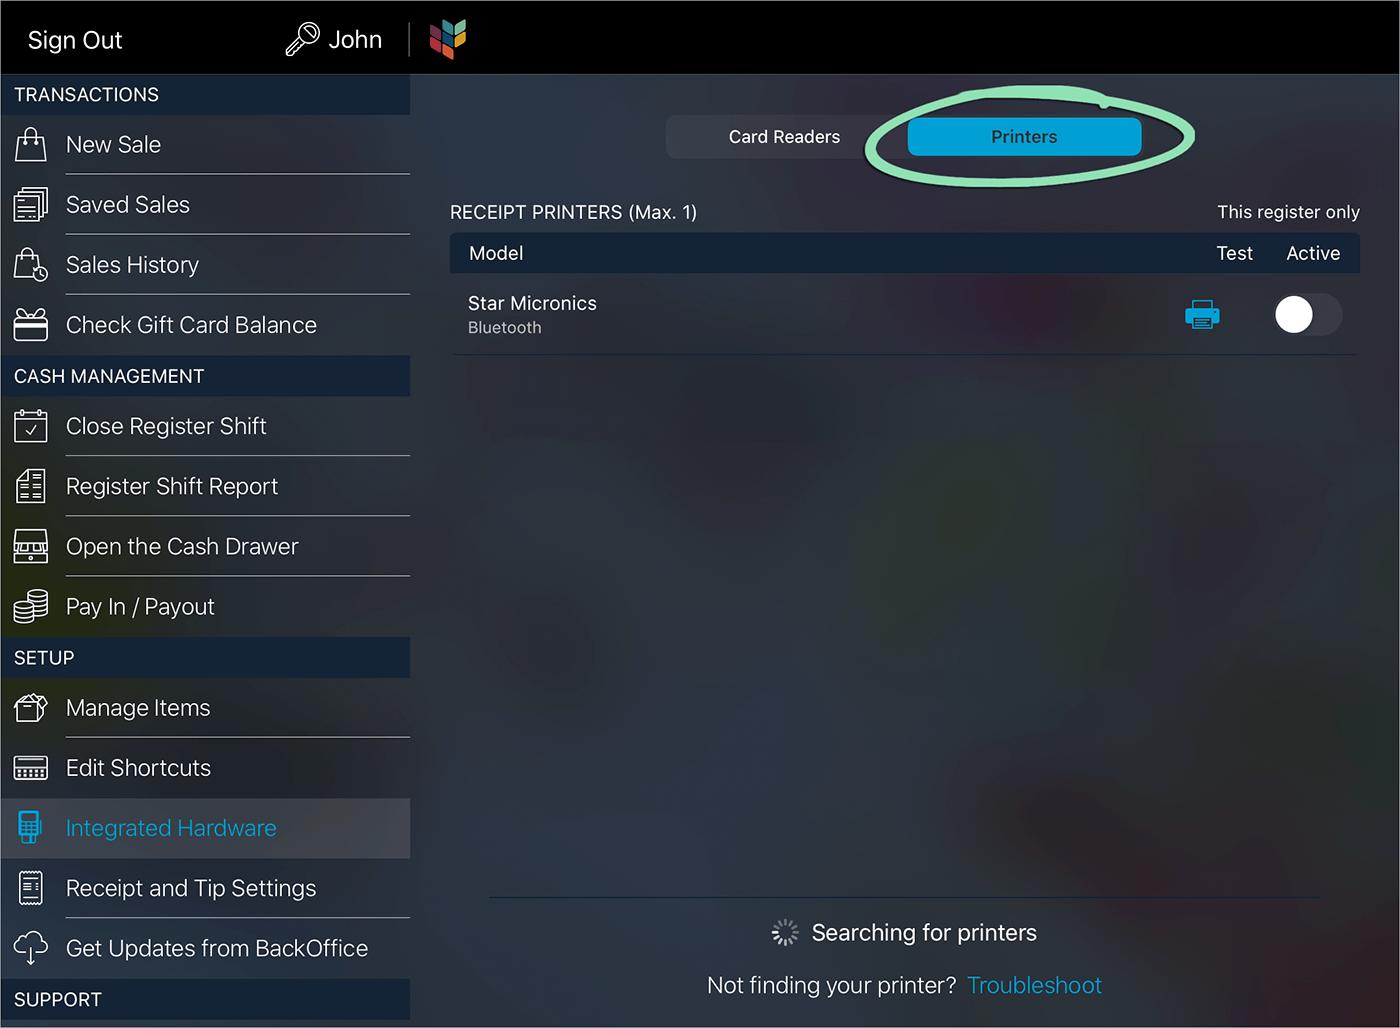
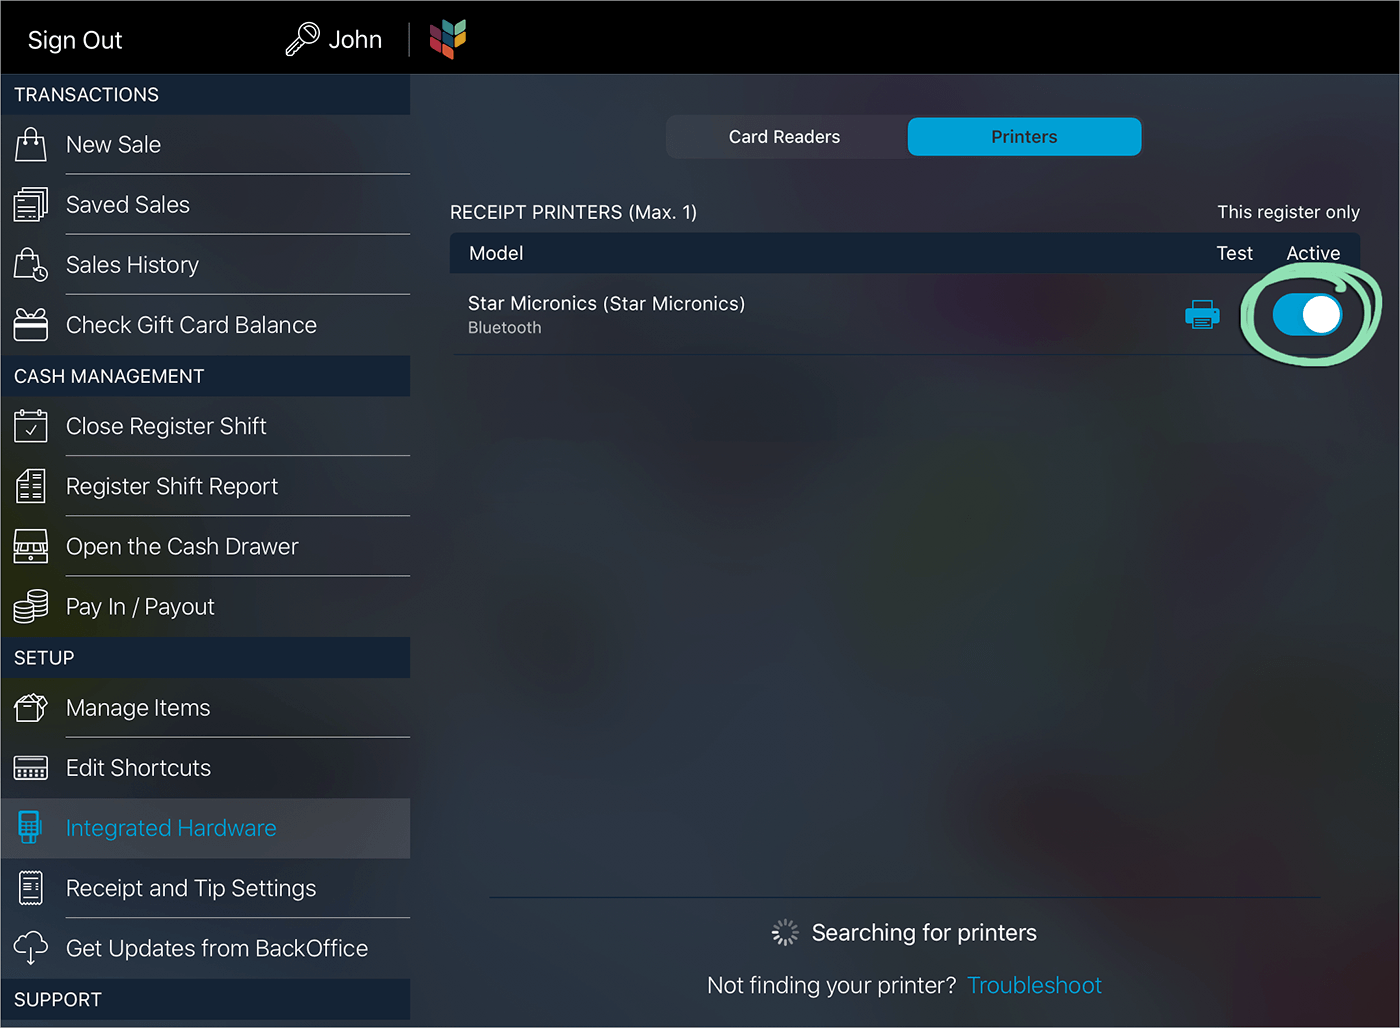
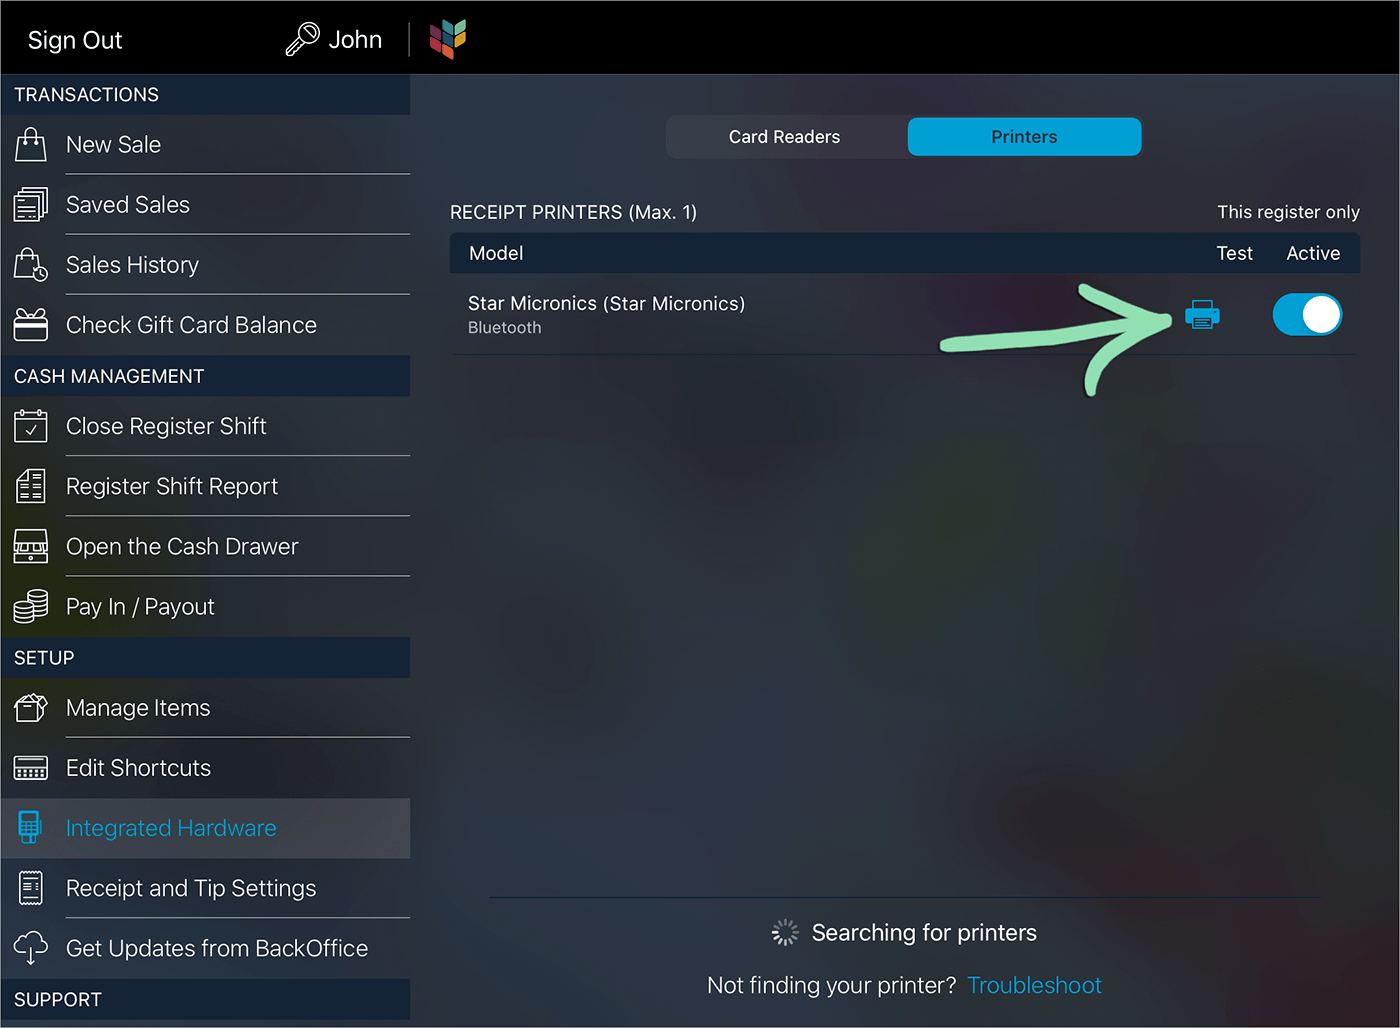
Connect to Lightspeed
Once paired with the iPad, connect your printer to the Retail POS (S-Series) app so the register can begin printing receipts.
In the Retail POS (S-Series) app, open the Main Menu and select 'Integrated Hardware'.
Click to Enlarge