Ring Up Your First Transaction with a Lightspeed Retail Account
After adding items to inventory and putting them on the item shortcuts panel, it’s time to start selling those items at the register! You can even start selling before you get a credit card reader.
Let’s review the easy steps it takes to run a test transaction at the register with your Lightspeed Retail account.
Table of Contents
Sign In
Sign in as a Register Manager to open a register shift so cashiers can begin running transactions. Signing in is only necessary if more than 1 employee is set up in BackOffice.
If your account was created from the Retail POS (S-Series) app, skip this section as you are already signed in.
Enter a Register Manager code and tap 'Sign In'.
Don’t know your manager code? Find it in BackOffice on the Staff List.
Leave the opening amount as 0.00 for this test transaction and tap 'Open Shift'.
If this was a real shift, you would enter the actual amount of cash you were starting the day with. Lightspeed Retail tracks how much cash should be in the drawer at the end of the day, so you can see if it is over or under the expected amount.
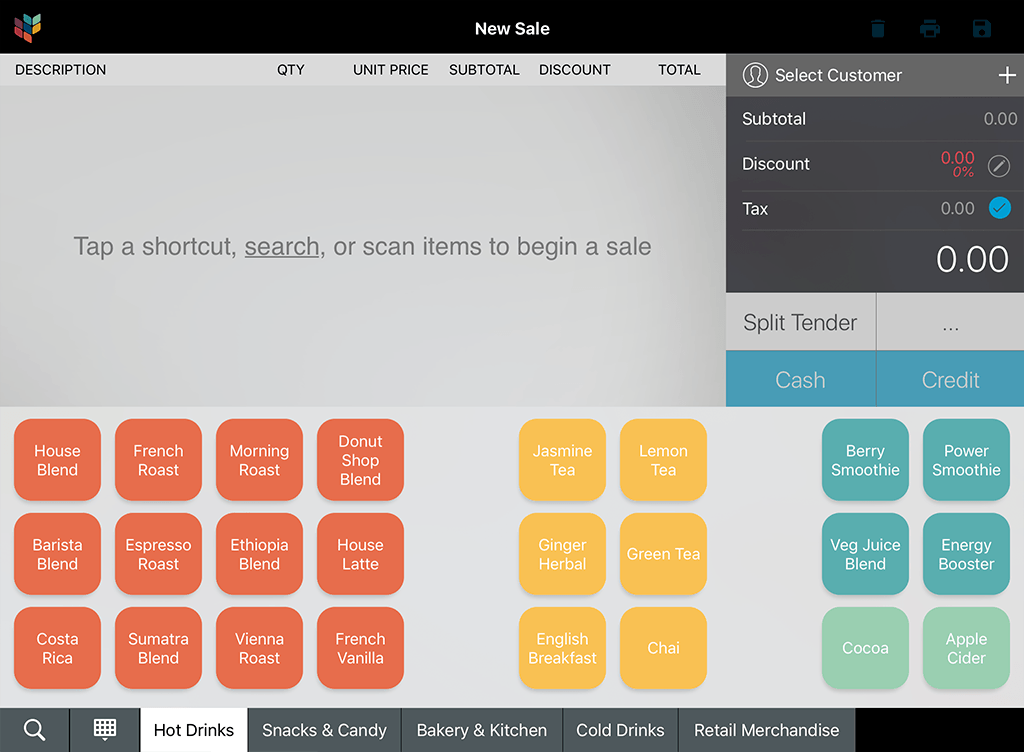
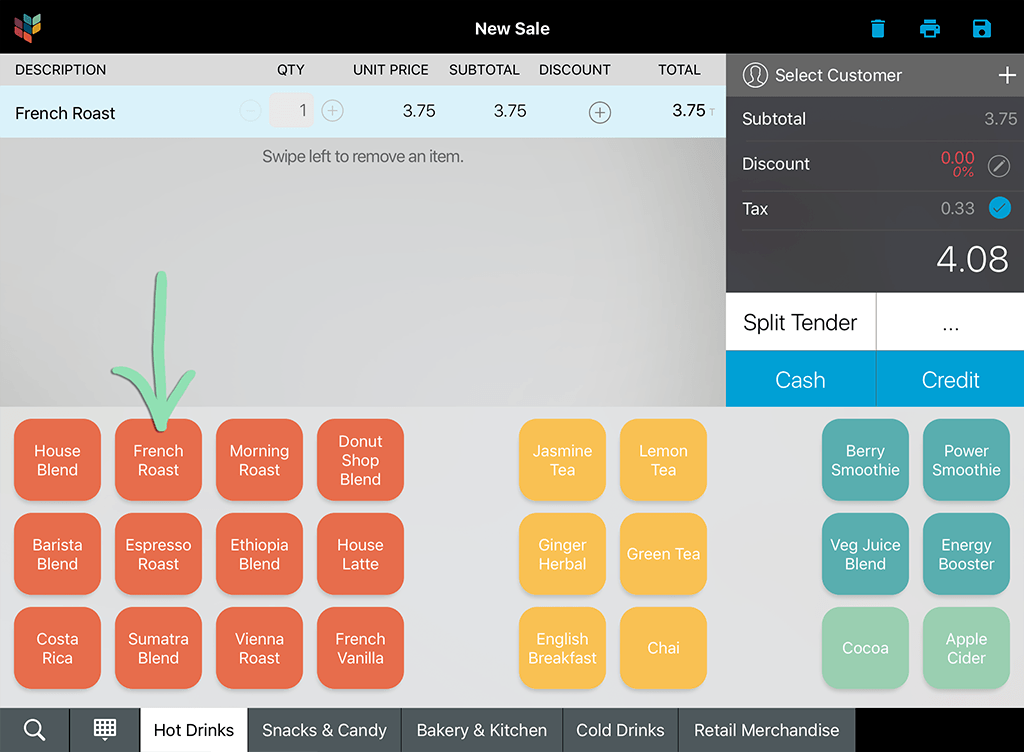
Add the item(s) created during account setup to a transaction to begin a sale. For now, we will only cover adding items, but click here to learn all you can do on the New Sale screen.
From the ‘New Sale’ screen, there are three ways to add items to a sale:
Below, we’ll show you how to process a cash transaction at the register. Click here to learn about other available payment tenders.
After running a test transaction, either perform a return to balance out the net sales amount for that day or exclude that day when running sales reports. Transactions run at the register will appear in reporting and cannot be deleted.
Cash
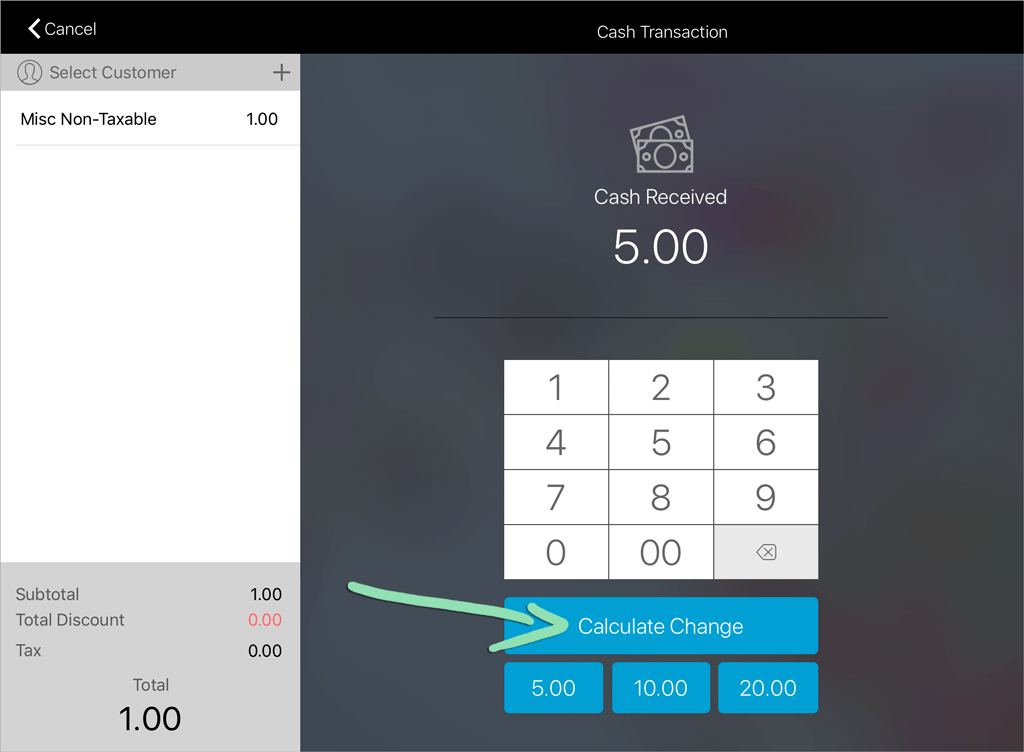
Here are the steps to complete a sale if a customer pays with cash.
Enter the amount received from the customer, then tap 'Calculate Change'.
Tender buttons below ‘Calculate Change’ update based on the total sale amount if it is over $20. For example, a sale with a total of 28.23 would have the buttons 29.00, 30.00, and 40.00.
Follow the prompts to finish the sale, then select a receipt option and tap ‘Done’, or tap 'No Receipt'.
Choose ‘Email Receipt’ to send the receipt via email or ‘Print Receipt’ / ‘Print Gift Receipt’ to print the receipt to a connected receipt printer.
What's Next?
After processing a test transaction, visit some of our other support articles to learn how to finish setting up inventory, run reports, and use other register features.