The Sunmi T2 Lite is a dual-screen countertop solution for running sales and returns with the Retail POS (S-Series) app. As the cashier runs a transaction on the main display, the other screen shows the customer details of their sale or return. Follow the steps below to learn how to set up and activate this register.
Table of Contents
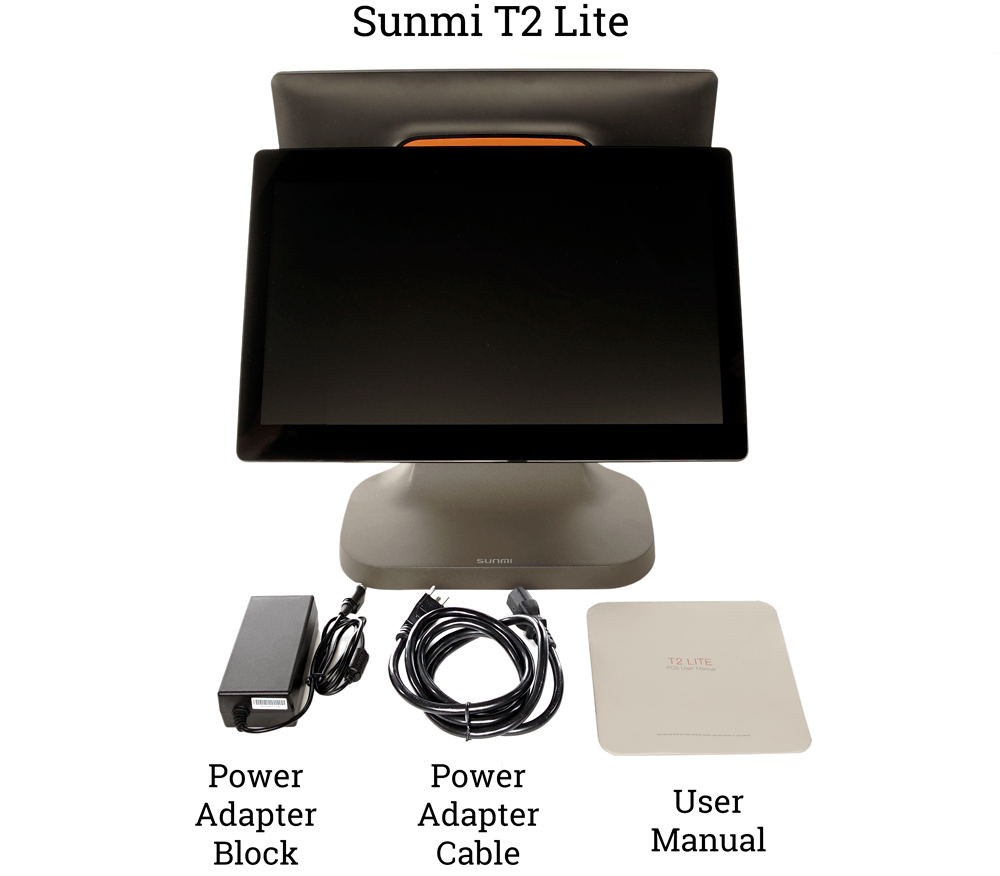
In the Box
The Sunmi T2 Lite ships with the parts listed below.
Complete the basic steps of setting up and powering on the Sunmi T2 Lite hardware. Once on, the device can be activated for use with the Retail POS (S-Series) app.
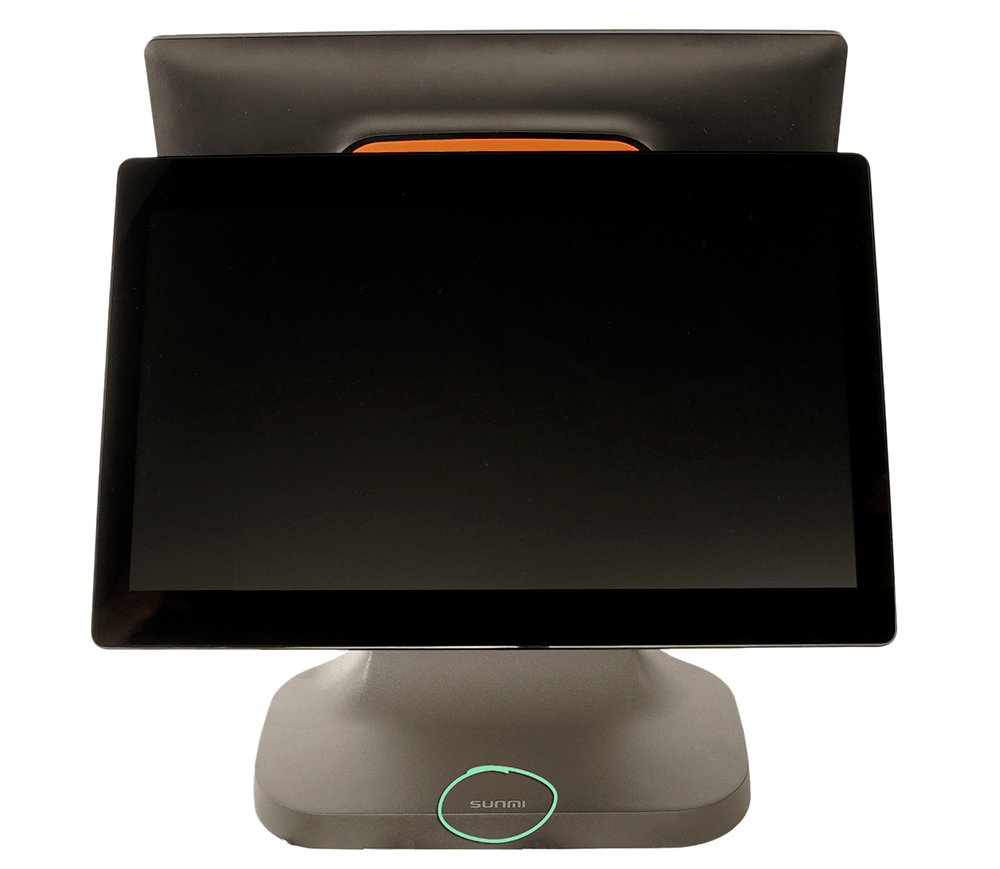
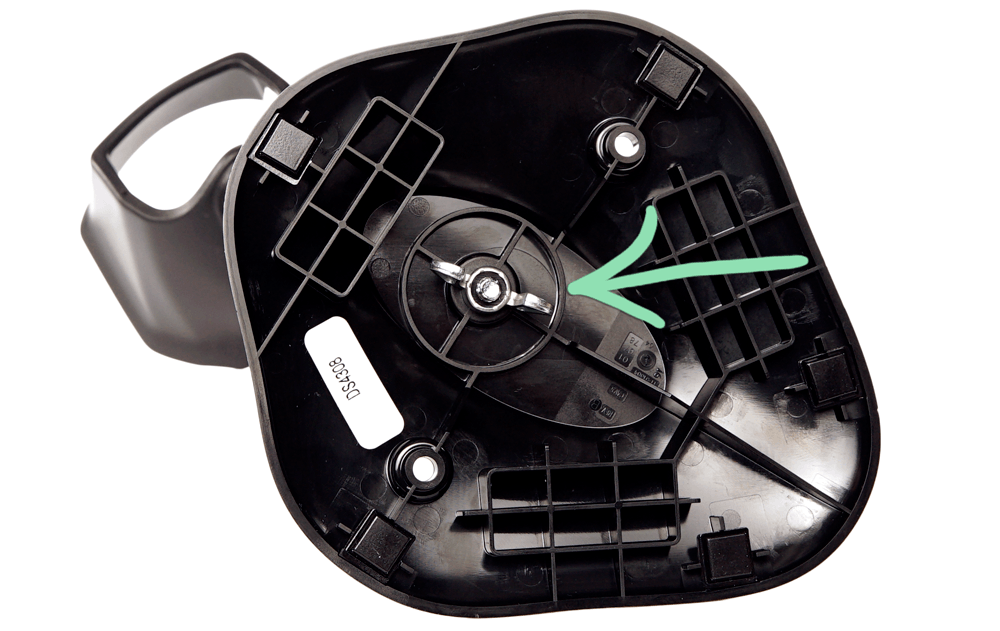
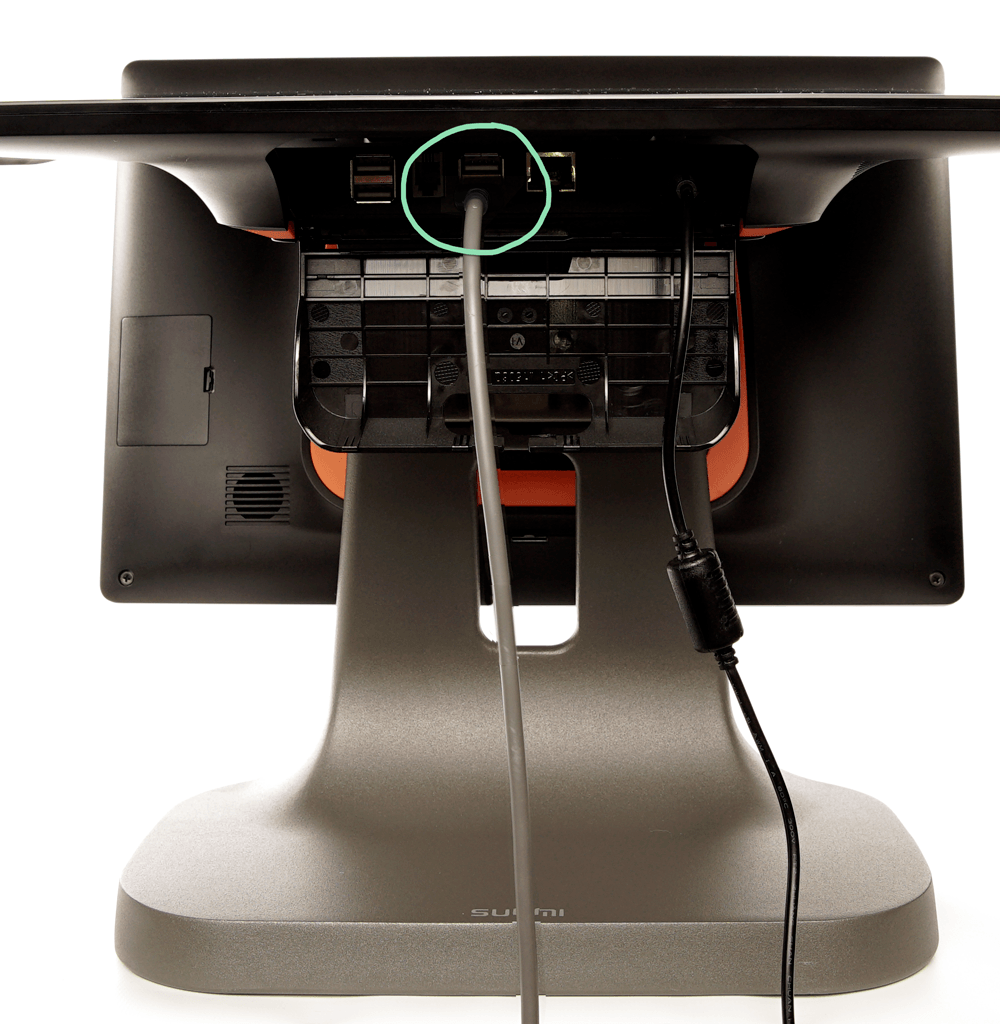
Place the Sunmi T2 Lite on a flat surface with the ‘Sunmi’ logo on the base facing you.
Click to Enlarge
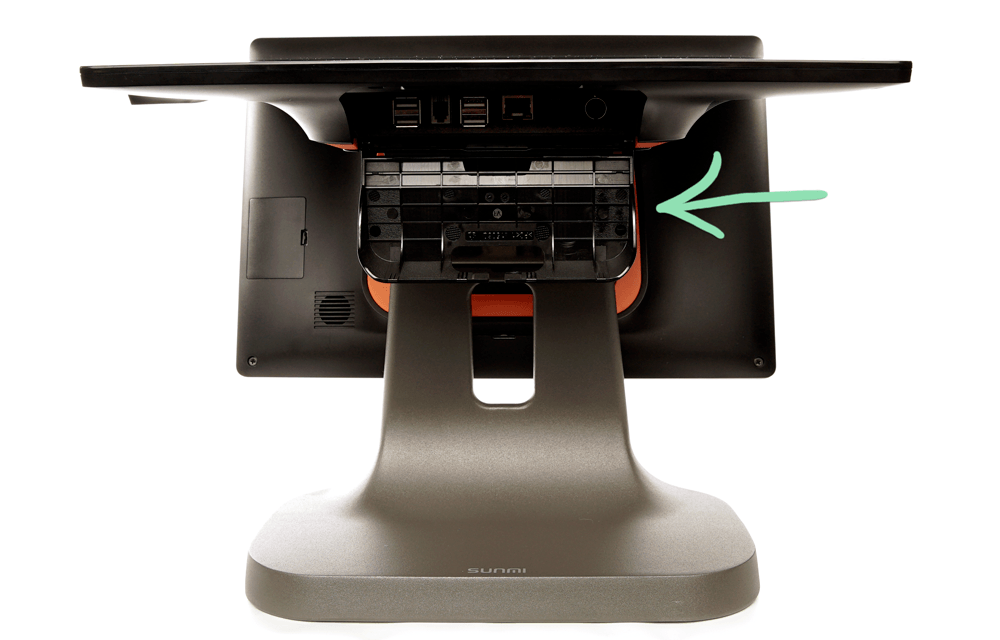
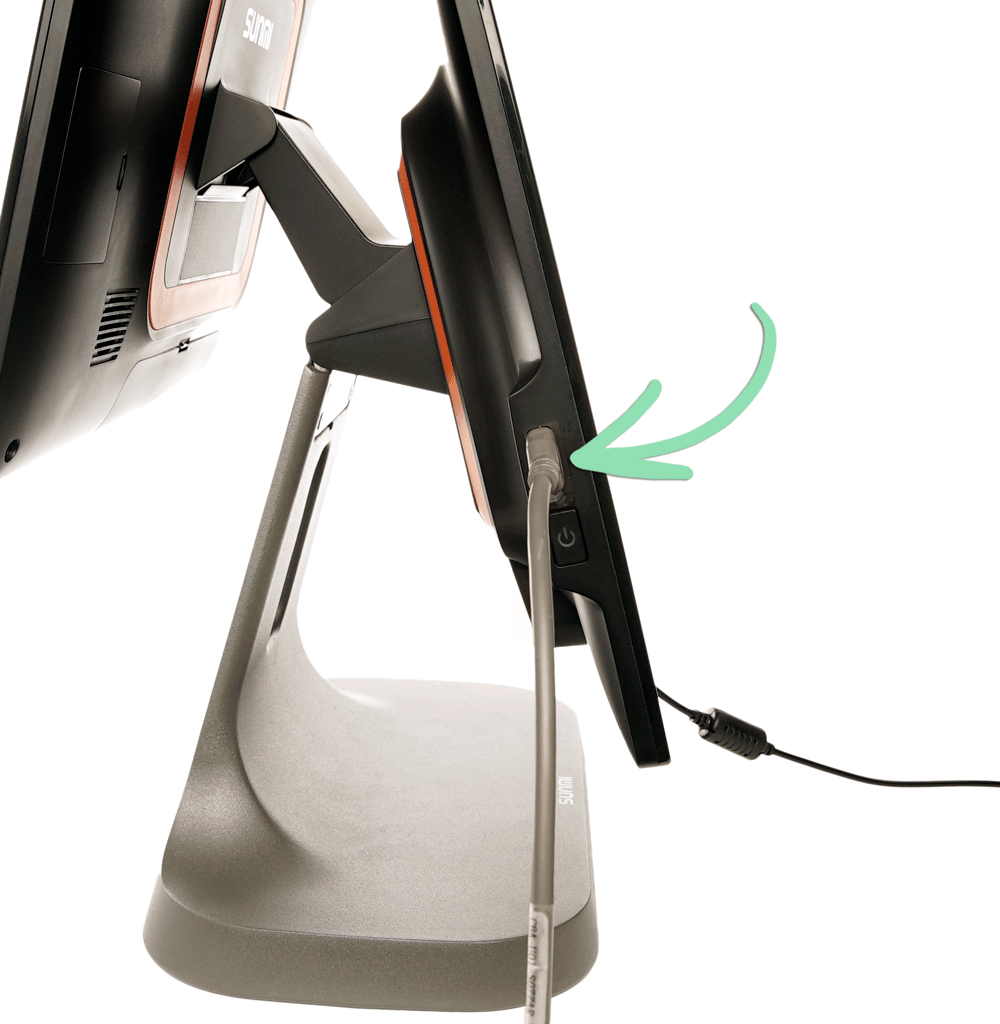
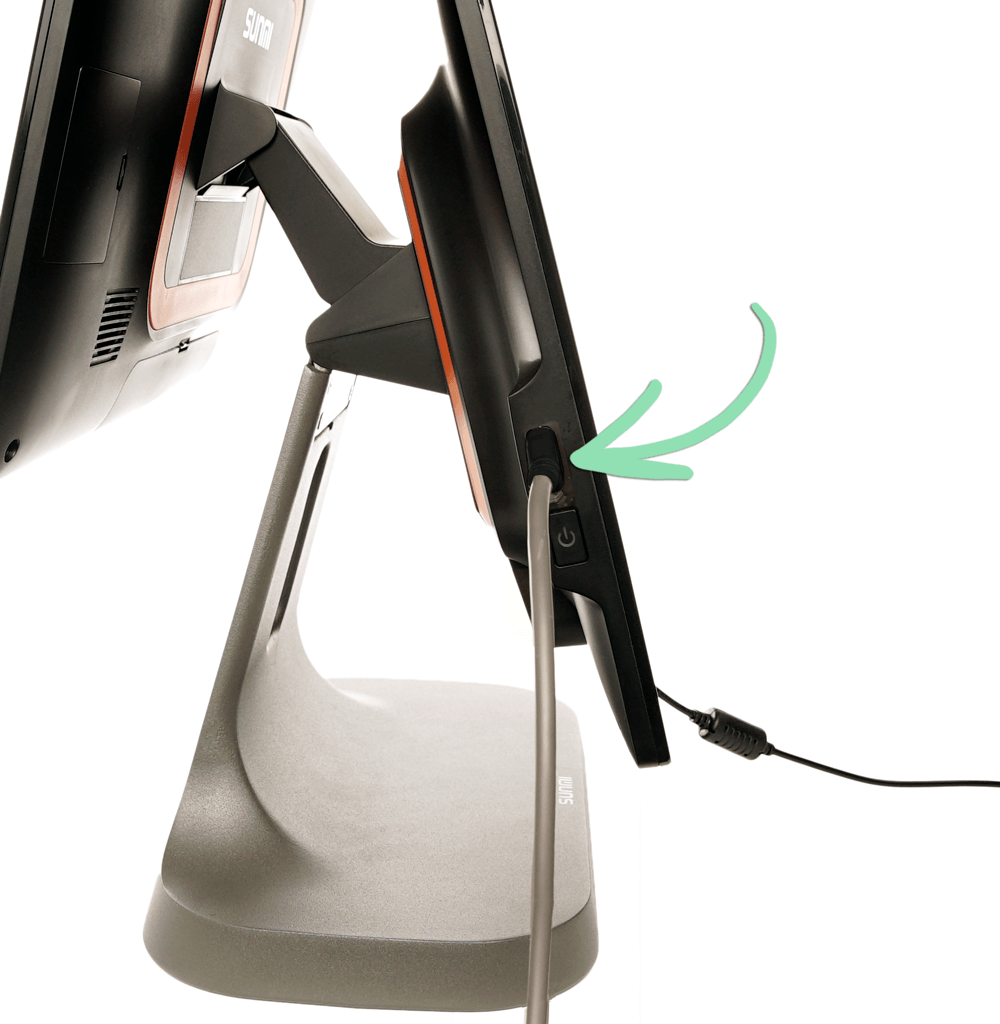
Tilt both screens backward until the screen closest to you is almost horizontal.
Click to Enlarge
Continue to the next section below to activate the device.
Device Activation
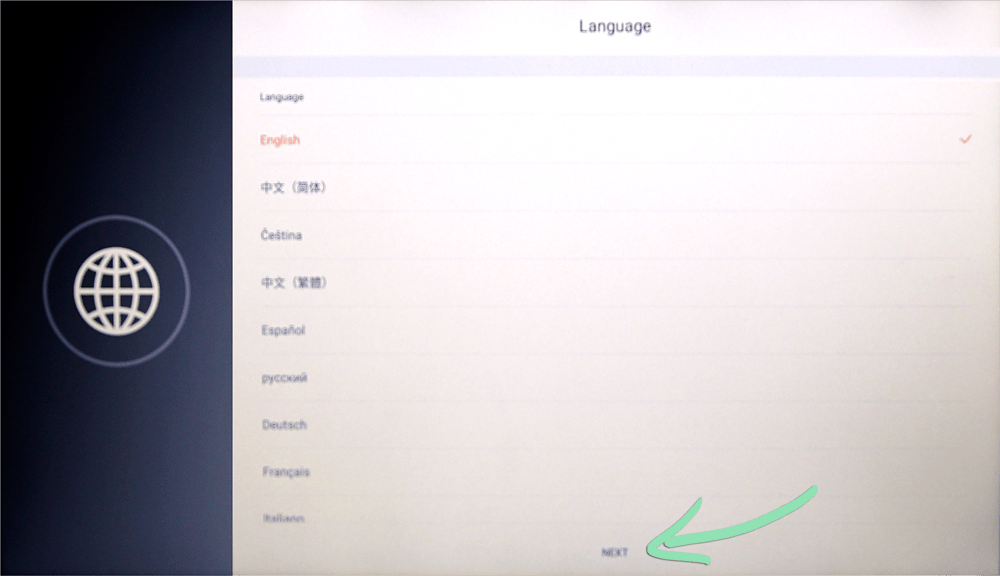
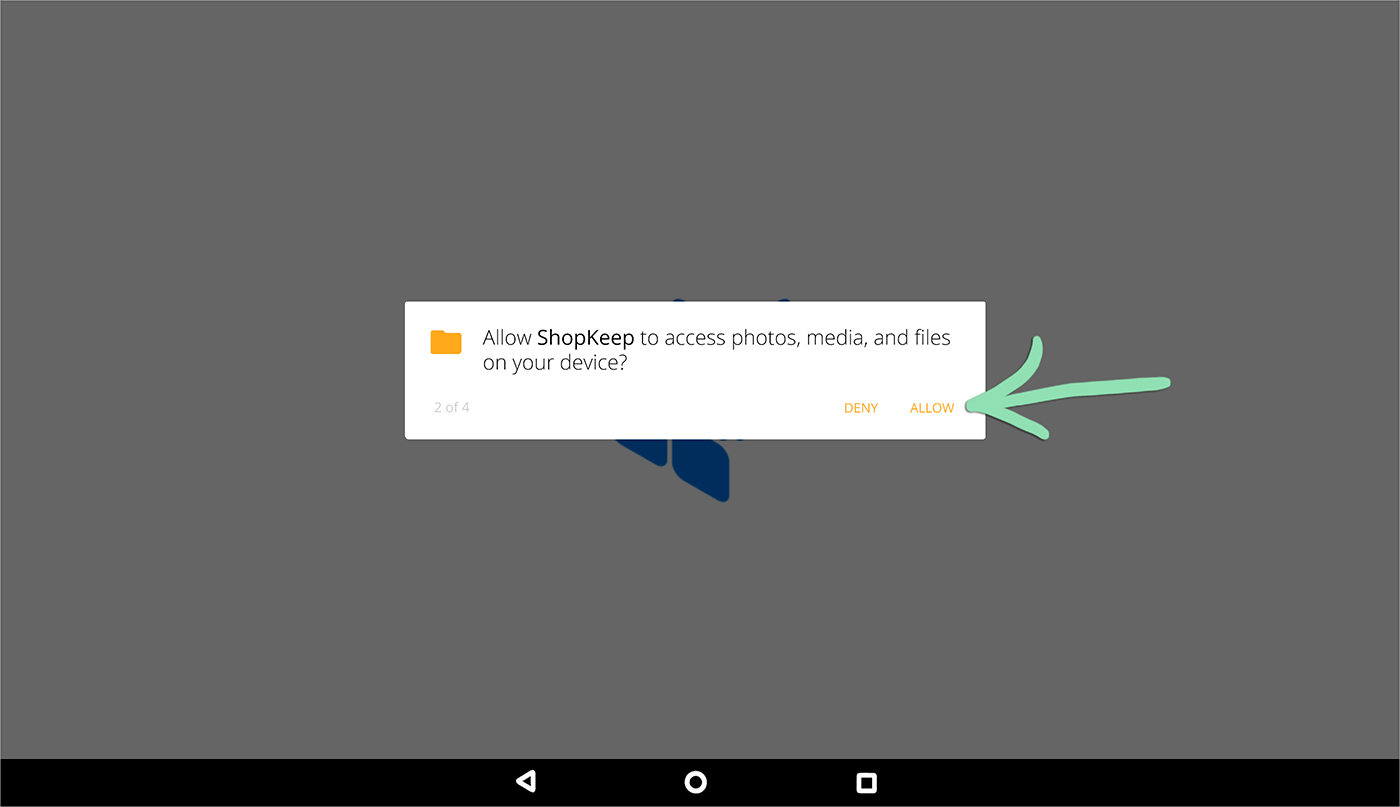
After setting up the Sunmi T2 Lite hardware, use the setup wizard to complete the device activation process. Once the device is activated, you will be ready to activate the Retail POS (S-Series) app.
Enter your store name and manager code, then tap 'Activate'.
Store Name | Lightspeed Retail account name, with no spaces or punctuation, found in your welcome email. Manager Code | 4-digit code which can be found in the BackOffice staff list.
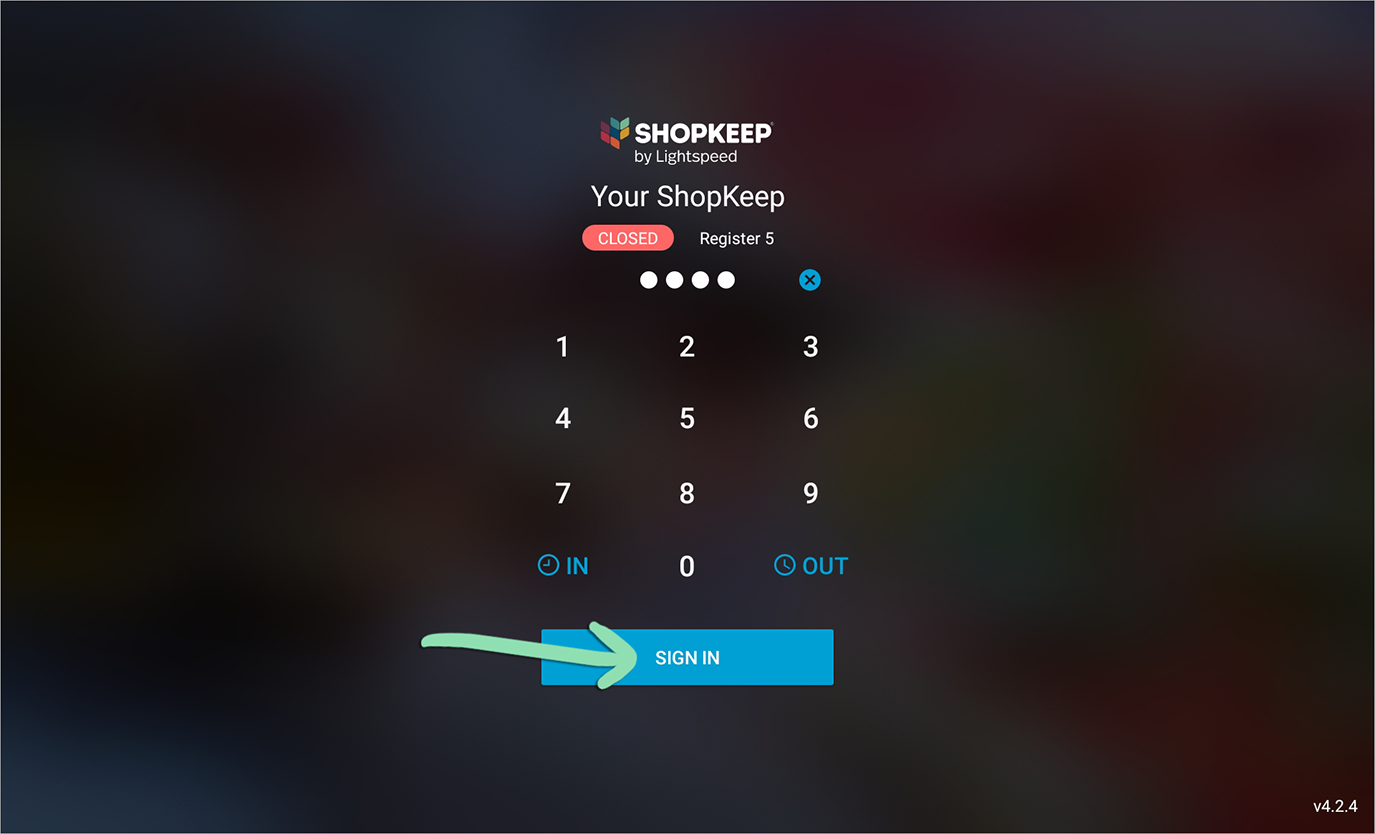
Enter the manager code and tap 'Sign In' to start using the register.
Click to Enlarge
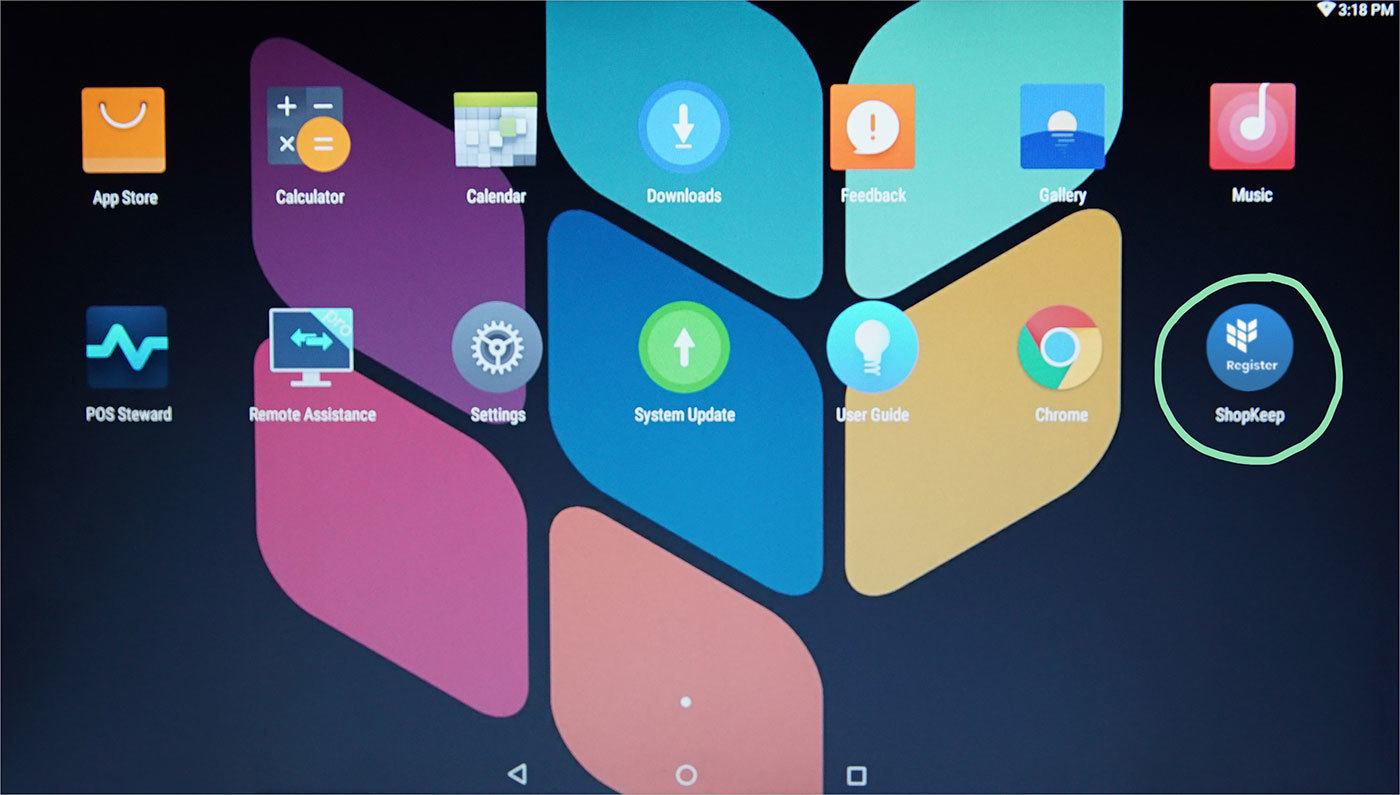
Register Peripherals
Learn how to set up our supported barcode scanner, credit card reader, receipt printer, and cash drawer for use with the Sunmi T2 Lite. Each accessory is optional, so set up only what you would like to use with the register.
Barcode Scanner Setup
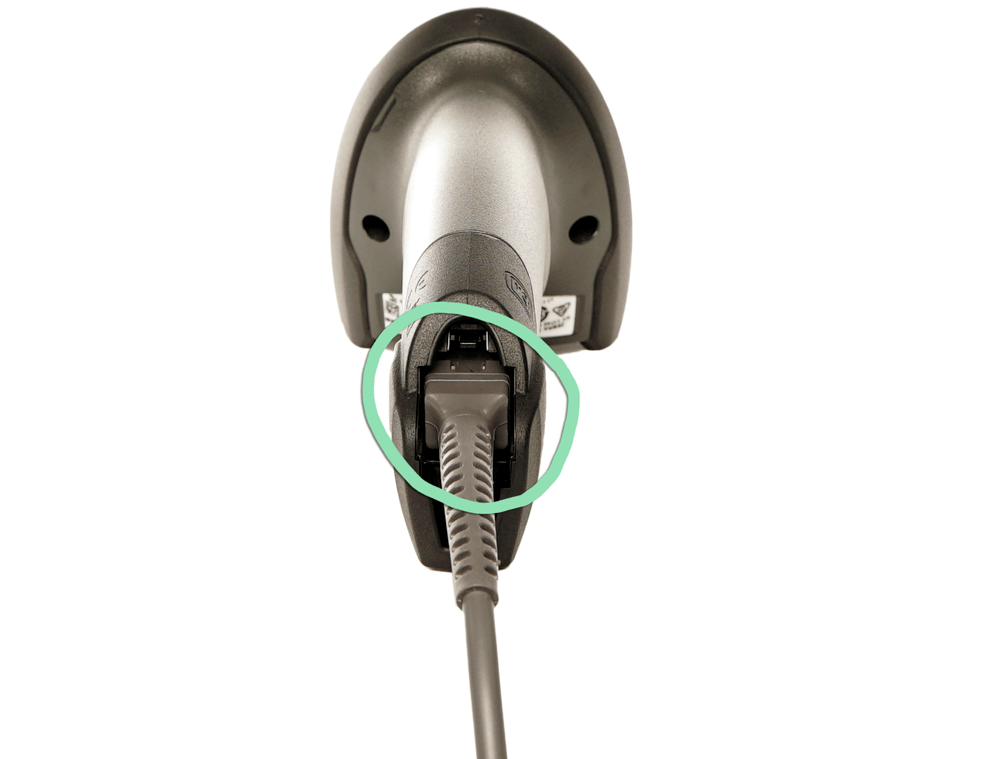
Set up the Zebra DS2208 or DS4608 barcode scanner and stand with the Sunmi T2 Lite to verify age-restricted products by scanning customer state-issued driver’s licenses, IDs, and passports (DS4608 only) and to ring up products by scanning barcodes. Put the barcode scanner in the stand to enable hands-free scanning for easy access and speedy transactions.
The barcode scanner ships with the following parts:
Zebra DS2208 or DS4608 Barcode Scanner
Scanner Cable
Stand (2 pieces)
Scanner Quick Start Guide for DS2208 or DS4608(not pictured)
Follow steps 5 - 11 here in the Retail POS (S-Series) app to finish setting up the scanner.
Failure to complete these additional steps may prevent the scanner from working properly in the Retail POS (S-Series) app.
Clover Go Credit Card Reader
The Clover Go Bluetooth Credit Card Reader connects wirelessly to the Sunmi T2 Lite to process EMV, swiped, and contactless credit payments. With its small size and rechargeable battery, the Go is the perfect portable credit card reader to go wherever the register is needed.
The credit card reader ships with the following parts:
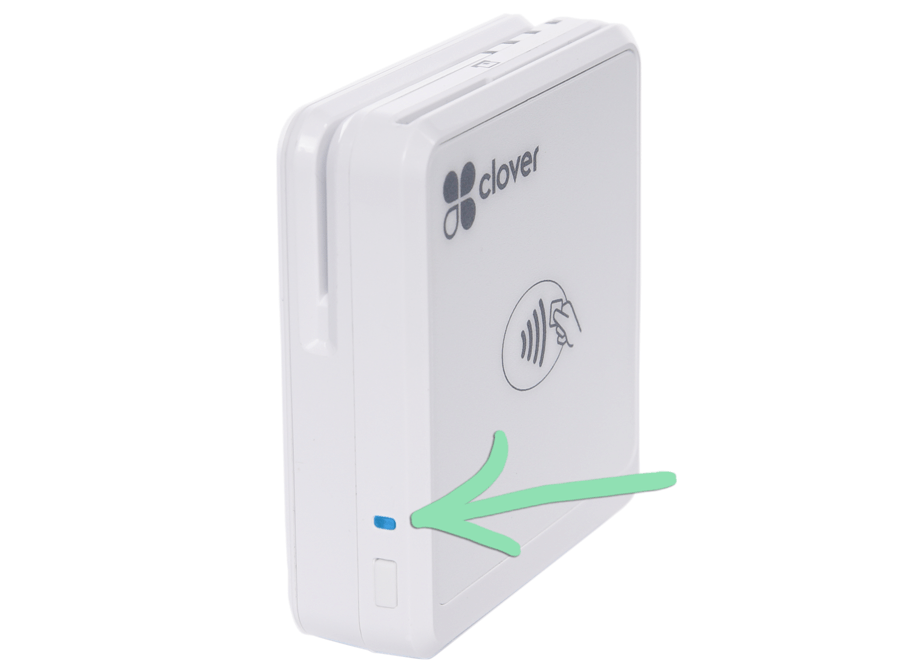
Make sure the Clover Go is powered on. The blue status light will blink if on.
If the Go is not on, hold the power button for 5 seconds until you see the blue light. If the Go will not power on, visit our troubleshooting guide for help.
To learn how to charge the Clover Go via the included stand, visit our complete setup article.
Receipt Printer Setup
The Epson TM-m10 USB printer plugs directly into the Sunmi T2 Lite to print customer receipts and employee shift reports. Set up the printer to begin using it at the register.
The receipt printer ships with the following parts: