Perform a pay in or payout to balance the cash drawer if you need to add or remove cash from the drawer while a register shift is open. Select from specific payout options like Safe Drop, Buy Inventory, or Non-Cash Gratuity and enter a comment for each pay in and payout processed for a more detailed BackOffice report.
Watch our Pay Ins & Payouts video below:
Table of Contents
Make a Pay In or Payout
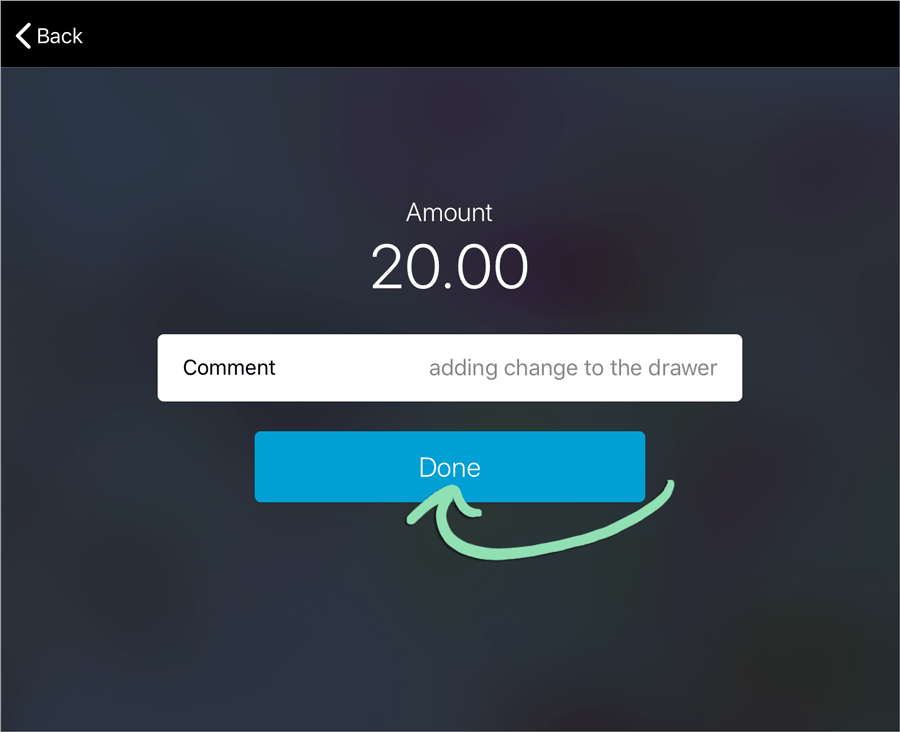
Perform a pay in whenever you need to add cash to the drawer and a payout whenever you need to remove cash. Please note that once completed, pay ins and payouts cannot be edited or deleted.
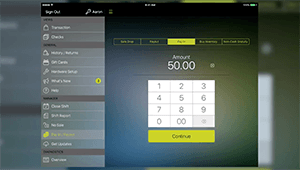
Sign into the Retail POS (S-Series) app as a Register Manager.
Safe Drop is for making cash deposits from the till into a safe or bank.
Payout is for any general reason for removing cash from the drawer.
Pay In is used when you need to add cash to the drawer.
Buy Inventory is for removing cash from the drawer to purchase supplies or ingredients.
Non-Cash Gratuity is for paying out employee credit and gift card gratuity and Lightspeed eCom (E) gratuity from the till. The ‘from x.xx gratuity total’ amount that appears when this option is selected is the total of all tips collected at the register for the shift, including tips from Lightspeed eCom (E) orders that were paid online by credit card and closed at the register.
Tap 'Open the Cash Drawer' to open the drawer and add or remove cash.
Click to Enlarge
Pay Ins and Payouts Report
Use the Pay Ins and Payouts report to view details of each pay in, payout, and cash drawer opening (‘No Sale’) done at the register. See the date and time of each action, which employee performed it, the amount, register #, and comment (if one was entered).
Run the Report
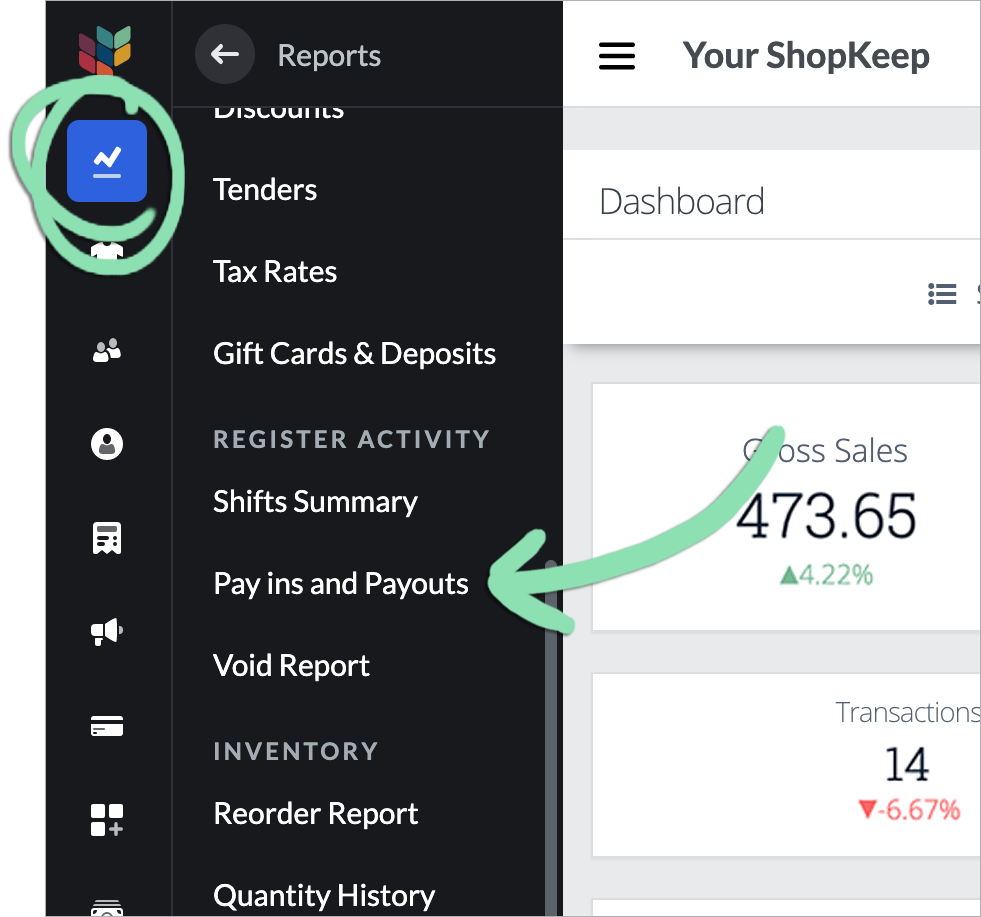
From BackOffice, run the Pay Ins and Payouts report for an overview of the pay ins, payouts, and cash drawer openings (‘No Sales’) performed at the register during a specific time period.
In BackOffice, click 'Reports' and select 'Pay ins and Payouts'.
Click to Enlarge
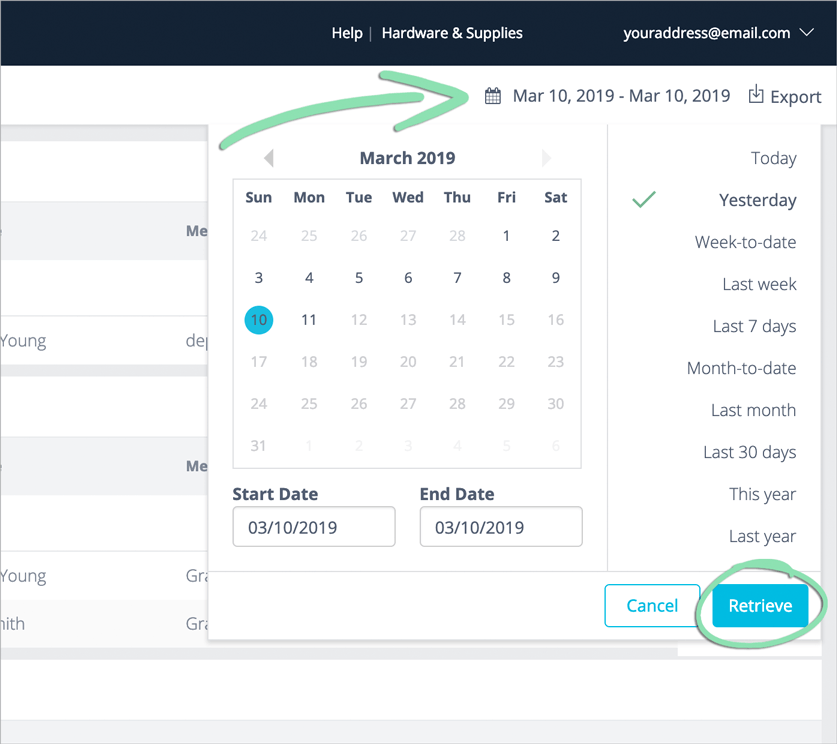
Click the date icon to select a range, then click 'Retrieve'.
Click to Enlarge
Read the Report
The Pay Ins and Payouts report is grouped by category (e.g. Drops, Payouts, Pay Ins, etc.) and displays details of each pay in, payout, and cash drawer opening (‘No Sale’) done at the register during the selected range.
Total (top row) | Total of the ‘Amount’ column for each section in the report. This row is not available for ‘No Sales’ as they do not require an amount. Date/Time | Date and time each pay in, payout, or cash drawer opening was performed. Register # | Number of the register on which each pay in, payout, or cash drawer opening was performed. Employee | Name of the employee who performed each pay in, payout, or cash drawer opening as it was entered in BackOffice at the time the action was performed. To calculate totals by employee, you must manually add together each employee’s rows. Memo | Comment entered by the employee when performing a pay in or payout. This column is not available for ‘No Sales’ as they do not require a comment. Amount | How much was added to or removed from the drawer for each pay in or payout. This column is not available for ‘No Sales’ as they do not require an amount.
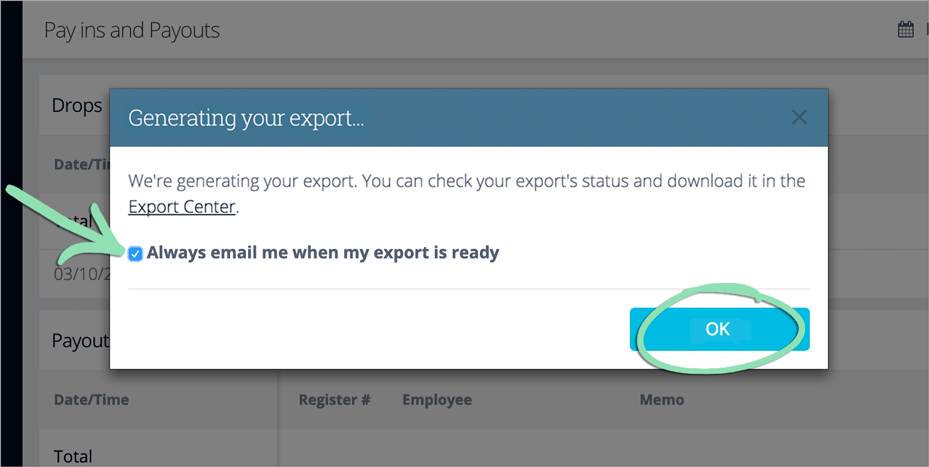
Export the Report
View Pay Ins and Payouts report data outside of BackOffice by exporting the report to a spreadsheet.