Google Wifi Setup
Google Wifi is a simple networking solution for fast, reliable network connectivity that easily expands to give you fast, dependable speeds no matter where in your store your customers may be. Set it up in a few easy steps to create a solid and fast network at your business.
Watch our Google Wifi Setup video below:
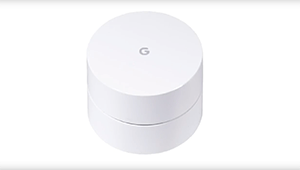
Table of Contents
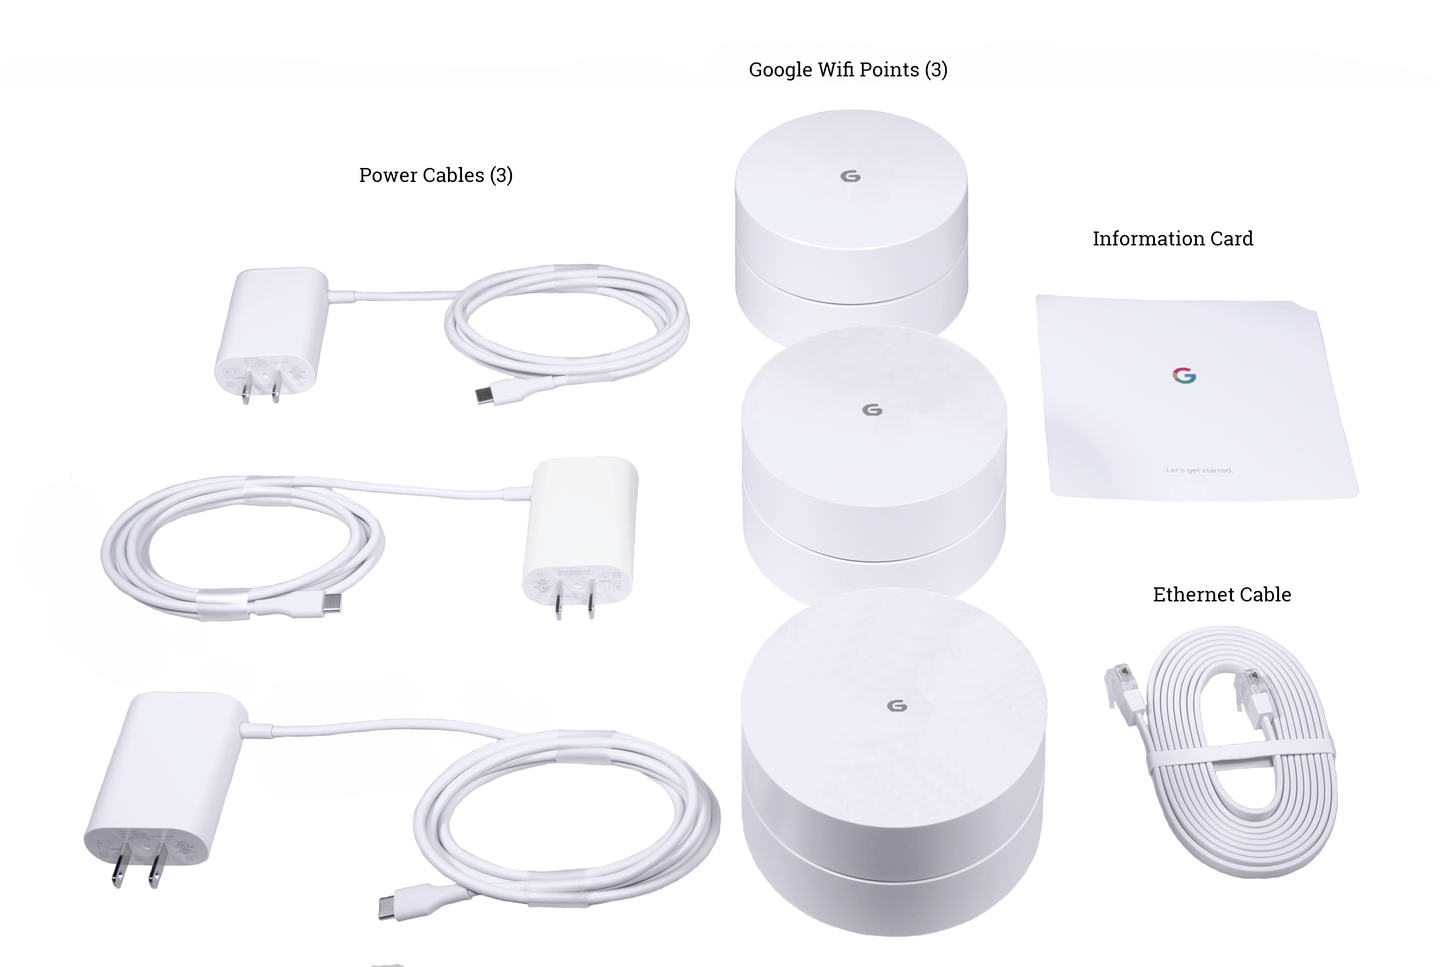
In the Box
Below are the included hardware pieces for the three pack:
Set Up Google Wifi
After unpacking the hardware, use the Google Wifi Setup app from the Google Play Store or the Apple App Store to easily set up your network.
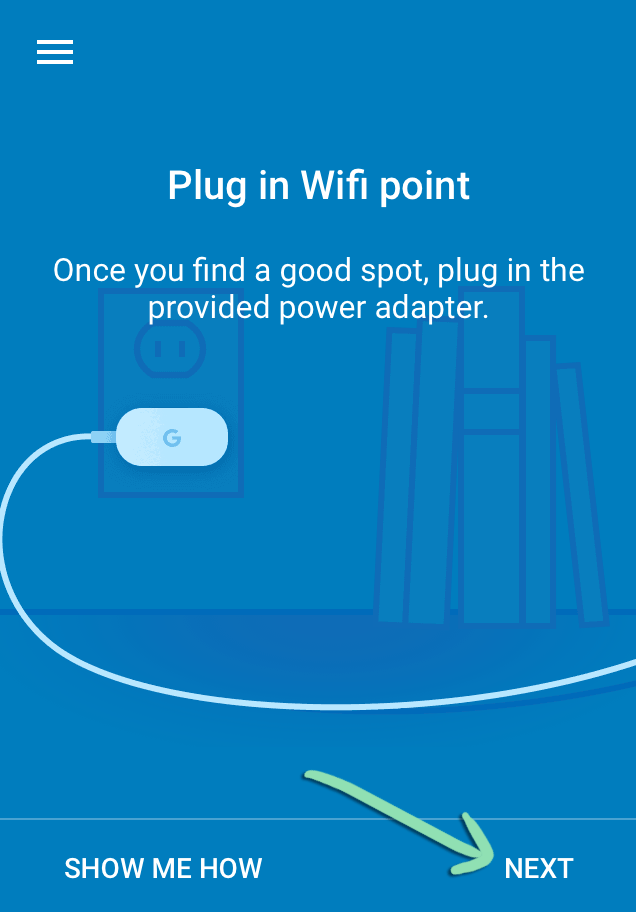
- Pick any Google Wifi point and connect a power cable into the small port.
- Plug the other end of the cable into a power outlet.
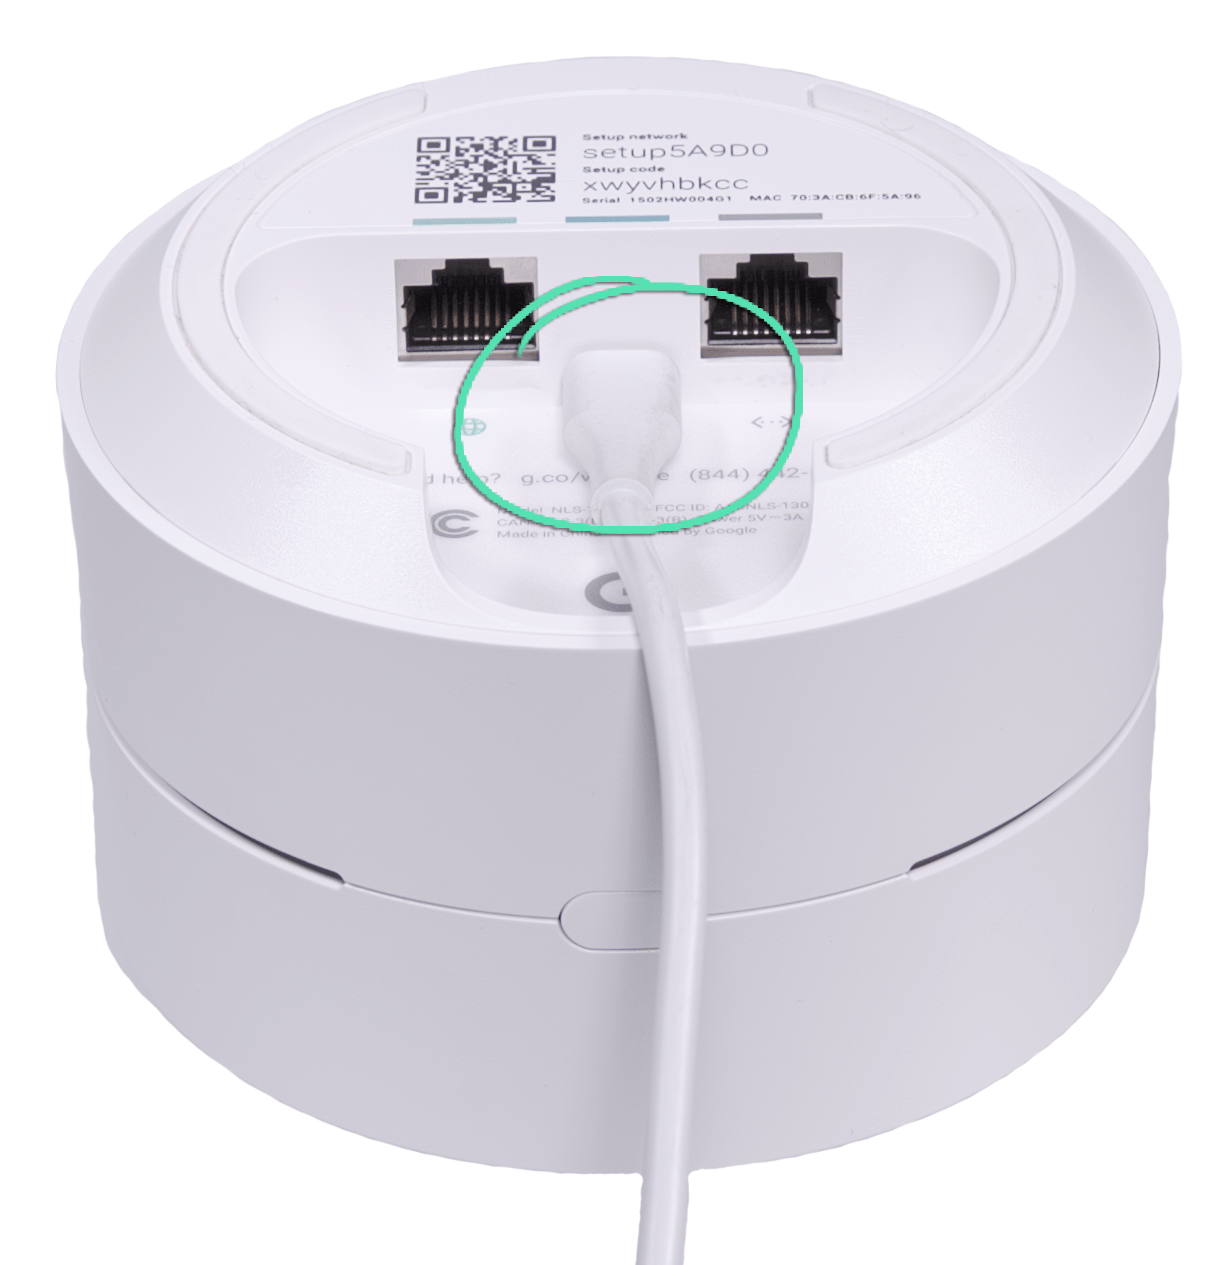
- Plug the ethernet cable into the leftmost port on the Wifi point.
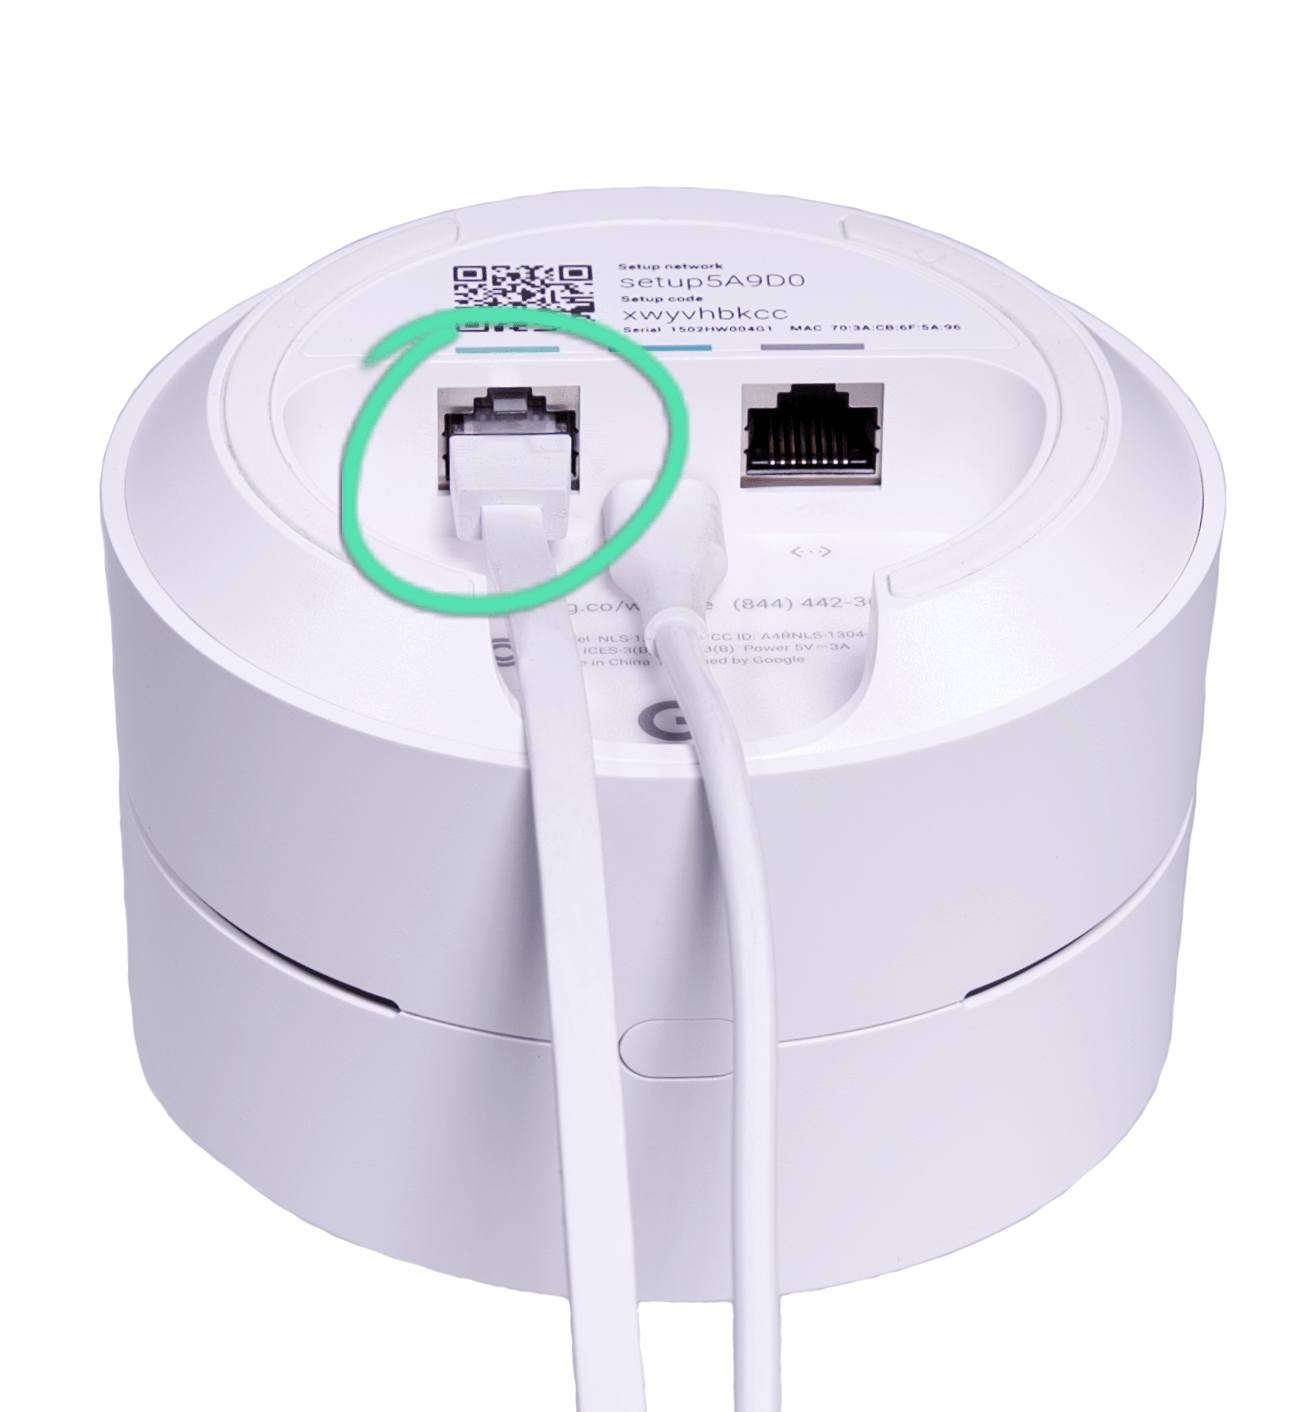
- Plug the other end of the cable into your modem provided by your internet service provider.
- Using an iOS or Android device, download the Google Wifi app.
While the app downloads, make sure that the device has bluetooth on.

- Open the app and tap 'Sign In'. Then sign in using your Google account.
To find your Google account or to create a new one, tap ‘More Options’.

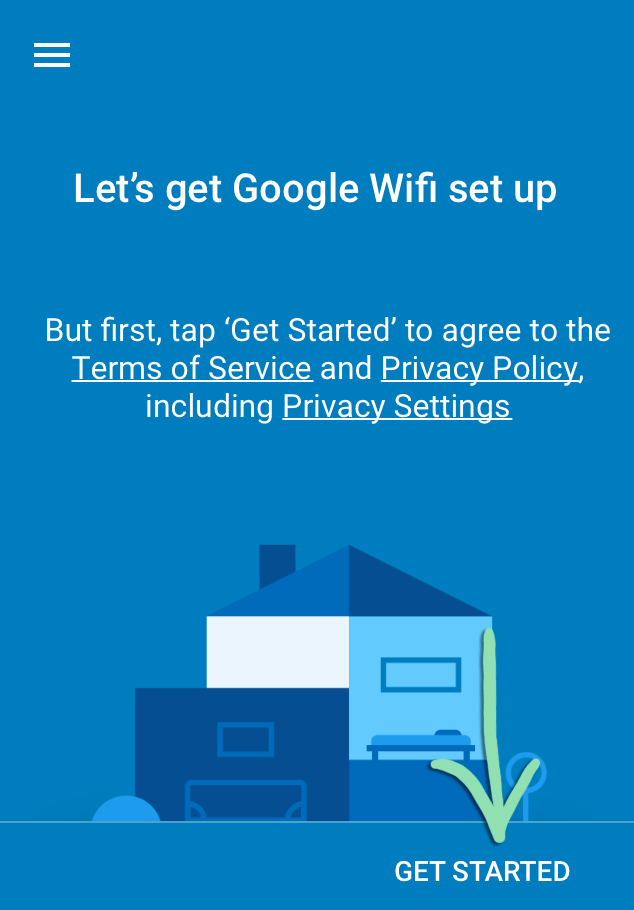
- Tap 'Get Started'.
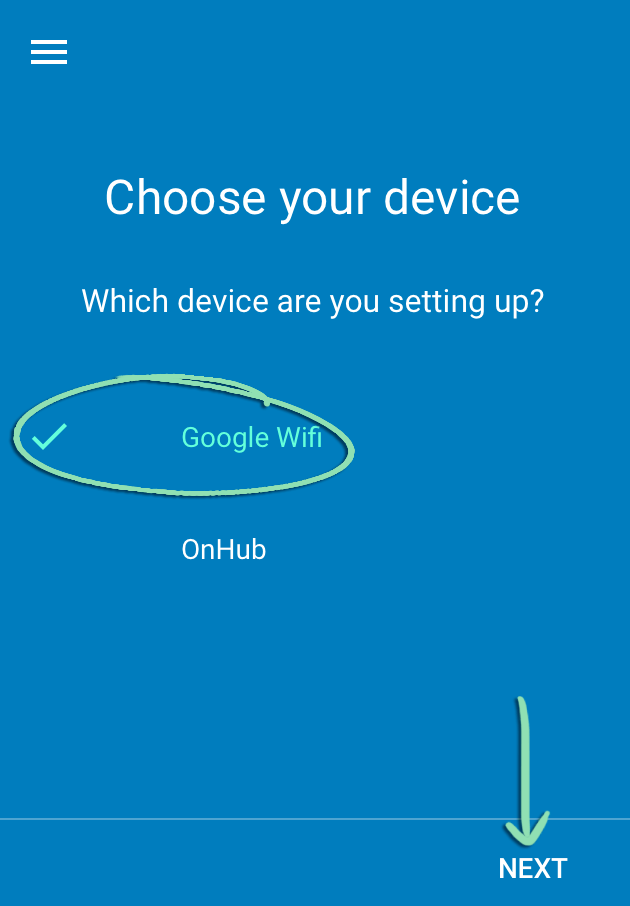
- The Google Wifi app automatically locates the Wifi point. Select 'Google Wifi', then tap 'Next'.
- Confirm that the Wifi point is in the best place for connectivity. Tap 'Next'.
To learn more about router placement, check out our Best Practices Guide.

- Tap 'Scan Code', then scan the QR code on the bottom of the Google Wifi device or tap 'Type Code' to enter the set up code manually.

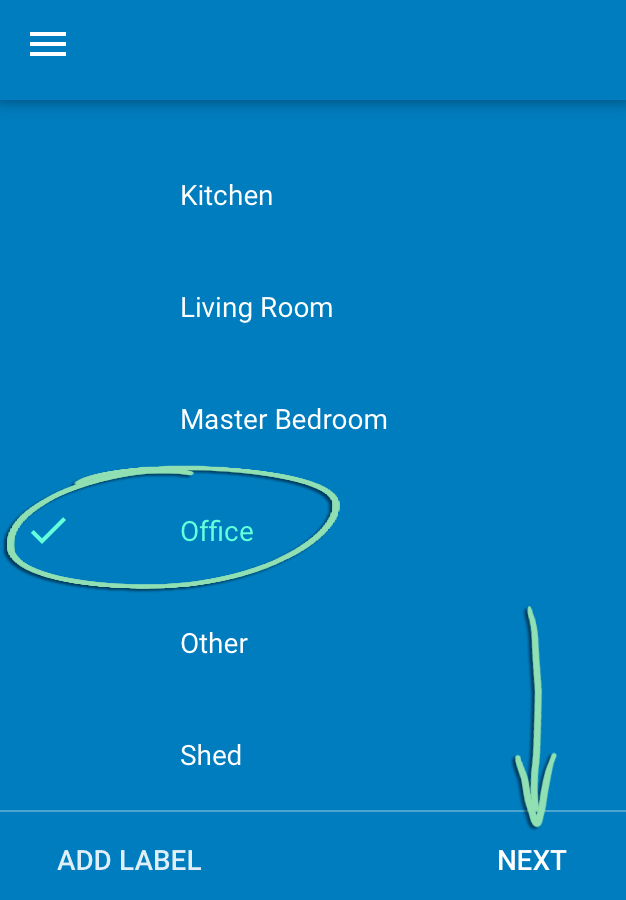
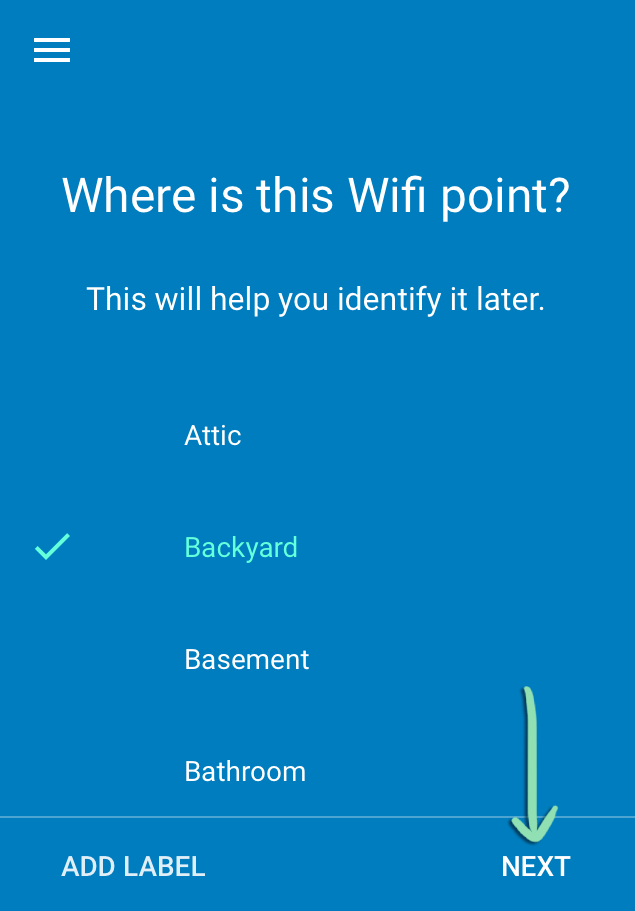
- Select the location of the Wifi point. Tap 'Next'.
(Optional) Tap ‘Add Label’ to add a custom label to the location.
- Enter a name for your Wifi network. Tap 'Next'.
It is best to give the network a new name to prevent connecting to the old network.

- Create a password for the network. Tap 'Create Network'.

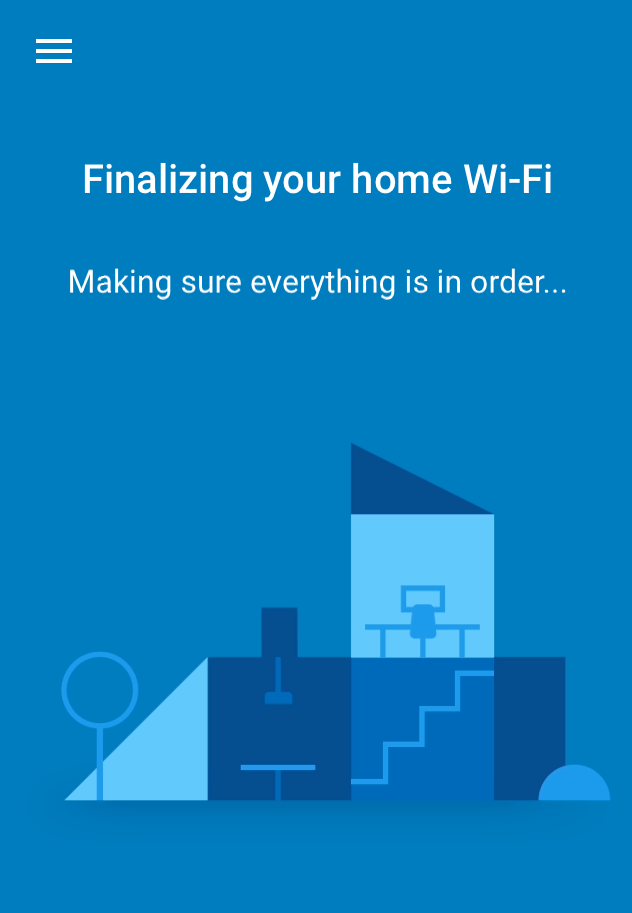
- The app will download the Google Wifi software.
The light on the Wifi point will turn solid teal when the download and setup are complete. Allow at least two minutes for the software download to complete.
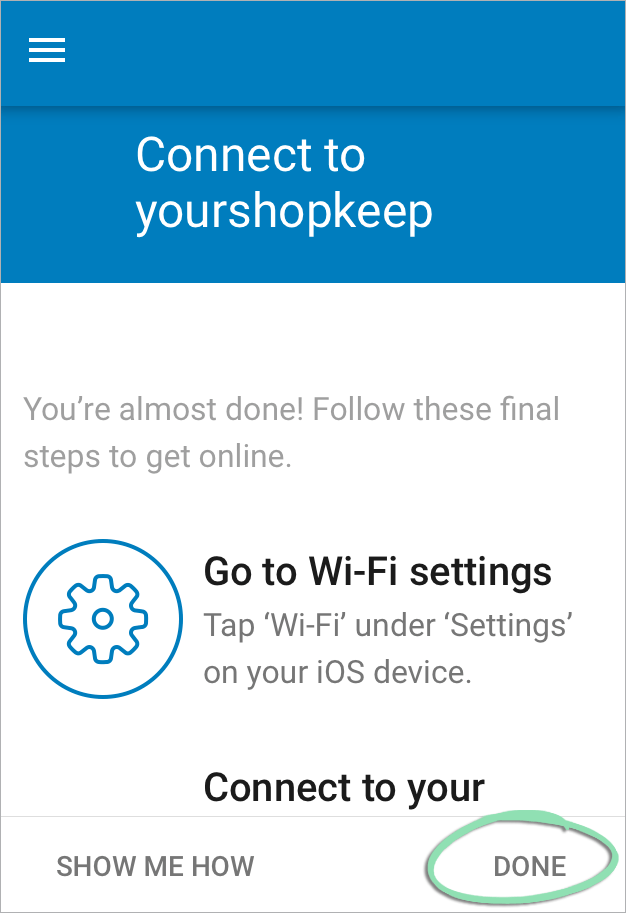
- Connect your device to the newly created network.

- Return to the Google Wifi App. Tap 'Done' to complete set up.
To set up additional Wifi points, follow the steps in our next section.
Connect Additional Wifi Points
Follow below to learn how to connect additional Wifi points to extend the network.
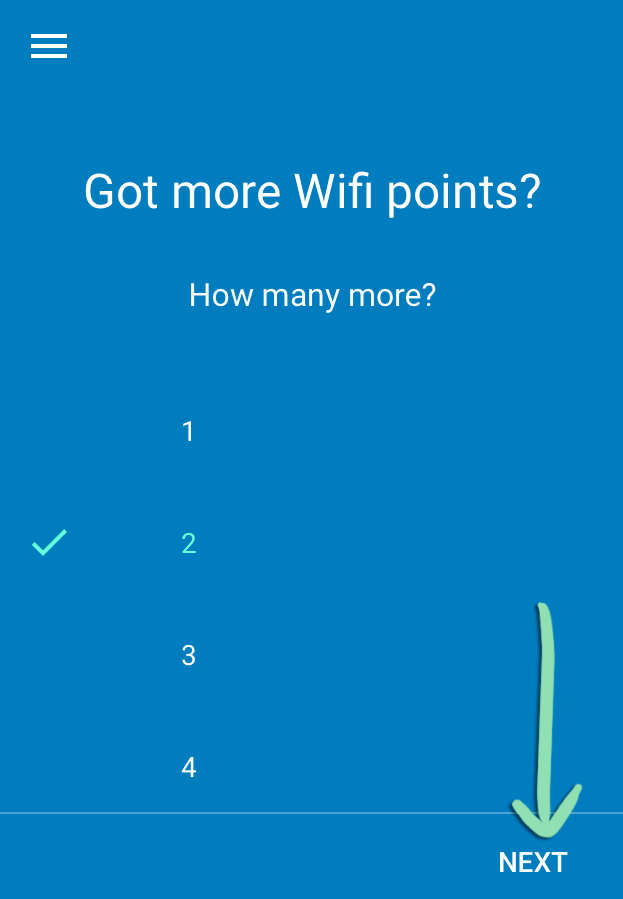
- Select the number of additional Wifi points to be added, then tap 'Next.'
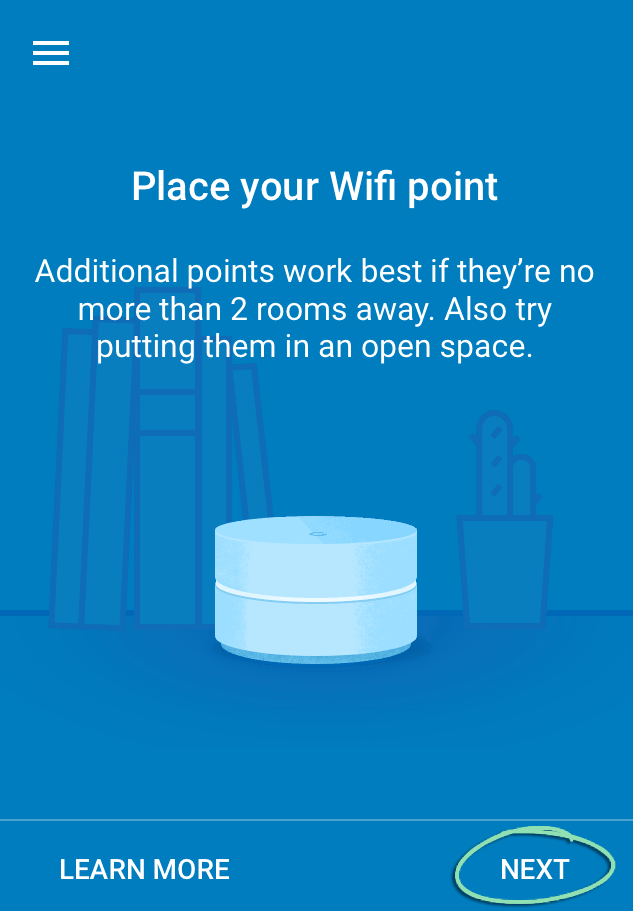
- Choose a spot for the Wifi point. Tap 'Next' on screen.
To learn more about router placement, check out our Best Practices Guide.
- Using a different Wifi point, connect a power cable into the small port.
- Plug the other end into an outlet.
- Tap 'Next' on screen.
- Select the location of the Wifi point. Tap 'Next'.
(Optional) Tap ‘Add Label’ to add a custom label to the location.
- Google Wifi will finalize the wifi point.
- Tap 'Test Now' to confirm network strength.

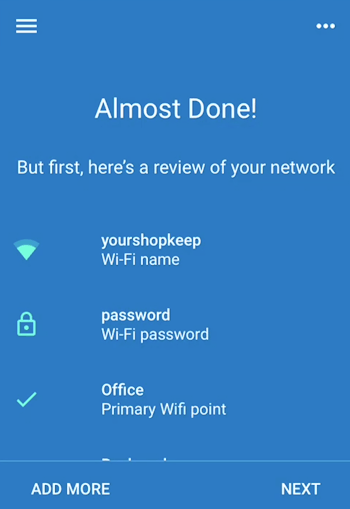
- Tap 'Next' when the test is complete. The additional point is ready for use.
- Review network details, then tap 'Next' to finish up or tap 'Add More' to connect additional Wifi points.