Use Bulk Management to create, update, or delete large numbers of items with variants at once using spreadsheets. After learning when to use Bulk Management, start a new job in BackOffice to begin managing inventory with this tool.
If you experience issues with Bulk Management, visit the Bulk Management section of our Items Troubleshooting guide.
Table of Contents
When to Use Bulk Management
Bulk Management is a powerful tool that can transform how you manage inventory. Before jumping right in, it is important to learn when you should and when you should not use this feature.
Use Bulk Management:
When you have many inventory items to create
For merchants with large inventories, it’s more efficient to import items via Bulk Management than to create them one by one from the Item List.
When you have a digital copy of your items
If the items you need to create already exist in a spreadsheet file, just copy their information into our template. Once in our template, the items are ready to import via Bulk Management.
If you need to update or delete many existing items
It is more efficient to manage large numbers of items with Bulk Management than it is to update or delete those items one at a time from the Item List.
Don’t use Bulk Management:
When you have just a few items to create, update, or delete
In this case, it is less efficient to prepare a Bulk Management spreadsheet than it is to create, update, or delete those items one by one from the Item List or to update several items at once using Bulk Edit.
If you are not comfortable working with spreadsheets
Using Bulk Management requires editing, formatting, and saving spreadsheets files. If you don’t feel confident doing these actions, Bulk Management may not be right for you.
If you want to create, update, or delete items from within the Retail POS (S-Series) app.
Bulk Management is not accessible from the Retail POS (S-Series) app, only from BackOffice. Managing items with variants at the register must be done from the Item List.
If you decide not to use Bulk Management, create, update, or delete items one at a time via the Item List, or update multiple items at the same time using Bulk Edit.
Start a New Job
Whether you need to create new items with variants, update existing ones, or delete some from inventory, begin by starting a new Bulk Management job.
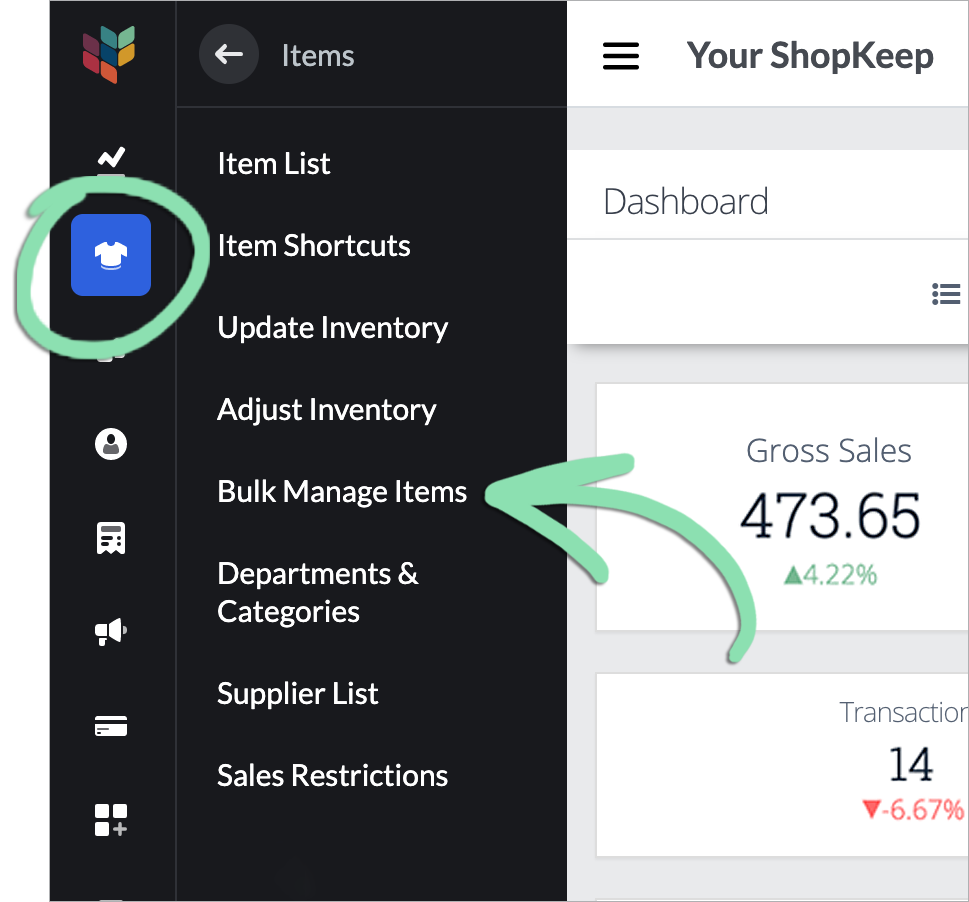
In BackOffice, click 'Items' and select 'Bulk Manage Items'.
Click to Enlarge
While you can create items with variants one by one from the Item List, importing inventory using Bulk Management is sometimes more efficient. We recommend this method if you have a lot of items (over 50).
Prep the Spreadsheet
Download an import template from BackOffice and fill it in with your inventory information.
Items with variants cannot use open or unit pricing, they must have their Price Type set to system.
The only required columns are Name and Price.
Price, quantity, and other item details will be applied to all of an item’s variants. To update individual variants after uploading the spreadsheet into BackOffice, complete an Update job.
Any columns left blank will automatically be assigned the default value (TRUE or 0).
For items with variants, enter values in the 'Option Name' and 'Option Value' columns.
Options are the types of variant choices a customer can make (Size, Color, etc).
Option Values are selections within each Option (Small, Medium, Large, etc).
Option Values must be each be separated by a comma.
With the import spreadsheet saved, return to Bulk Management to upload the new items to BackOffice.
In Bulk Management, click 'Choose File' and select the import spreadsheet.
Click to Enlarge
(Optional for multi-location accounts) Check the box to create the items in all linked locations.
This option is only available to merchants with multiple linked locations and is only visible to the Business Owner. Visit our New Store Setup article to learn how to create a new linked location or our Multi-Store Management guide to learn how to link existing locations.
Updating existing inventory items is a multi-part process. Export your current inventory, make updates to the export, and return to Bulk Management to import the changes.
Only Register Status, Price, Cost, Quantity, Reorder Trigger, and UPC can be updated for items with variants using Bulk Management.
Options and Option Values cannot be added, deleted, or renamed using Bulk Management. However, Option Values can be added and deleted from the Item List by editing an item.
To make an entire item with variants’ Register Status ‘inactive’, not just individual variants, you must manually edit the item.
Inactive variants can only be made active by manually editing the associated item.
Multi-location businesses must update each location’s items separately from the BackOffice of that location as updates do not sync between stores.
Prep the Spreadsheet
As existing items are being updated, start by exporting the existing inventory from BackOffice.
If you don’t have spreadsheet software, try Open Office for free.
Modify the spreadsheet to reflect the updates you want to make.
Below is an example of a price change. Item UUID is required for import, Name stays as a reference, and Price is the only column that changes. Rows and columns not being updated are removed.
Deleting items with variants via Bulk Management is a multi-part process. Learn how to export the current inventory, prepare an import spreadsheet, and upload the variants to be deleted.
Before deleting items with variants, note the following:
Deleting all of an item’s variants removes the entire item from inventory. Deleting some of an item’s variants removes those specific variants and keeps the item in inventory.
To re-add a deleted variant, you may need to temporarily delete some other variants. Labels printed for variants before deletion will not scan at the register. New labels will need to be printed.
Deleted variants will still appear on sales reports for dates prior to deletion but will not appear on some other reports. Visit the Inventory FAQ to learn which reports are not supported.
Multi-location businesses must delete items separately from the BackOffice of each location as Bulk Management deletions do not sync between stores. To delete items from all linked locations at once, use the Item List.
Prep the Spreadsheet
Using your preferred spreadsheet software and a list of existing items exported from BackOffice, prepare the .CSV file to only include items you will delete from inventory.
Remove any items and variants not being deleted from inventory by deleting rows from the spreadsheet.
Here’s an example of two items with variants being deleted via import. Variants appear on separate rows with the item name and ‘Option Values’ in the ‘Name’ column. All items and variants remaining on the spreadsheet will be deleted.
Save or export the completed spreadsheet in .CSV format.
Visit our Spreadsheets for Bulk Imports article for help saving the file in the correct format for your spreadsheet software.
Upload the Spreadsheet
With the import spreadsheet prepared, return to Bulk Management and upload into BackOffice the variants to be deleted.
In Bulk Management, click 'Choose File' and select the import spreadsheet, then click 'Next'.
Be sure to select the spreadsheet saved in the previous section, NOT the original file exported from BackOffice. All items and variants in the spreadsheet will be deleted.
Name | Name of the item as it appears on the register and receipts. This field is mandatory, must be unique, and must be under 255 characters. Option Name | The types of variant choices a customer can make (Size, Color, etc.). Discountable | TRUE – Yes, the item should be able to have a discount applied to it. FALSE – No, the item should not be discountable at the register. UPC | 2 – 55 digit product barcode number that can be scanned at the register to ring up the variant. Cashiers can also search for items by UPC at the register. UPCs with letters are not supported. If a product UPC contains letters, print a new barcode label using the item’s SKU via Lightspeed Label Printing to scan the item at the register. Taxable | TRUE – Yes, the item should have tax applied to it. FALSE – No, this item should not be taxed. Department | Optional field used for item organization, reporting, and ticket printing. Category | A subgroup within a Department. Supplier | The vendor or party from whom the item is acquired. Supplier Code | Any reorder code associated with the item. Price Type | How the item’s price is entered. System – The item has a set price. Open – The price entered at the register when the item is sold. Unit – The item is sold at a per-unit price (e.g. by the pound). NOTE: Items with variants must have their Price Type set to system. Unit | Two character abbreviation for unit pricing (oz/lb/etc.). Use only if Price Type is set to Unit. NOTE: Items with variants cannot use unit pricing. Tax Group or Rate | Assign an item to an existing tax group or rate to override the default tax for that item. Tax groups must be set up in BackOffice, but tax rates can be set up in BackOffice or at the register, either when creating items or before assigning items to them. Enter the name of a tax group and its combined tax rate or the name of a tax rate and its percentage, e.g. Alcohol @ 11.25%. Track Inventory | TRUE – Yes, BackOffice will keep track of the item’s quantity on hand. FALSE – No, BackOffice will not keep track of the item’s quantity on hand. Register Status | active – The item appears on the register and can be sold. inactive – The item appears only in BackOffice and cannot be sold at the register. Price | What the customer pays at the register for the item. Cost | The cost of the item to the business. If Track Inventory is set to FALSE, leave this blank and enter the cost in the Assigned Cost column instead. Quantity | How many of an item is on hand. Assigned Cost | The cost of the item to the business. If Track Inventory is set to TRUE, enter the cost in the Cost column instead. NOTE: Leave this field blank for items with variants. To track cost, set Track Inventory to TRUE and enter item cost in the Cost column. Reorder Trigger | Low quantity amount that prompts the time to appear on the Reorder Report. Recommended Order | Quantity required for the item to be considered fully stocked.
Help us improve Lightspeed Support. Was this article helpful?