Tenders are the payment methods customers use such as cash, credit, deposit, and gift card. Manage tender settings to accept a variety of payment types at the register in addition to the default options.
Table of Contents
Tender Types
Standard, Additional, and Redeemable tenders categorize all accepted payment methods and liability tenders accepted at the register. Learn below about the tenders included in each group.
These tenders are used for reporting purposes only and may not represent integrations with Lightspeed Retail. Payment must be processed separately outside of the register for external tenders, eCommerce, and Mobile Payment.
Standard Tenders
Standard tenders are the most commonly used payment methods.
Cash | Use to accept physical cash into a cash drawer.
Other | Use to accept any alternative forms of payment not listed on this page. Lightspeed eCom (E) orders paid online and processed at the register and supported orders marked ‘Paid’ in the eCommerce Dashboard will appear in reporting as being tendered to ‘eCommerce’ (if enabled) or ‘Other’ (if ‘eCommerce’ is not enabled). When invoice reporting is enabled, paid invoices will appear in reporting as being paid with ‘Other’.
Additional Tenders
Additional tenders are payment methods, such as checks or mobile payments, that are not standard or redeemable tenders.
Check | Use to accept personal checks.
Coupon | Use to accept a coupon without affecting sales tax on a sale.
eCommerce | Use to manually record online sales if not using Lightspeed eCom (E) or legacy BigCommerce integration. Lightspeed eCom (E) orders paid online and processed at the register and supported orders marked ‘Paid’ in the eCommerce Dashboard will appear in reporting as being tendered to ‘eCommerce’ (if enabled) or ‘Other’ (if ‘eCommerce’ is not enabled)’.
External | Use to record credit, debit, or EBT card payments run through an external terminal. External tenders available: Amex, Credit, Debit, EBT, and V/MC/Dsc
Mobile Payment | Use to record payments accepted through an external mobile app.
Pay by Link | Use to send customers a link they can visit to pay for a sale from their own device. This is only available to merchants who have signed up for online and mobile payments and are using the Retail POS (S-Series) app for iOS with Saved Sales Sync enabled. To learn how to use this tender, visit our Pay by Link article.
Redeemable Tenders
Redeemable tenders are for liabilities like deposits, gift cards, or gift certificates and must be set up with a liability item used for issuing the liability to customers.
Deposit | Use deposits to accept refundable, partially refundable, and/or non-refundable prepayments.
Gift Certificate | Use to accept gift certificates as payment. Gift certificates do not integrate with Lightspeed Retail and individual balances must be tracked manually.
Set Active Tenders
In BackOffice, select standard, additional and redeemable tenders to enable them for use at the register.
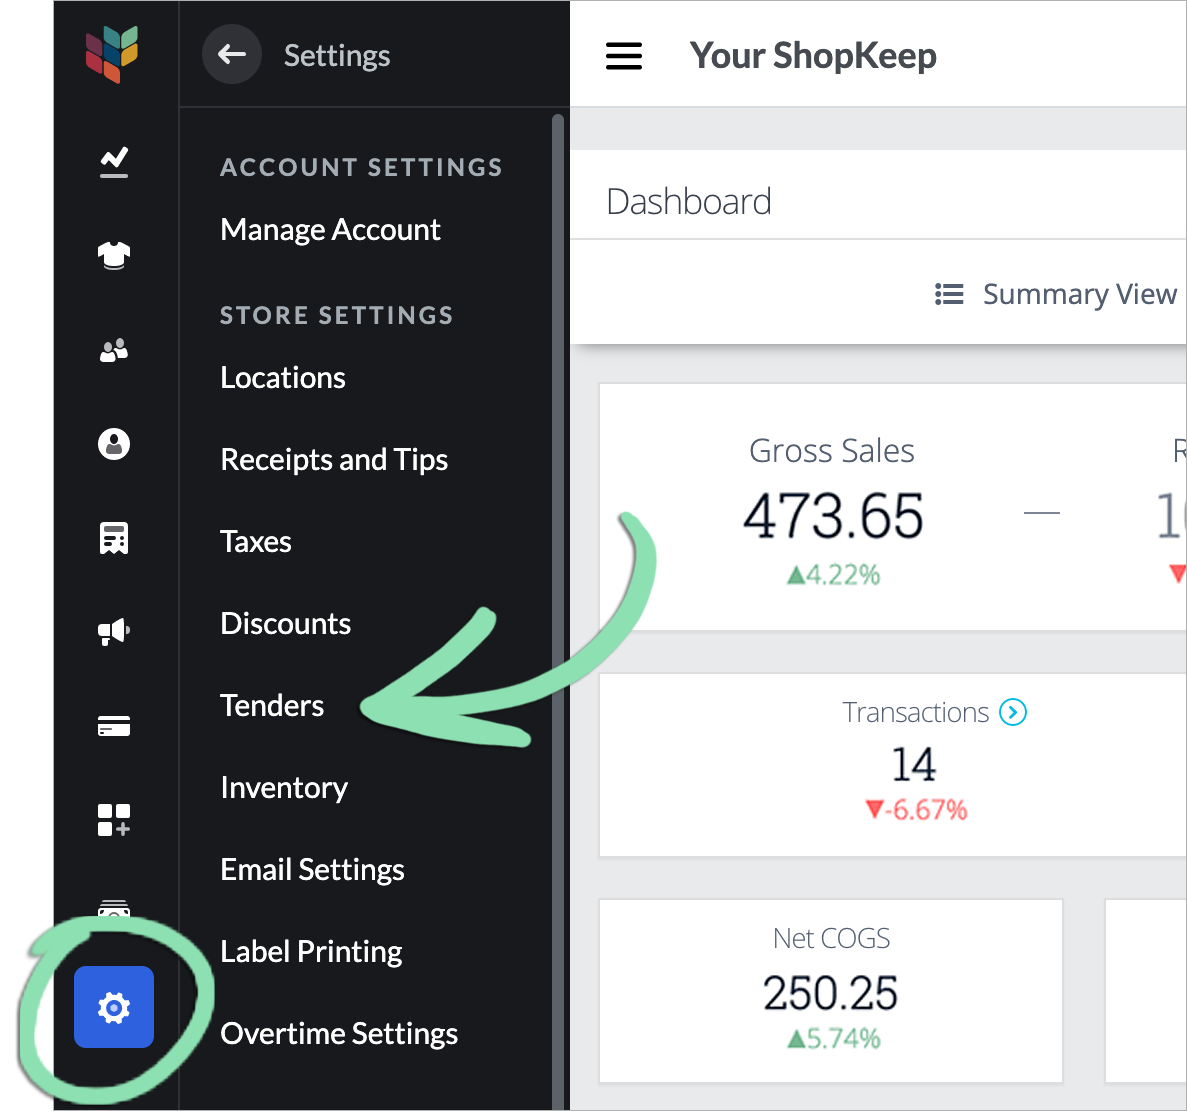
In BackOffice, click 'Settings' and select 'Tenders'.
Click to Enlarge
Tap the checkbox next to a tender to enable or disable it.
Click to Enlarge
Get updates on the iOS or Android register to sync the changes to the register.
If you receive an error while getting updates, visit our troubleshooting guide for help.
Use Tenders at the Register
Select a tender to complete a sale at the register and properly record the payment method in sales reporting.
Tap '...' and select a tender, or tap a default tender.
If enabled, ‘Cash’ and ‘Credit’ take priority as default tenders on the sale screen.
After selecting ‘Split Tender’, ‘Gift Card’, or ‘Pay by Link’, additional steps are required to complete the sale. For help finishing one of these transactions, visit the article for that specific feature.