Learn how to split one saved sale into several sales, merge multiple saved sales together into one, and transfer ownership of saved sales from one employee to another.
Not sure how to save a sale? Visit our Saved Sales article for help.
Table of Contents
Saved Sales Screen
Visit the Saved Sales screen to view, manage, split, merge, or transfer saved sales. By default, saved sales do not sync from one register to another register unless Saved Sales Sync or Serverless Sync™ is enabled.
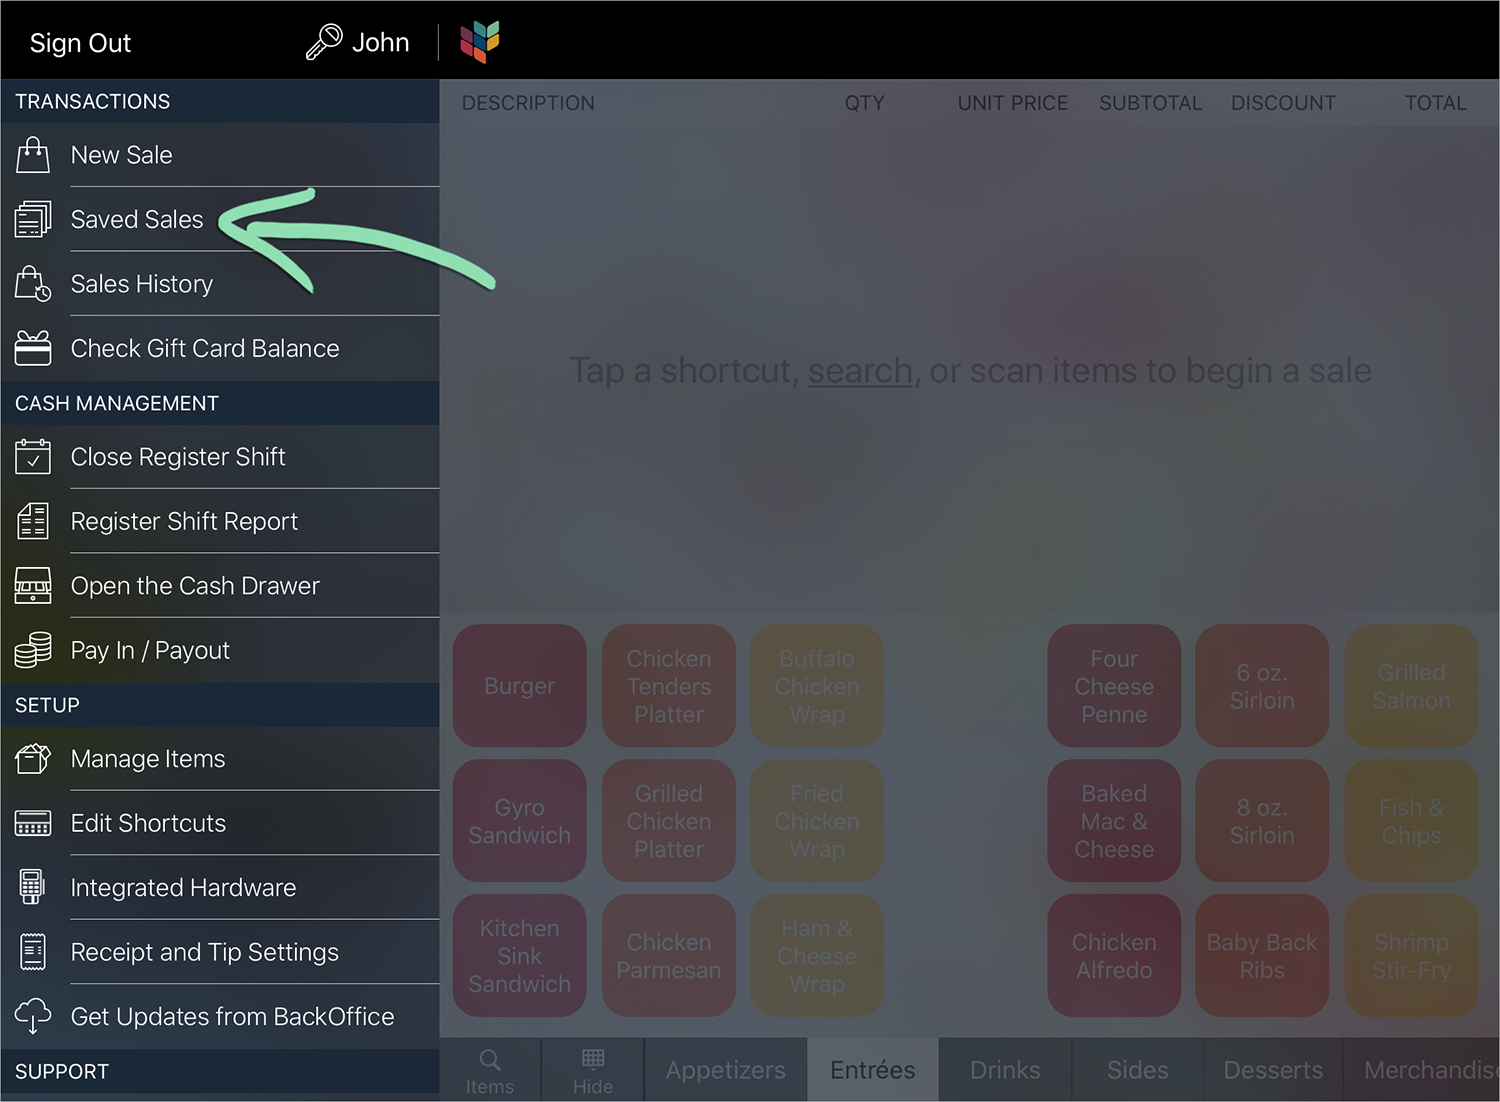
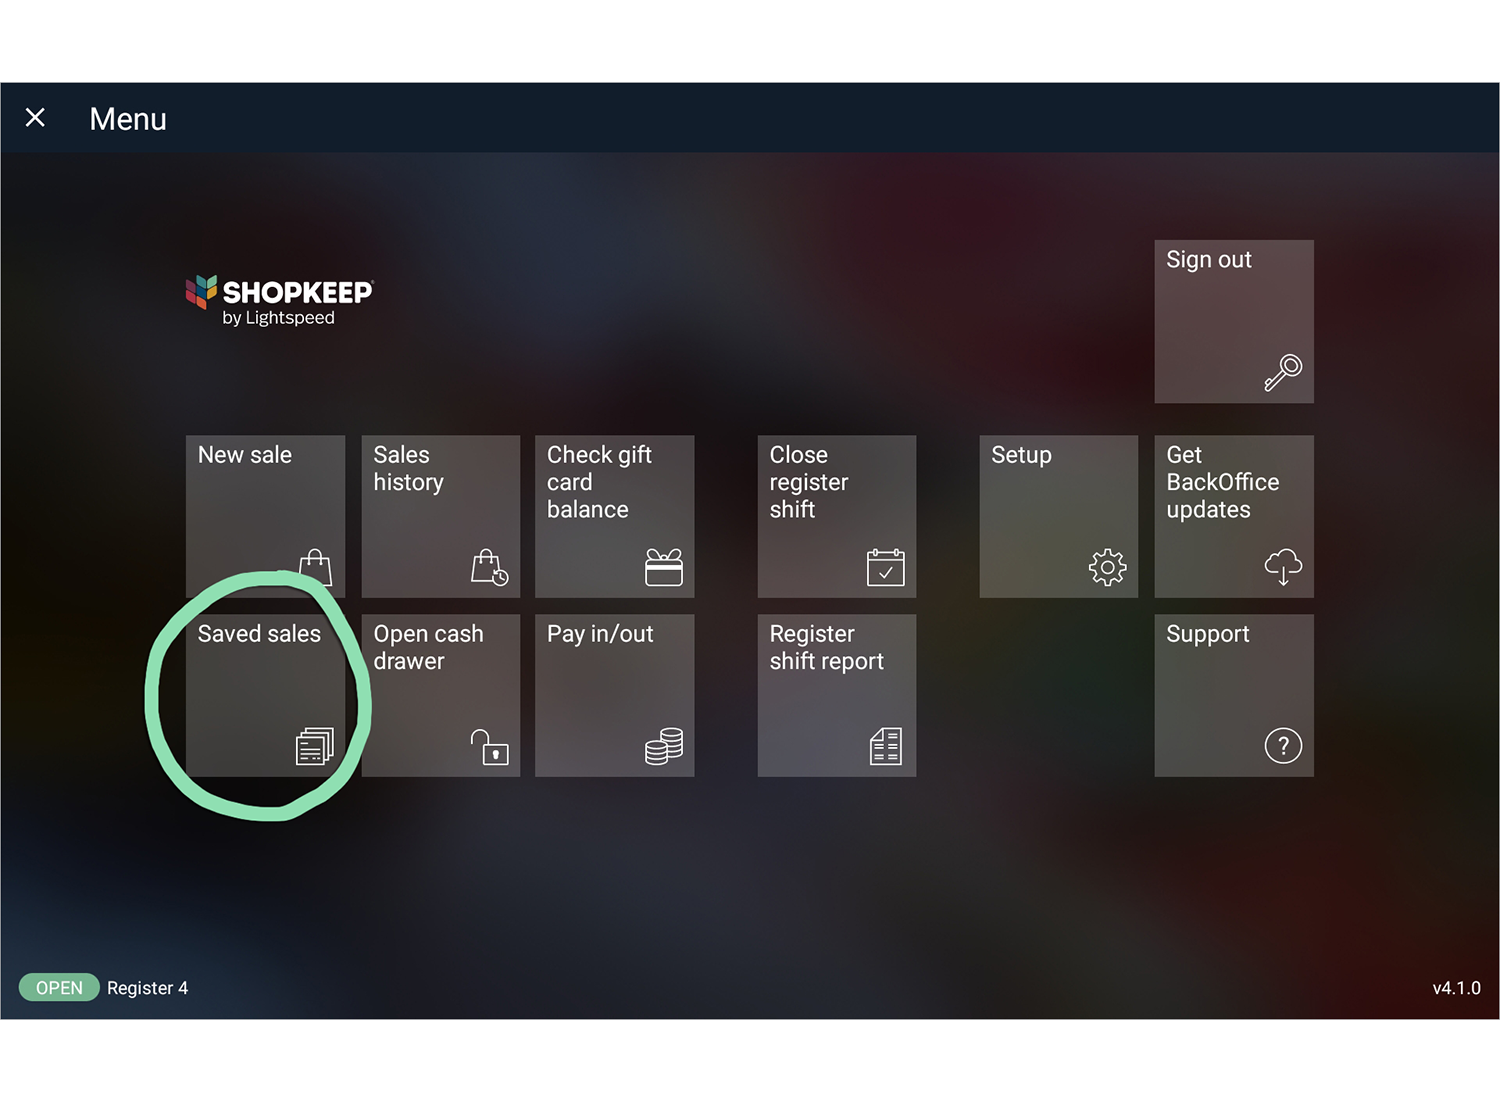
In the Retail POS (S-Series) app, tap 'Saved Sales' on the Main Menu (iOS) or register menu (Android).
Filter the Saved Sales screen by employee and/or sale type.
If using the Retail POS (S-Series) app for iOS, select filter options from the bottom of the screen. Click to Enlarge
All / Mine | Display sales saved by all employees, or only sales saved by the employee who is signed in. All / Online Orders Only | Display all saved sales and Lightspeed eCom (E) online orders, or only Lightspeed eCom (E) online orders.
If using the Retail POS (S-Series) app for Android, select filter options from the drop-downs. Click to Enlarge
All Staff / Me / Employee / External Source | Display sales saved by all employees, only sales saved by the employee who is signed in, only sales saved by a specific employee, or only sales coming from an external source (e.g. Lightspeed eCom (E) online orders). All / In person / Online | Display all saved sales and Lightspeed eCom (E) online orders, only sales saved in person at the register, or only Lightspeed eCom (E) online orders.
(Optional) Select a view option from the bottom of the screen (iOS) or from the drop-down (Android) to sort saved sales in ascending or descending order.
Time Elapsed | Order sales by when they were initially saved or received via Online Ordering. Sale Name | Order saved sales alphabetically by name. Online orders begin with and are sorted by the letter ‘O’. Order Number | Order saved sales by order number, found in the lower right corner.
Follow the steps in the sections below to split, merge, and/or transfer saved sales.
For help modifying or closing saved sales, visit our Saved Sales article.
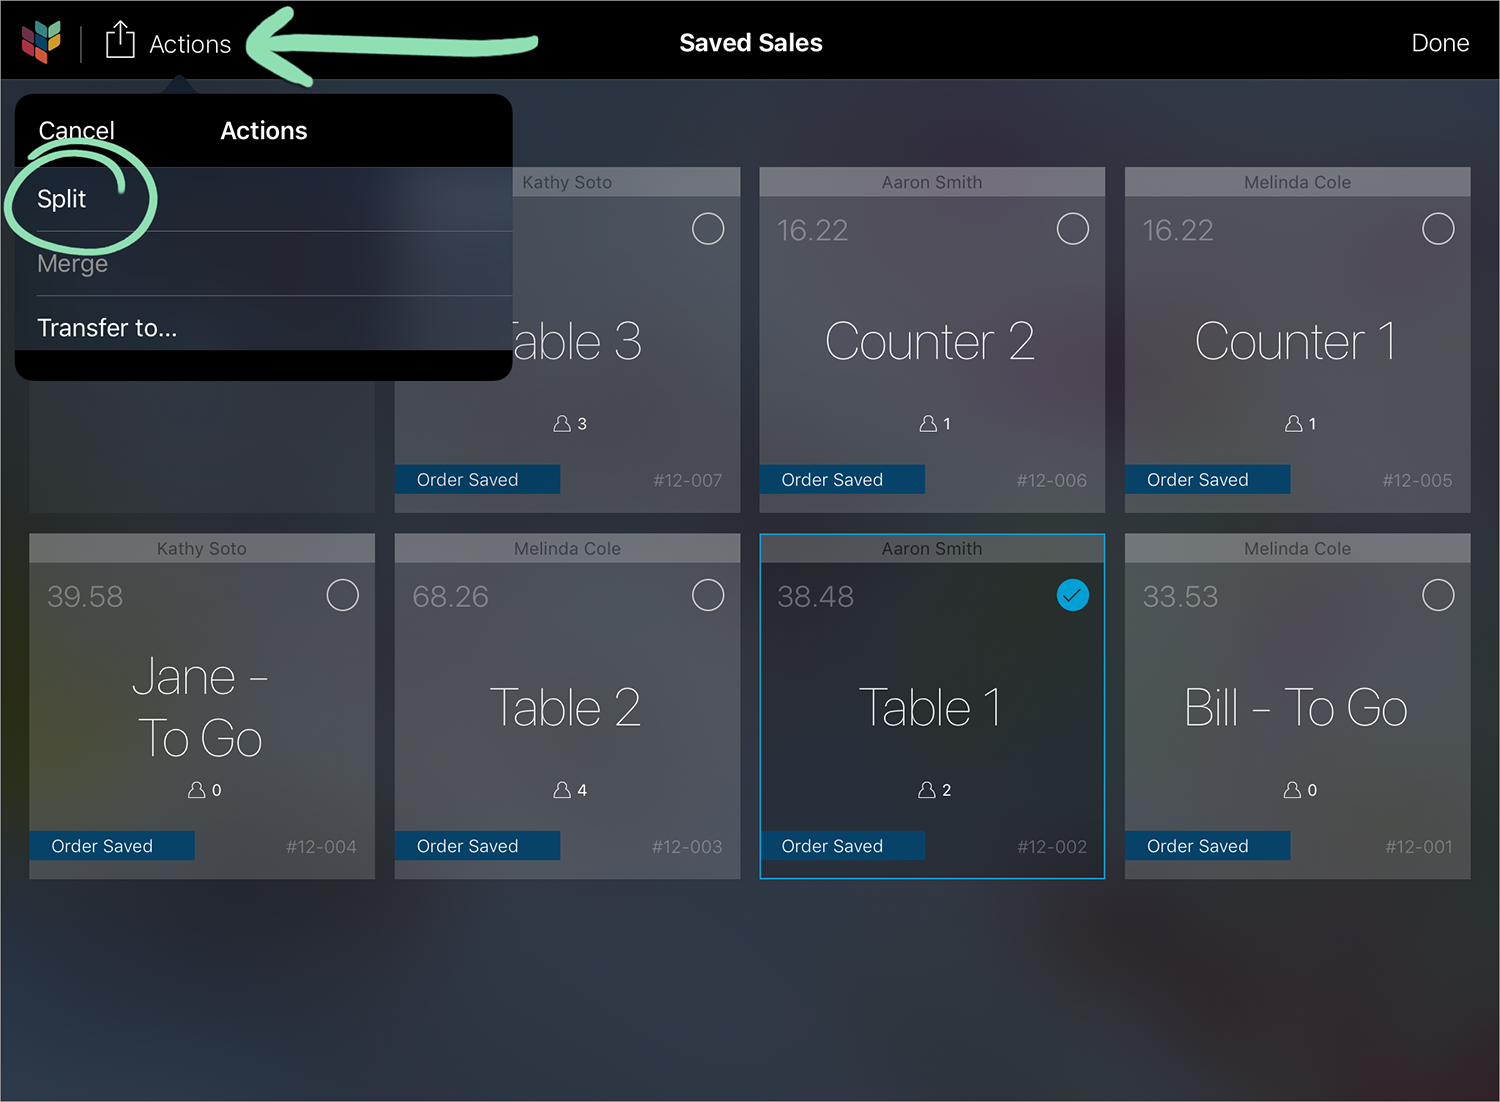
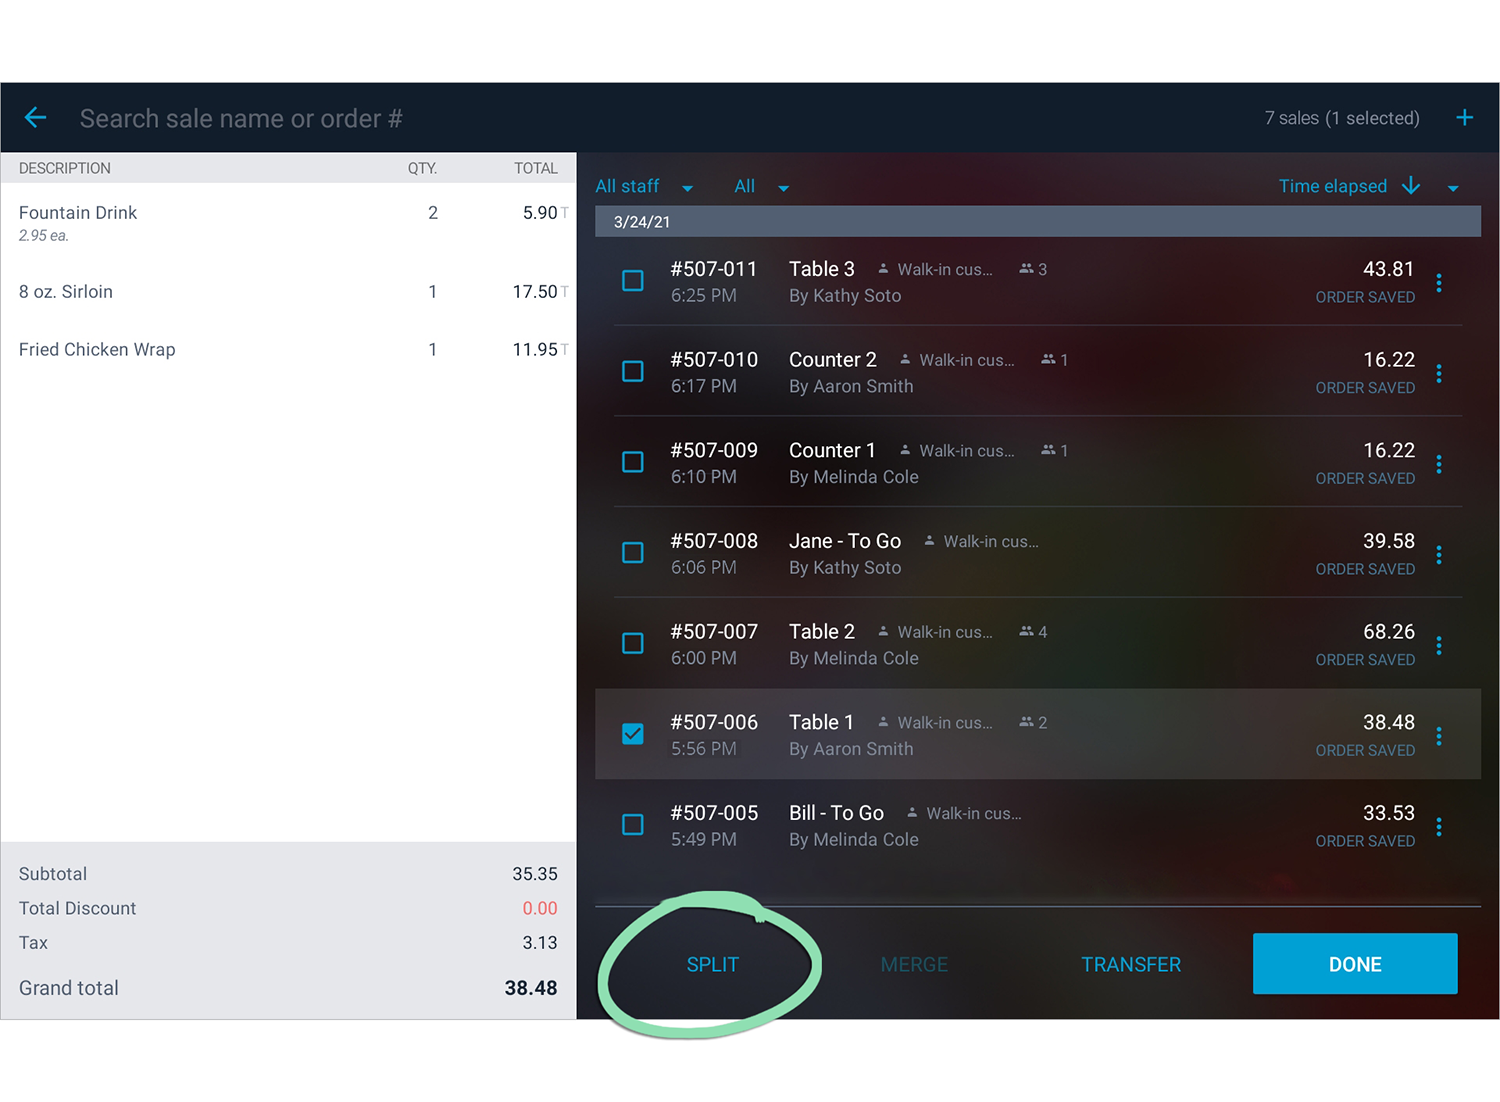
Split Saved Sales
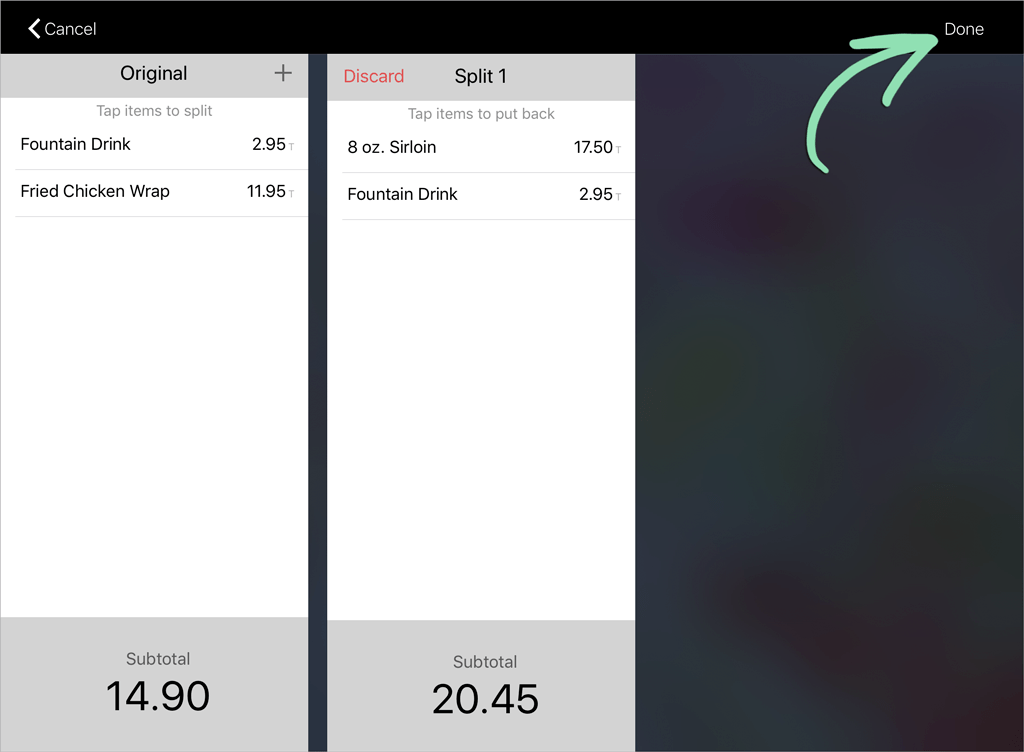
Splitting a saved sale allows the cashier to separate its items into multiple new saved sales that can be independently modified or closed.
To learn how to split payment for a single sale between multiple tenders, such as cash and credit, visit our Split Tender Transactions article.
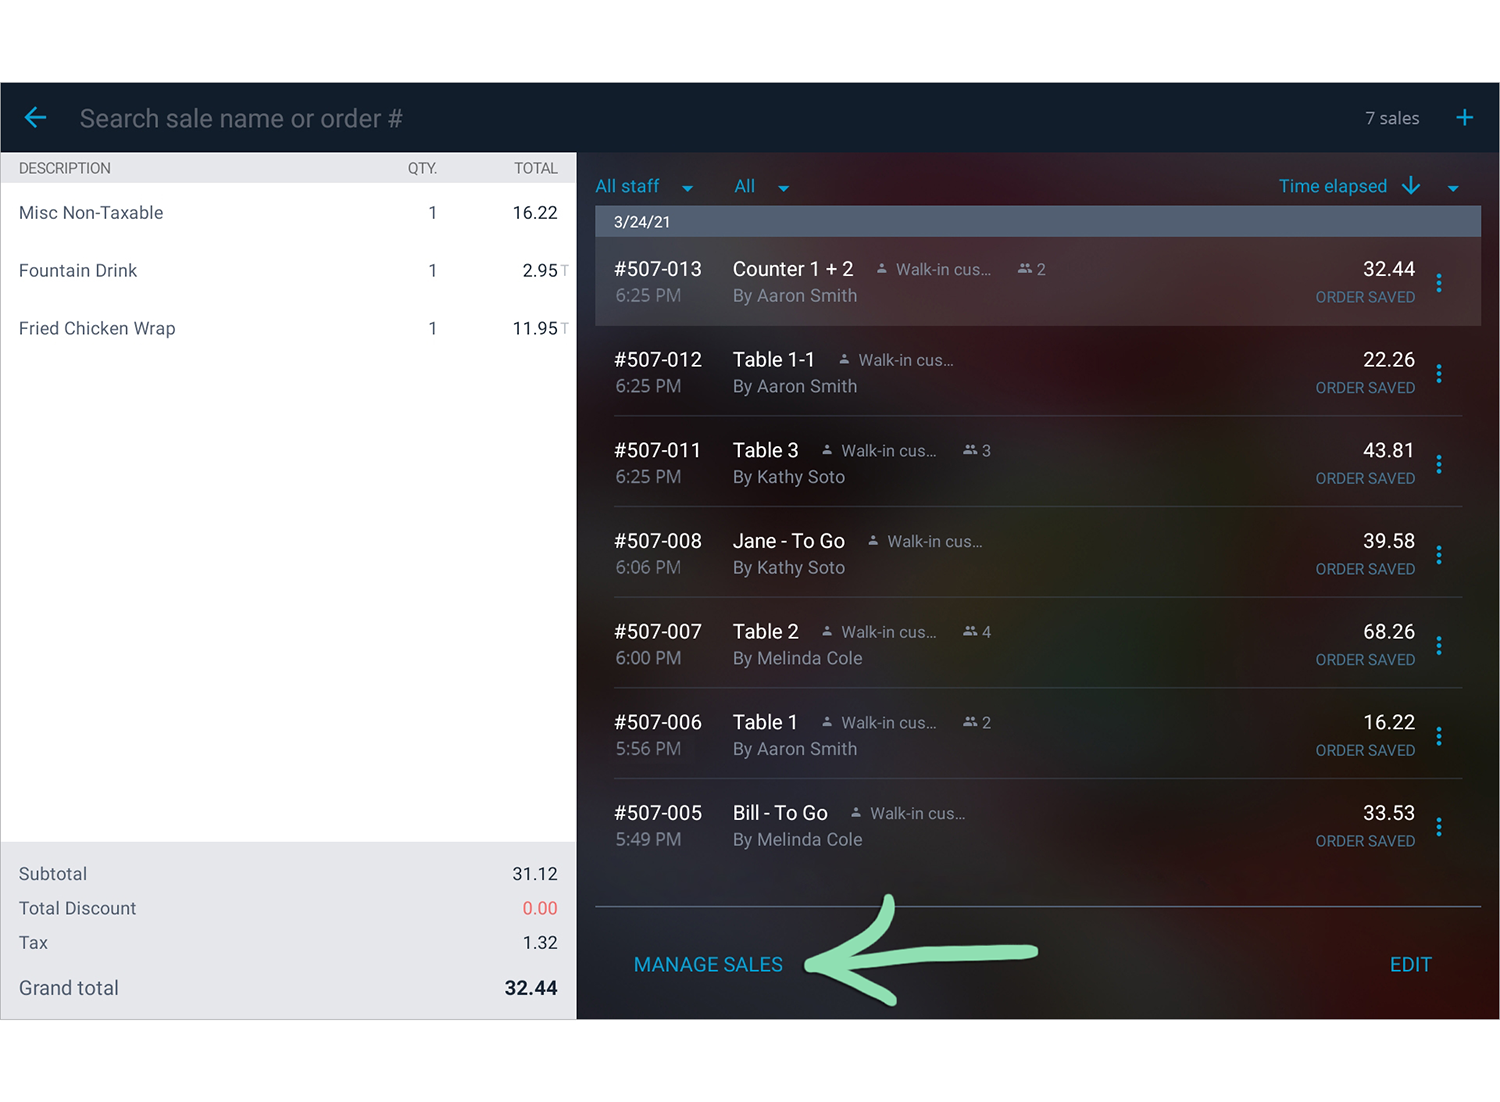
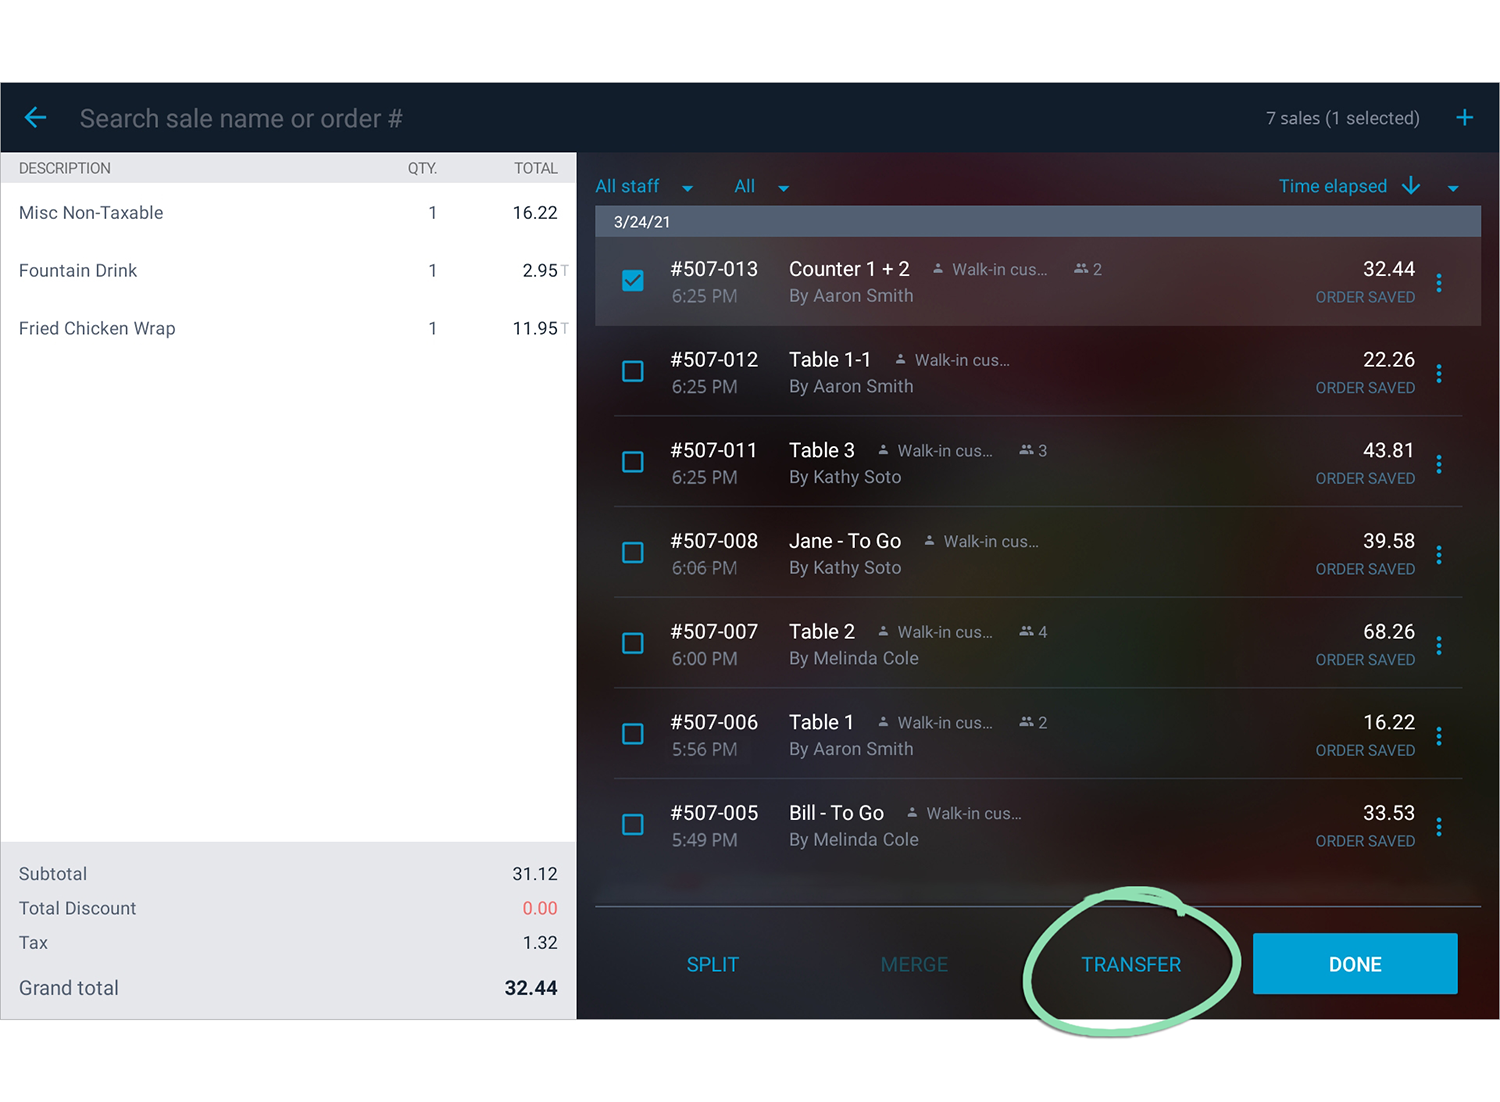
On the Saved Sales screen, tap 'Select' (iOS) or 'Manage Sales' (Android).
Managers can split saved sales owned by any employee, but cashiers can only split their own sales.
In the Retail POS (S-Series) app for iOS, the new split saved sale(s) created will be assigned to the employee who performed the split. In the Retail POS (S-Series) app for Android, the new saved sale(s) will be assigned to the employee who owned the original sale.
Online orderscannot be split at the register and must be processed as placed.
Select 'Done' (iOS) or the disk icon (Android) to complete the split.
Tagged customers, transaction-level discounts, and tax removal will persist on the original saved sale but must be reapplied to split saved sales after splitting.
Split saved sales have the same name as the original sale but with a number added to the end. Need to rename the split saved sale? Visit our Saved Sales article for help.
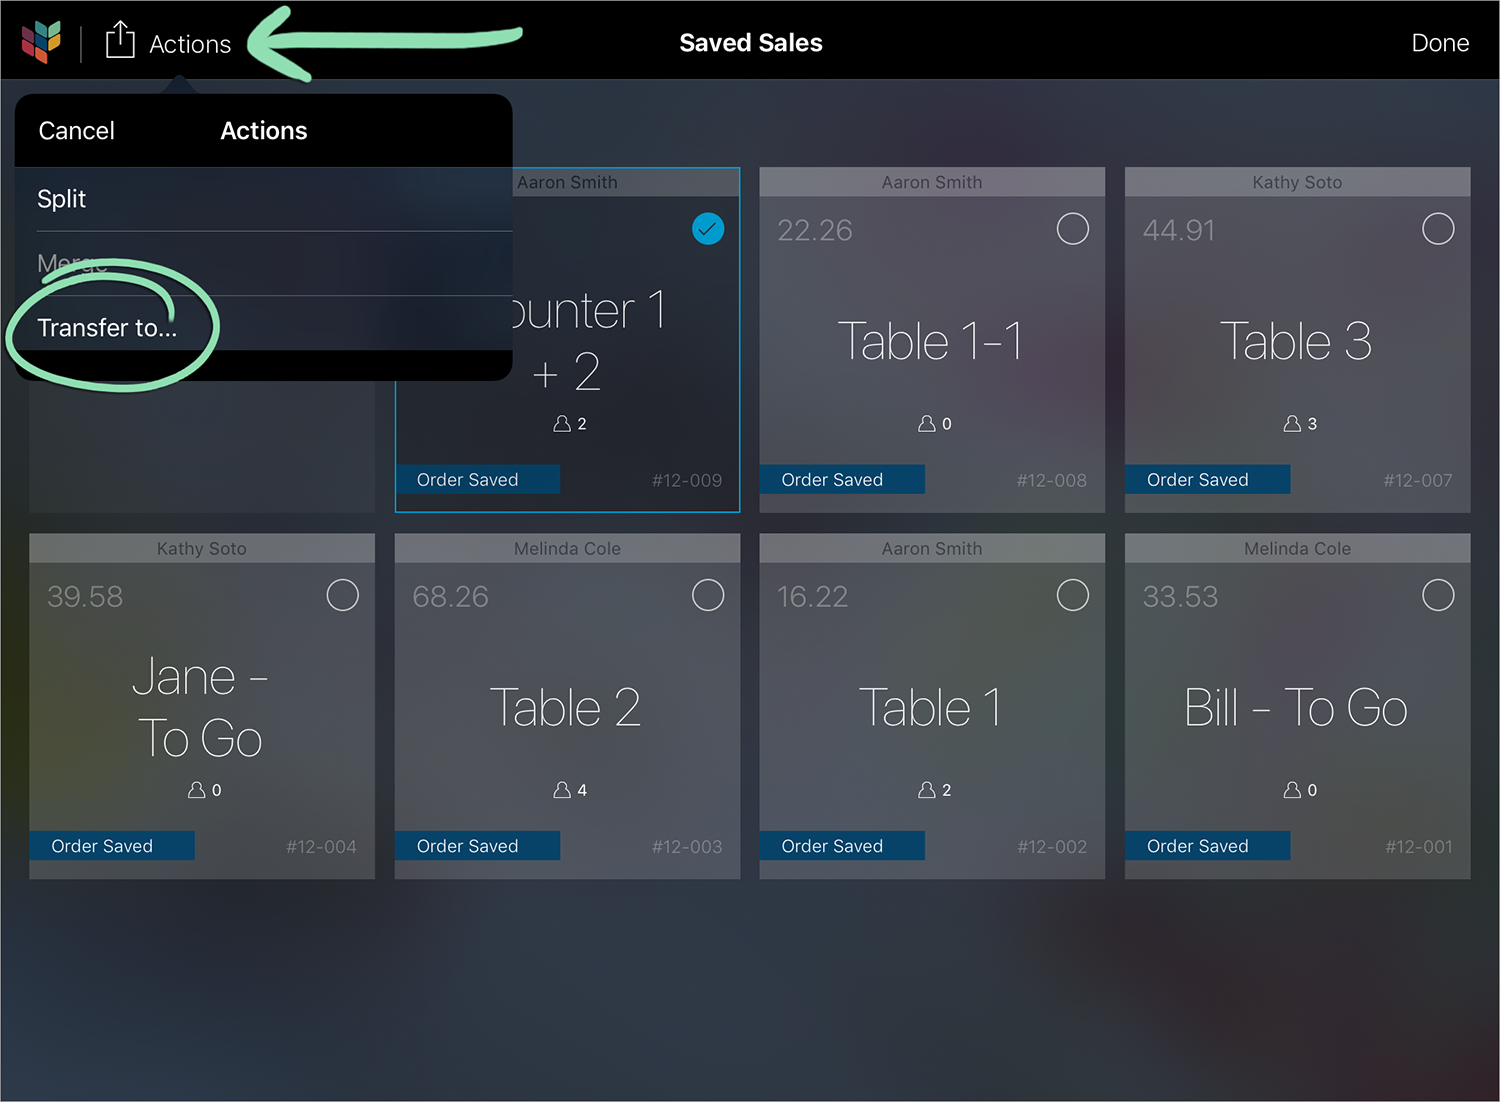
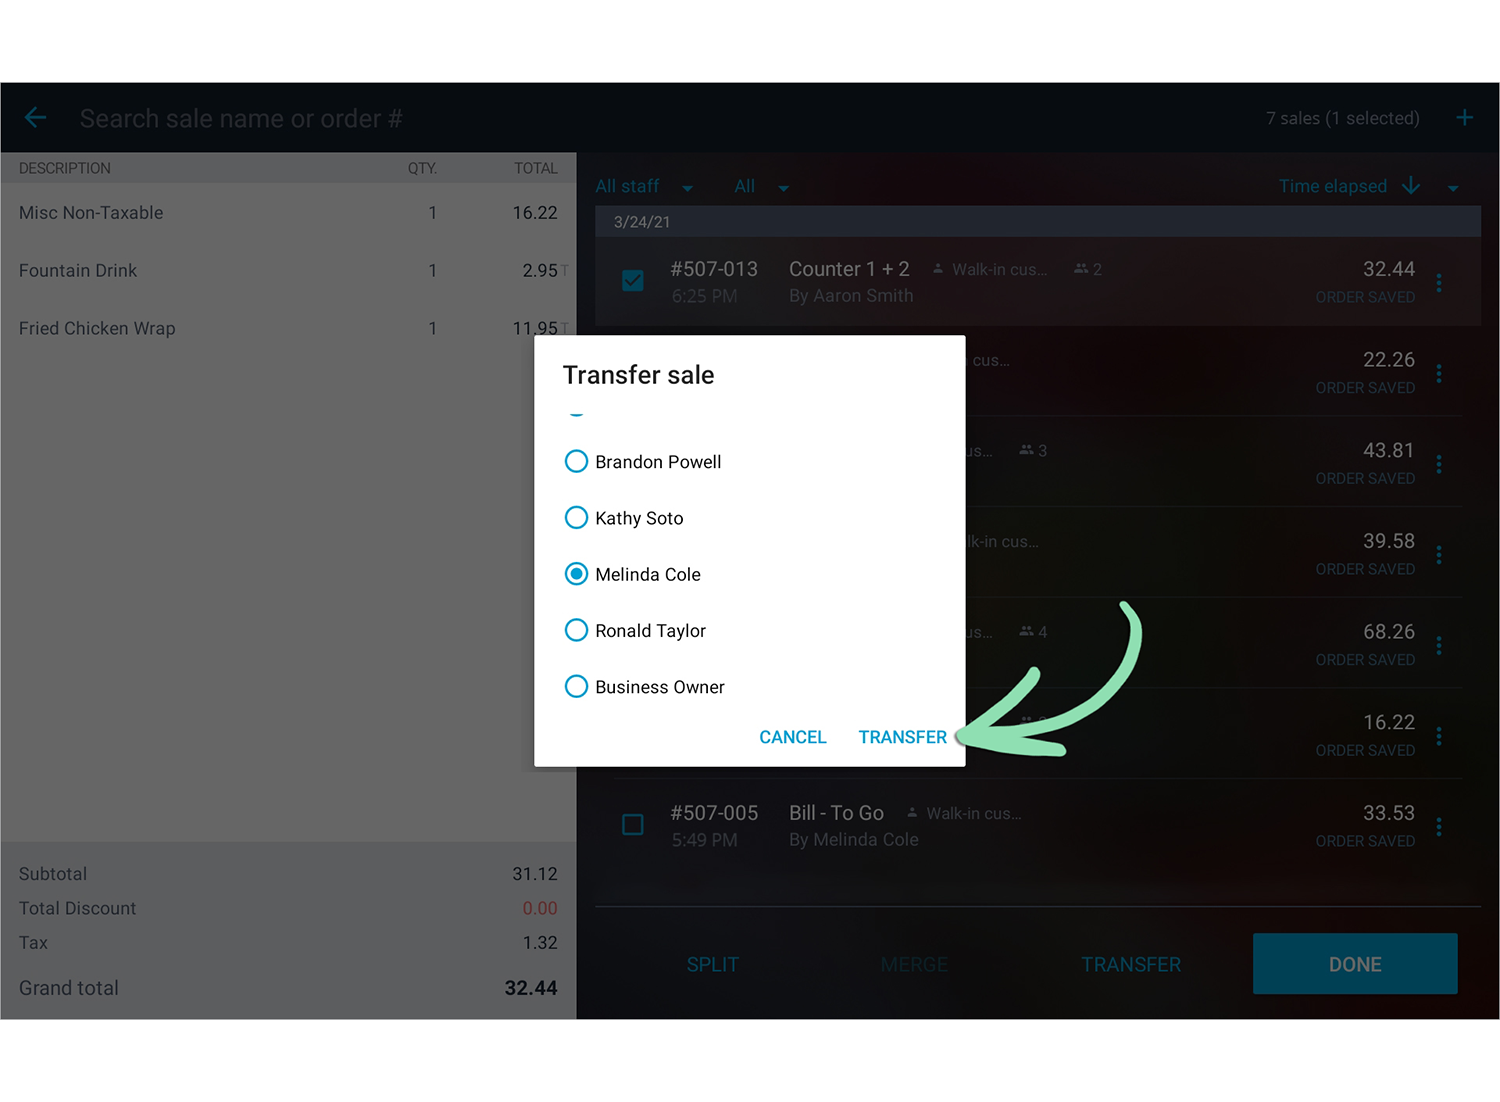
If using the Retail POS (S-Series) app for Android, follow the steps here to transfer all saved sales being merged to the same employee.
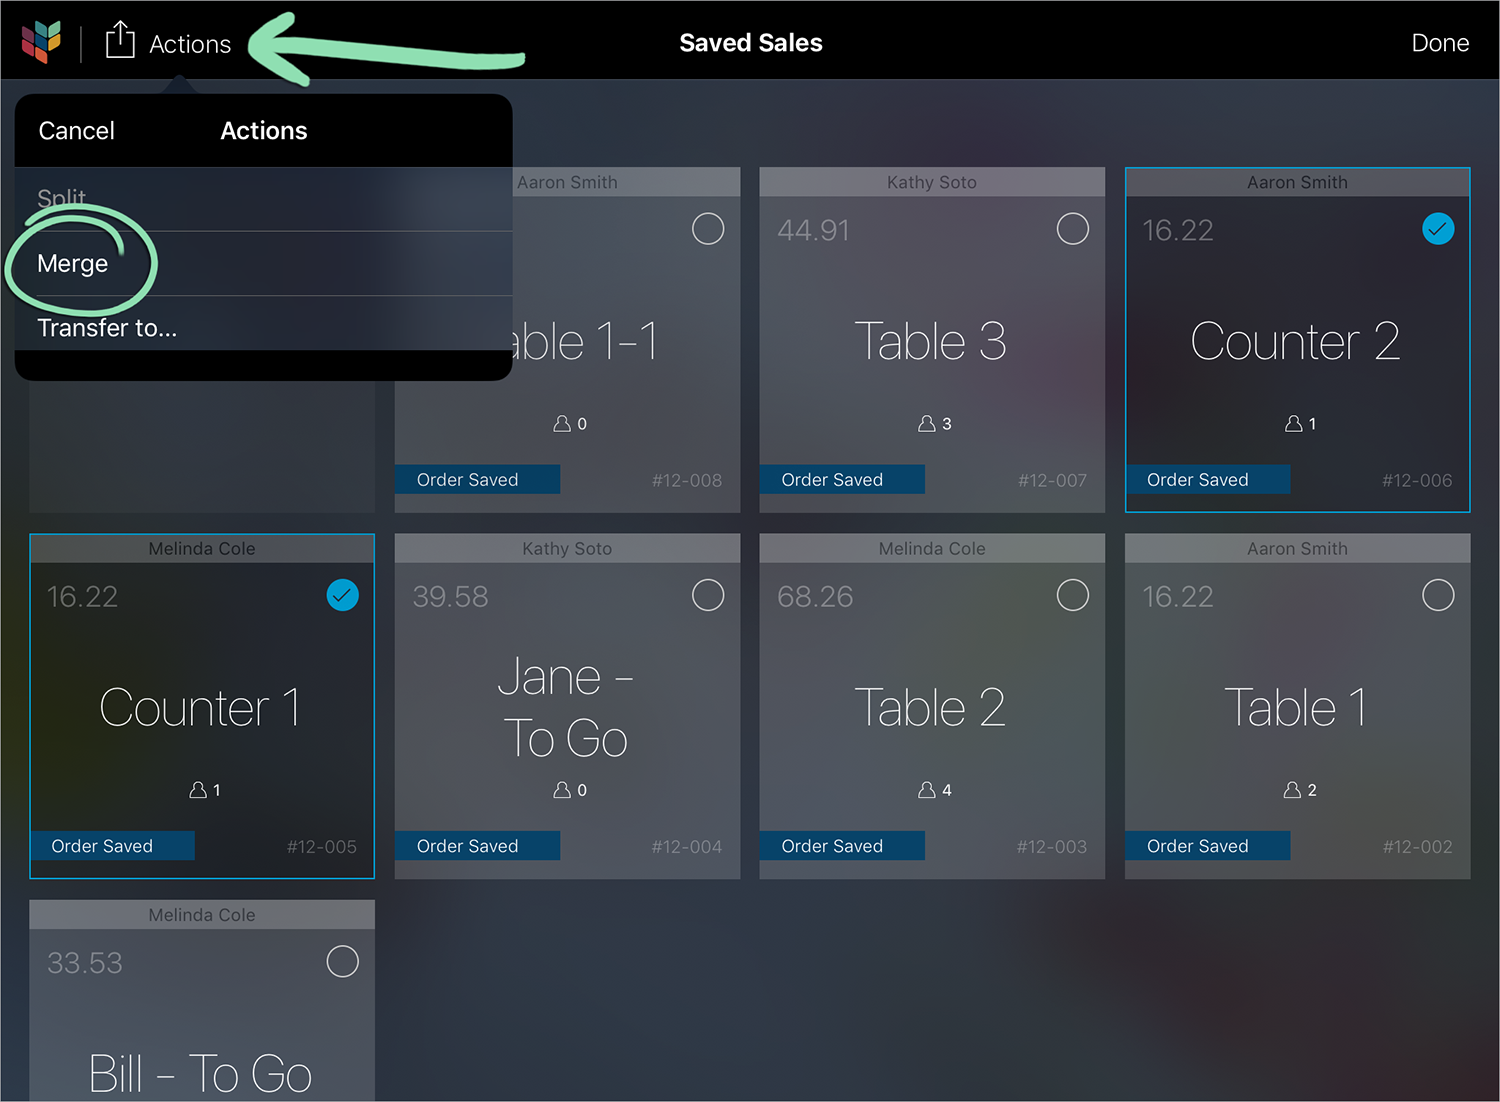
Select two or more saved sales to merge.
Managers can merge saved sales owned by any employee, but cashiers can only merge their own.
In the Retail POS (S-Series) app for iOS, the new merged saved sale will be assigned to the employee who performed the merge. In the Retail POS (S-Series) app for Android, the merged saved sale will be assigned to the employee who owned the original sales.
Online orderscannot be merged at the register and must be processed as placed.
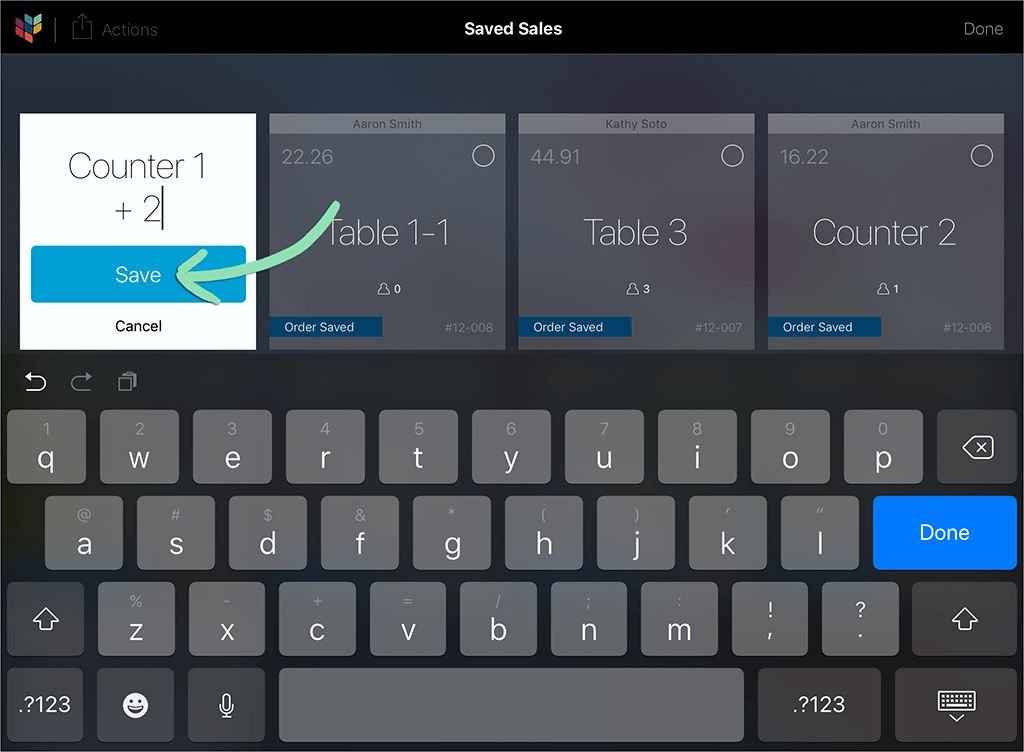
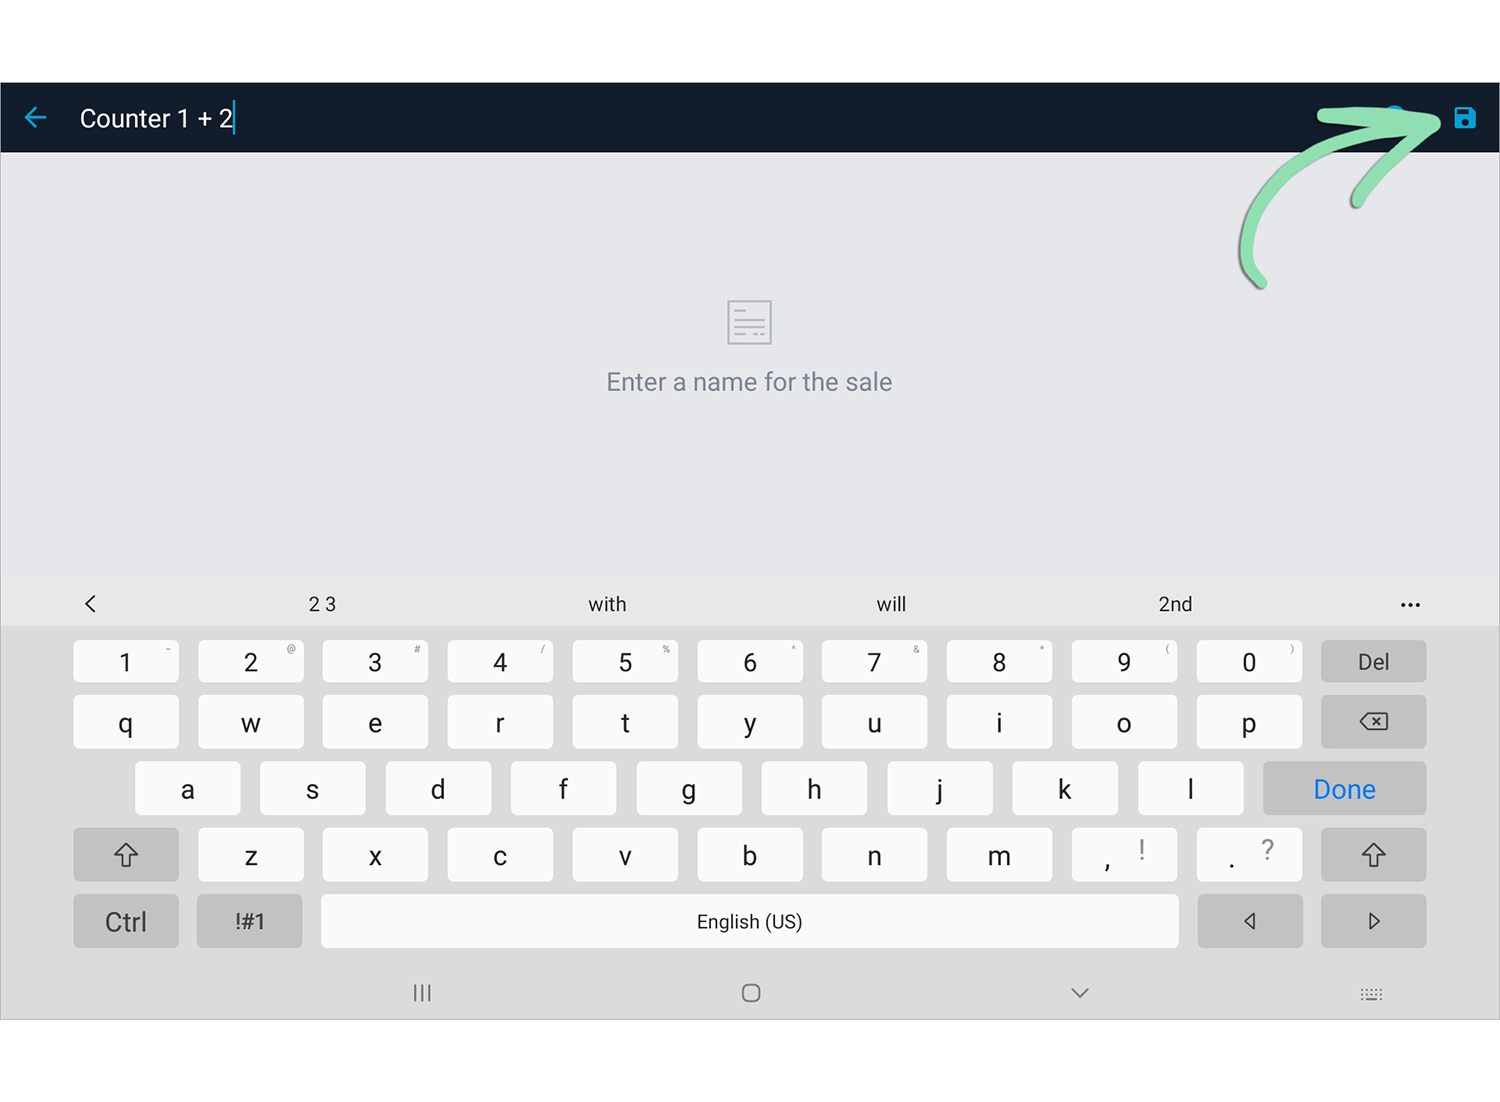
(Optional) Enter a new name for the merged saved sale.
The sale name will default to ‘Merged’ and will include the current time.
Tap 'Save' (iOS) or the disk icon (Android) to complete the merge.
Tagged customers, transaction-level discounts, and tax removal do not transfer from individual saved sales to the new merged sale and must be reapplied after merging.