Use this guide to help you fix common BackOffice inventory issues. If you’re having trouble managing items, customizing item shortcuts, or using Bulk Management, continue below for help.
Table of Contents
Inventory Item Issues
This section covers problems you may run into while browsing and managing inventory items.
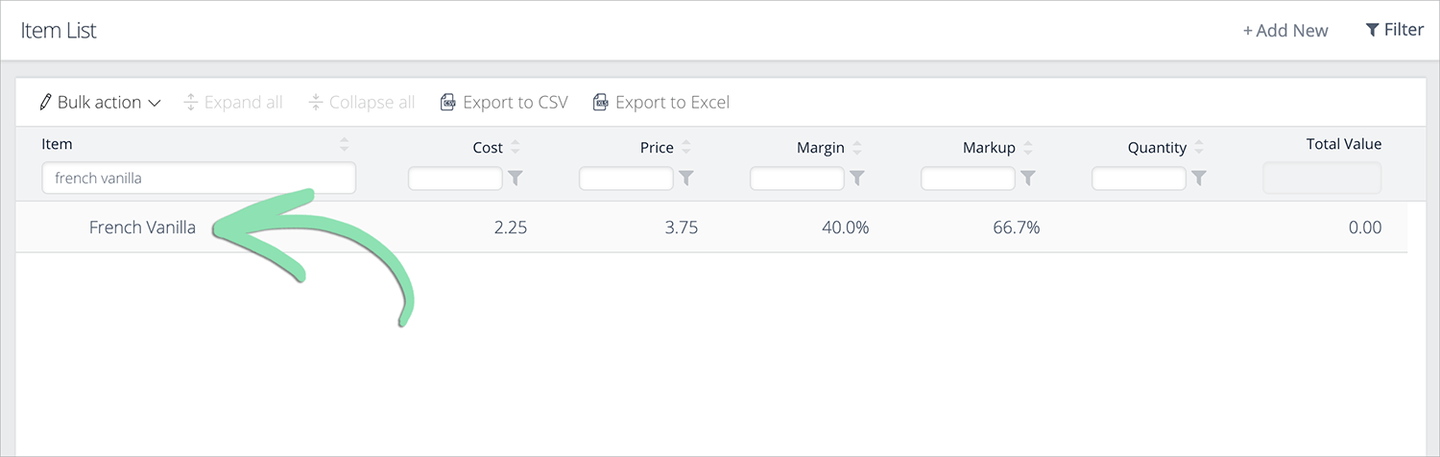
An item’s quantity is stuck at 0.
If register transactions do not affect an item’s quantity, inventory tracking may be disabled. Sales and returns are still recorded, but the system does not track the number of units on hand for the item.
Follow the steps below to begin tracking an item’s quantity.
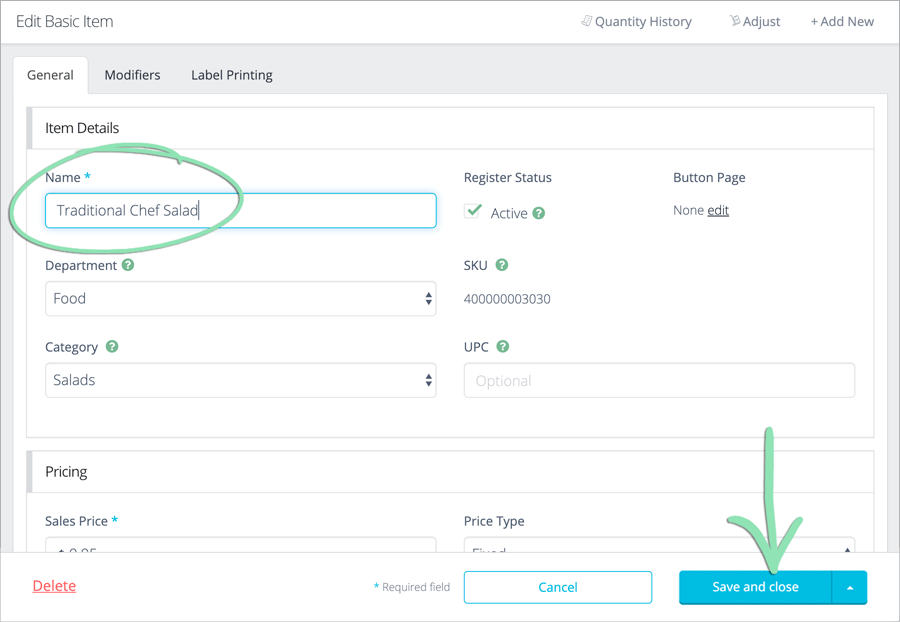
Select a save option to finish editing the item.
Click to Enlarge
Adjust the item's quantity on hand to the correct amount.
Visit the Update Inventory article to learn how to adjust items with the ‘Count’ action.
If you have many items to update, use Bulk Edit to modify several items at once or Bulk Management to modify them all at once using a spreadsheet.
Some items have a negative quantity.
When an item’s quantity is 0 and the item continues selling, the quantity becomes negative. Negative quantities affect inventory value but can be easily fixed.
Adjust the quantity of the item to the correct number.
Visit the Update Inventory article to learn how to adjust items with the ‘Count’ action. To prevent the quantity from going negative in the future, be sure to receive the item whenever you get more in stock.
I added a new item but don't see it on the register.
Most likely, the item was either made inactive or the register was not updated after its creation. Follow the steps below to check the item’s status and sync it to the register.
Whether you entered the wrong cost when creating an item or accidentally received the incorrect quantity, follow the specific step below to fix the issue.
If you need to fix the item’s quantity:
Adjust the quantity of the item to the correct number.
Visit the Update Inventory article to learn how to adjust items with the ‘Count’ action.
I do not see the option to manage items at the register.
The ability to manage items at the register is available to the Business Owner, employees with BackOffice Manager permissions, and Custom Users with the ‘Manage Items’ permission. If you do not see ‘Manage Items’ on the Main Menu or receive an error after selecting it, you are not signed in as a user with the proper BackOffice permissions.
Sign out of the register.
Sign back in as the Business Owner, a BackOffice Manager, or a Custom User with the ‘Manage Items’ permission.
If an employee with the relevant BackOffice permission is unable to access ‘Manage Items’ at the register, update the Retail POS (S-Series) app.
(Optional) Edit BackOffice permissions for employees from the Staff List to change what they can access.
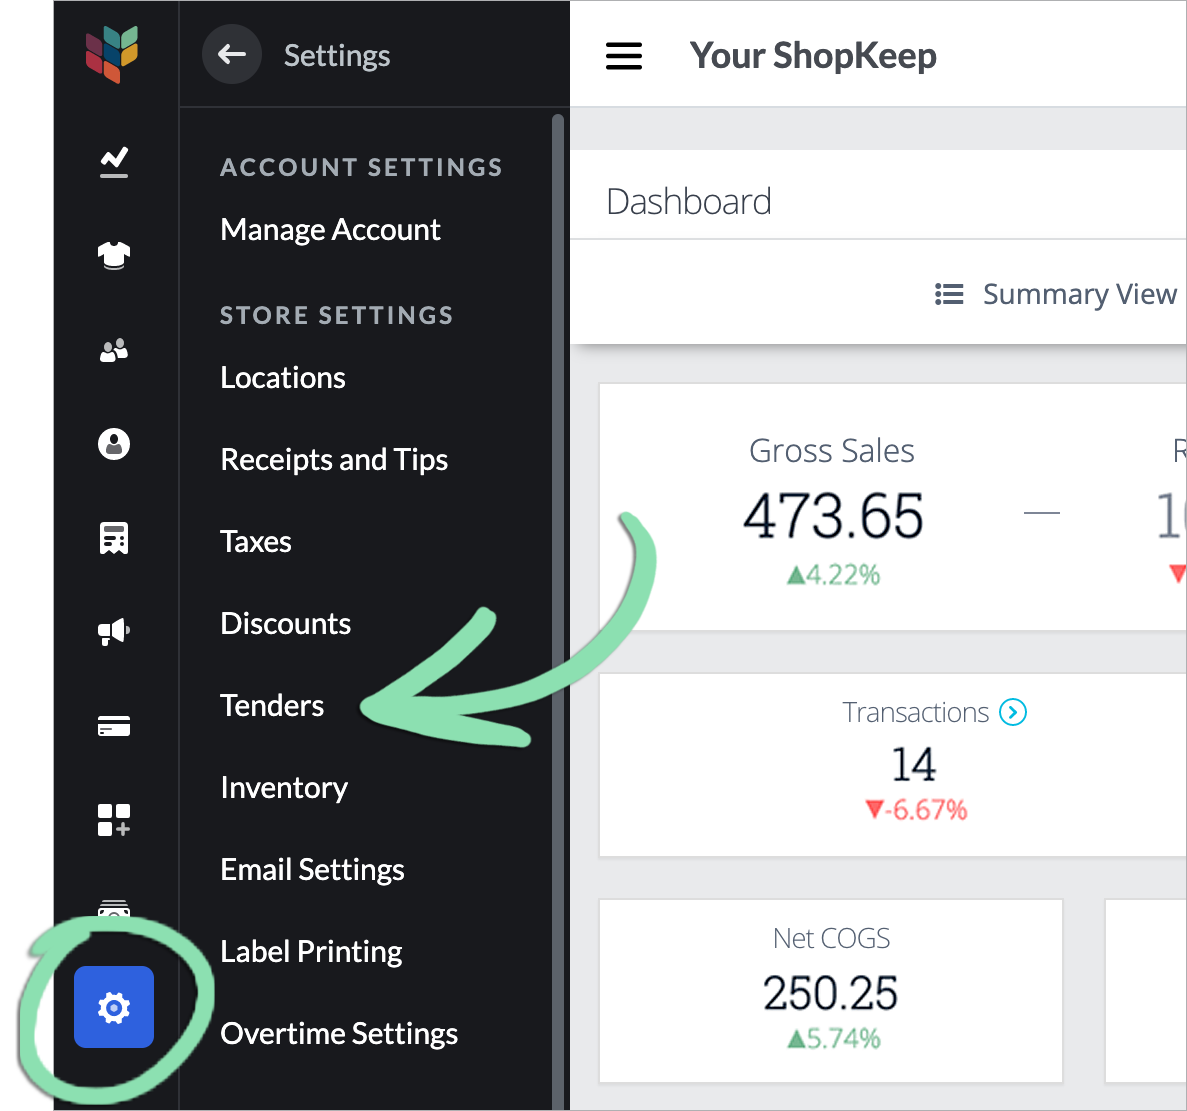
I cannot select a ‘Liability Tender’ when adding a new item.
The ‘Liability Tender’ drop-down is only visible after enabling at least one liability tender. If you cannot select a liability tender when adding a new basic item, visit the Tenders page to set active tenders for the account.
In BackOffice, click ‘Settings’ and select ‘Tenders’.
Click to Enlarge
Enable one or more ‘Redeemable’ tenders.
(Optional) Set up a new liability item linked to a redeemable tender.
“Unable to create liability items in multiple locations.”
This error appears when trying to automatically create a liability item in all linked locations. Liability items must be manually set up in each individual location to avoid this error.
cRepeat a – b in step 3 as needed to add the item to additional locations.
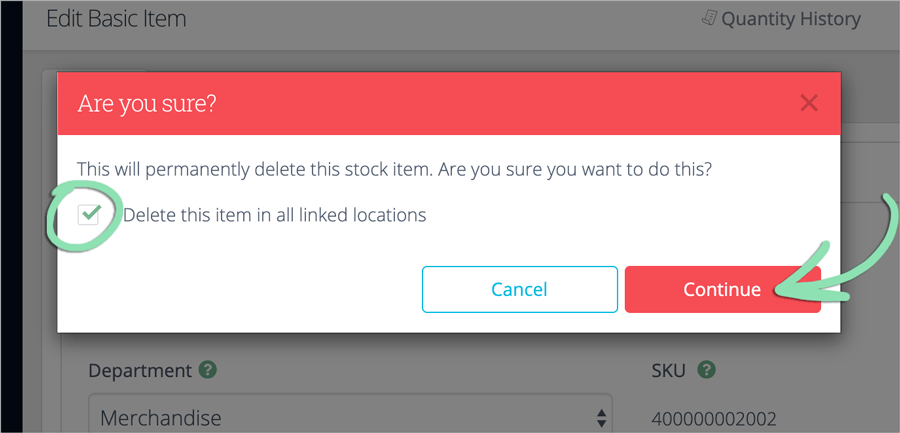
How do I delete an inventory item?
Delete an item in BackOffice to completely remove it from inventory. The item’s sales history will still be recorded in reporting up until when it is deleted.
If you delete an item and re-add it later, labels printed for that item will not scan at the register. New item labels willneed to be printed. If you intend to sell the item again in the future, you could uncheck the register status box for the item instead of deleting it so the item will remain in inventory but no longer appear for sale at the register.
If deleting the item in BackOffice, get updates on the iOS or Android register to sync the changes made to the register.
I accidentally deleted an item.
If you delete an item from inventory, you must recreate the item to be able to sell it again. Deleted items cannot be restored. Additionally, labels printed for the deleted item will not scan at the register and must be reprinted.
Item Shortcuts Issues
This section covers issues you may experience while managing the item shortcuts layout panel and customizing shortcuts.
I made an item inactive, but it's still on my item shortcuts setup page.
Inactive items automatically disappear from the Retail POS (S-Series) app after you Get Updates, but they are not removed from the item shortcuts setup page. Follow these steps to completely remove a shortcut from the layout panel.
If editing shortcuts in BackOffice, get updates on the iOS or Android register to sync the changes made to the register.
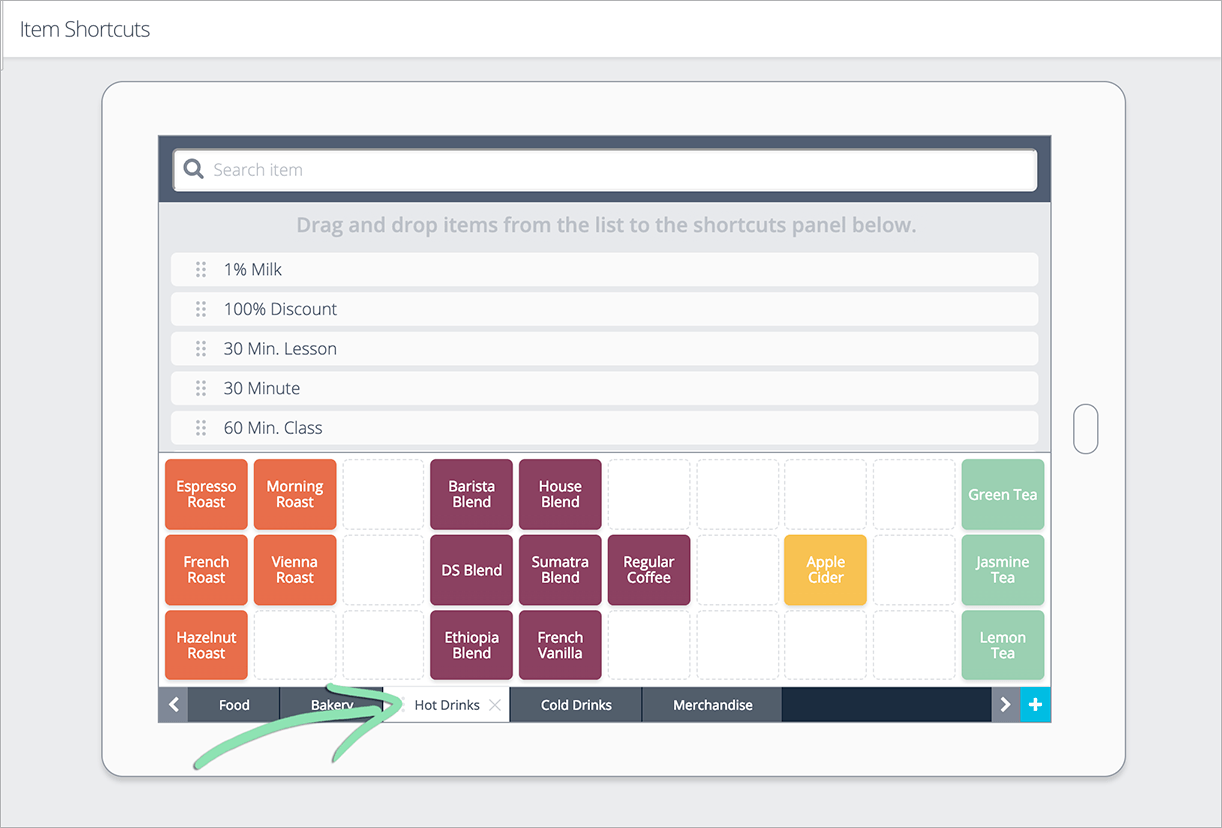
An item is missing from the list on the item shortcuts setup page.
If you cannot locate an item on the list at the top of the item shortcuts setup page, chances are the item is inactive or already has a shortcut on the layout panel.
If the item is not on any page, search for the item by name.
Click to Enlarge
“There was a problem saving that change. Please try again.”
This error occurs if changes cannot be saved when adding an item shortcut to the shortcuts panel, usually due to an internet connection problem.
Troubleshoot your internet connection.
If accessing the item shortcuts setup page from an iPad, follow the steps here to troubleshoot.
Refresh the item shortcuts setup page.
Add the shortcut to the layout panel again.
I do not see the option to edit shortcuts at the register.
The ability to edit shortcuts at the register is available to the Business Owner, employees with BackOffice Manager permissions, and Custom Users with the ‘Manage Item Shortcuts’ permission. If you do not see ‘Edit Shortcuts’ on the Main Menu or receive an error after selecting it, you are not signed in as a user with the proper permissions.
Sign out of the register.
Sign back in as the Business Owner, a BackOffice Manager, or a Custom User with the ‘Manage Item Shortcuts’ permission.
If an employee with the relevant BackOffice permission is unable to access ‘Edit Shortcuts’ at the register, update the Retail POS (S-Series) app.
I’m unable to resize a shortcut on the item shortcuts setup page.
Item shortcuts cannot overlap areas of the shortcuts panel where 1 or more shortcuts already exist. Move or remove any shortcuts that are in the way to be able to resize the original shortcut.
Follow the steps here to move or remove shortcuts that are blocking the one being resized.
Resize the initial shortcut.
My item shortcuts layout was not copied to a specific location.
This happens when a location contains items with duplicate names. Follow the steps below to resolve this issue and copy the layout again.
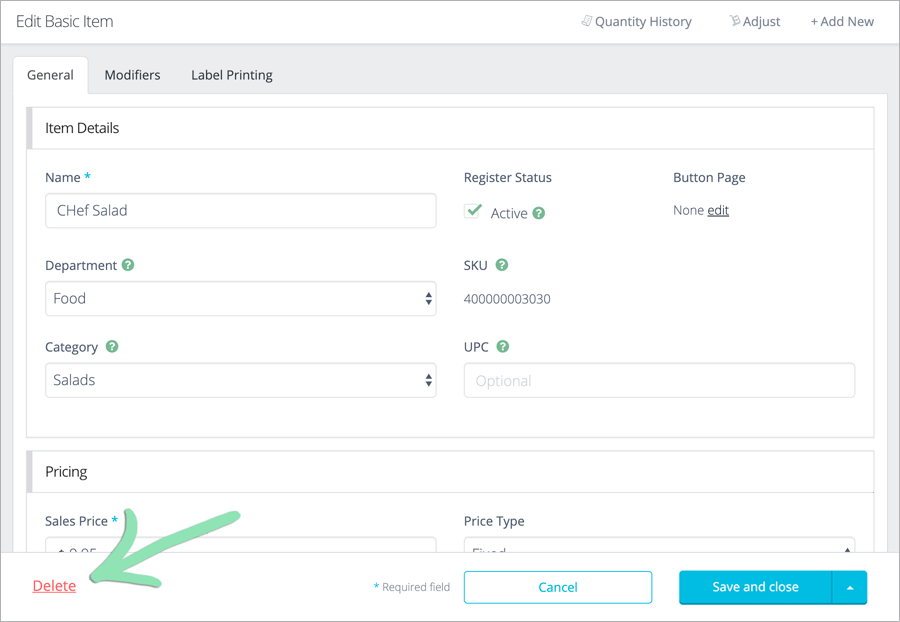
To delete an item: click the item to edit it, then click ‘Delete’ and ‘Continue’ to confirm the deletion.
If a deleted item is re-added later, labels printed for the original item must be re-printed. Deleted items appear on sales reports, but not on some other reports. Visit our Inventory FAQ to learn which reports are not supported.
After copying my item shortcuts layout to all linked locations, some shortcuts are missing.
A shortcut cannot be copied to another store if the item does not exist in that specific location. Make sure all items on the shortcuts panel of the original store exist in all linked locations, then copy the item shortcuts layout again.
In BackOffice, switch to the location the item shortcuts layout was originally copied from.
Review the name of each item on the shortcuts panel.
For items with customized shortcut names, click the shortcut to view the actual item name.
I do not see the option to apply or copy item shortcuts to all locations.
This feature, which copies the item shortcuts layout from one location to all others, is only available for accounts with multiple linked locations and is only visible to the Business Owner in BackOffice.
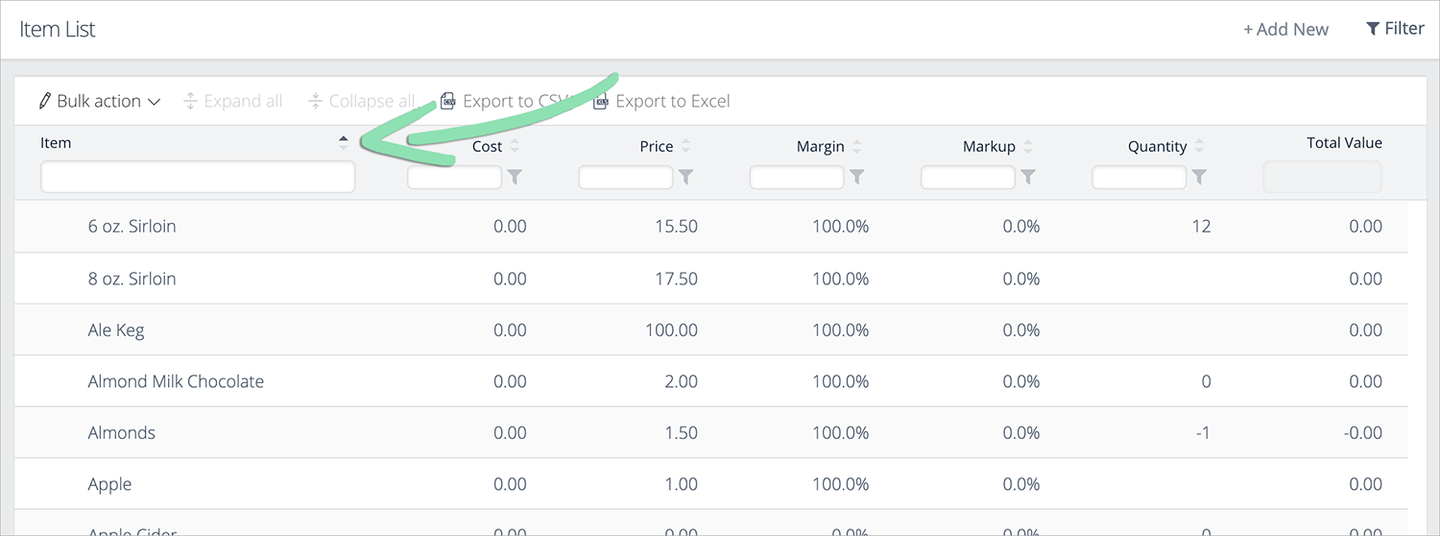
Access the Item List from BackOffice, not from the Retail POS (S-Series) app.
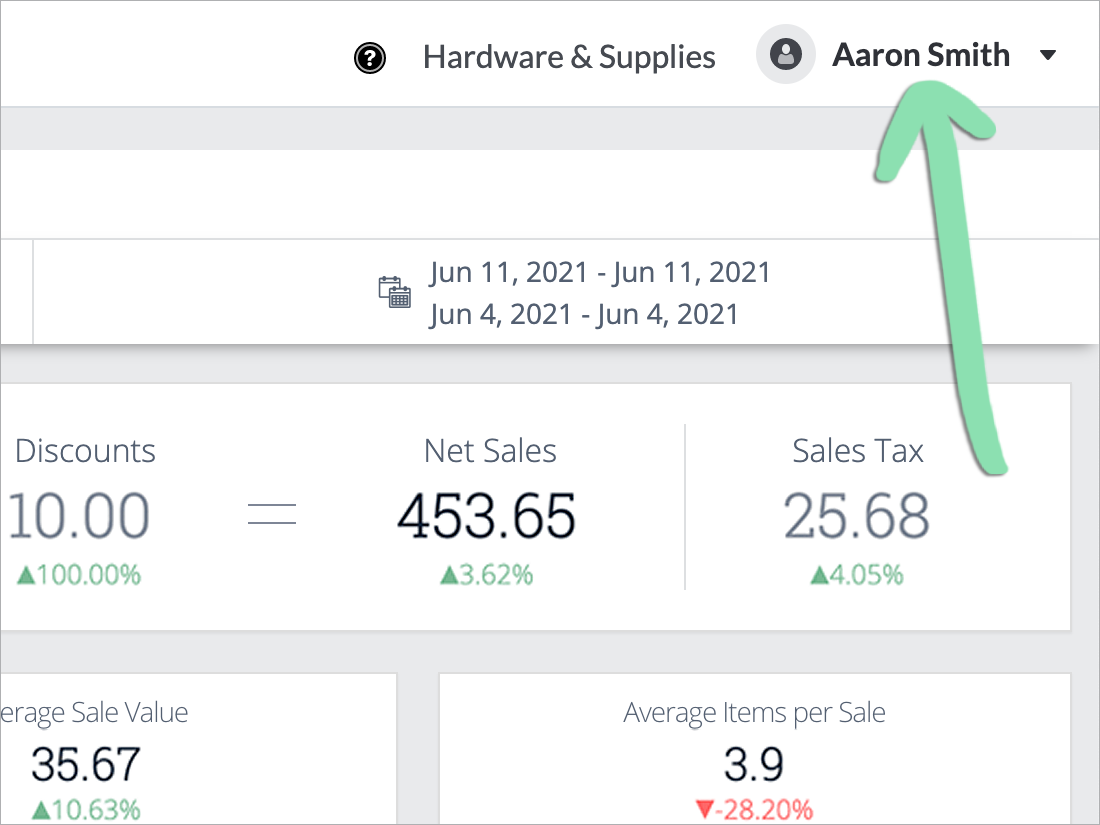
Check if you are logged in to BackOffice as the Business Owner.
The upper right corner displays the name of the user who is logged in. The Business Owner is either the person who originally created the store or the person logged in when stores were linked.
This section focuses on issues you may run into while using Bulk Management.
“CSV file contains duplicate item names”
Multiple rows on the import spreadsheet have the same name. BackOffice is not case sensitive. Item names are considered duplicates even if they differ in uppercase and lowercase letters.
Remove all rows containing duplicate item names.
Import the file again.
“Imported file is invalid” or "Failed, please try again"
"Unsupported file format. Please upload a valid CSV file to continue."
This error means the spreadsheet file was not saved in the correct .CSV format. If the error is preceded by “Imported file has contents that are not what they are reported to be,” see below for more information.
"CSV file must include both a header and a record"
This error means the spreadsheet file contains only a single row. For Bulk Management to work, there must be at least two rows: a header that identifies each column and a separate row for each import item.
Add additional rows to the spreadsheet.
Import the file again.
"Uploaded file is already being processed"
This error occurs when the current file upload is being processed and you start a new Bulk Management job with a file that has the same name.
Once the status is 'Complete', process the next job.
There were errors with my Bulk Management job.
The first step in resolving Bulk Management errors is to figure out what went wrong. Luckily, an error log accompanies each faulty Bulk Management job.
Review the 'Errors' column to see each error and the location in which the error occurred (if applicable):
Name already used – An item with the same Name already exists in inventory. Names must be unique, so remove all duplicates from the file.
CSV file contains duplicate item names – Multiple items on the import spreadsheet have the same name. Remove all duplicates from the file.
Name can’t be blank – The Name field was left blank. Fill in a name for each blank item.
Name is too long – Item names must be under 255 characters. Shorten any Name over this length.
Option Name cannot have more than 25 characters – Shorten any Option over this length.
Option Value(s) cannot be blank if Option Name has a value – Each Option must have some Values. Add values to each Option.
Option Value(s) cannot contain a value of Option Name is blank – Each set of Option Values must have a Name. Add an Option Name for each set of Values.
UPC already used – An item with the same UPC exists in inventory or in the import spreadsheet, so remove duplicate UPC’s. If UPC’s are in scientific notation or missing leading 0’s, check the formatting of this column.
UPC may only contain digits – UPC’s can contain only digits 0-9, so remove any letters.
Cost and Quantity must both be zero when Track Inventory is ‘false’ – Set Track Inventory to ‘true’ or leave Quantity and Cost blank.
There is no Tax Rate or Tax Group called ‘(tax)‘. Please use an existing group or create a new one. – Tax rates and groups must be manually added to BackOffice before you can assign items to them. If assigning items to a tax rate, be sure to use the ‘Name’ of the rate as entered on the Taxes Settings page, not the ‘Receipt Name’.
Register Status must be either active or inactive – The Register Status column can only accept a value of ‘active’ or ‘inactive’. Set the status of each item to one of these values.
Unit is too long – Unit must be two characters or less. Fix any Units that exceed this length.
No item associated with ID – Lightspeed Retail needs each item’s Item UUID to modify or delete items in bulk. Run a fresh Stock Items Export and try the Bulk Management job again. If you have multiple stores, you must generate a separate export for each store’s BackOffice.
Correct each error and re-import the affected items.
Miscellaneous Issues
This section covers miscellaneous issues unrelated to the sections above.
I am prompted to update my web browser when accessing the Item List.
This prompt appears when accessing BackOffice from an unsupported device or web browser or if the version of the web browser being used is outdated.
Access the Item List from BackOffice, not from the Retail POS (S-Series) app.
Check if you are logged in as the Business Owner.
The upper right corner displays the name of the user who is logged in. The Business Owner is either the person who originally created the store or the person logged in when stores were linked.